Edible
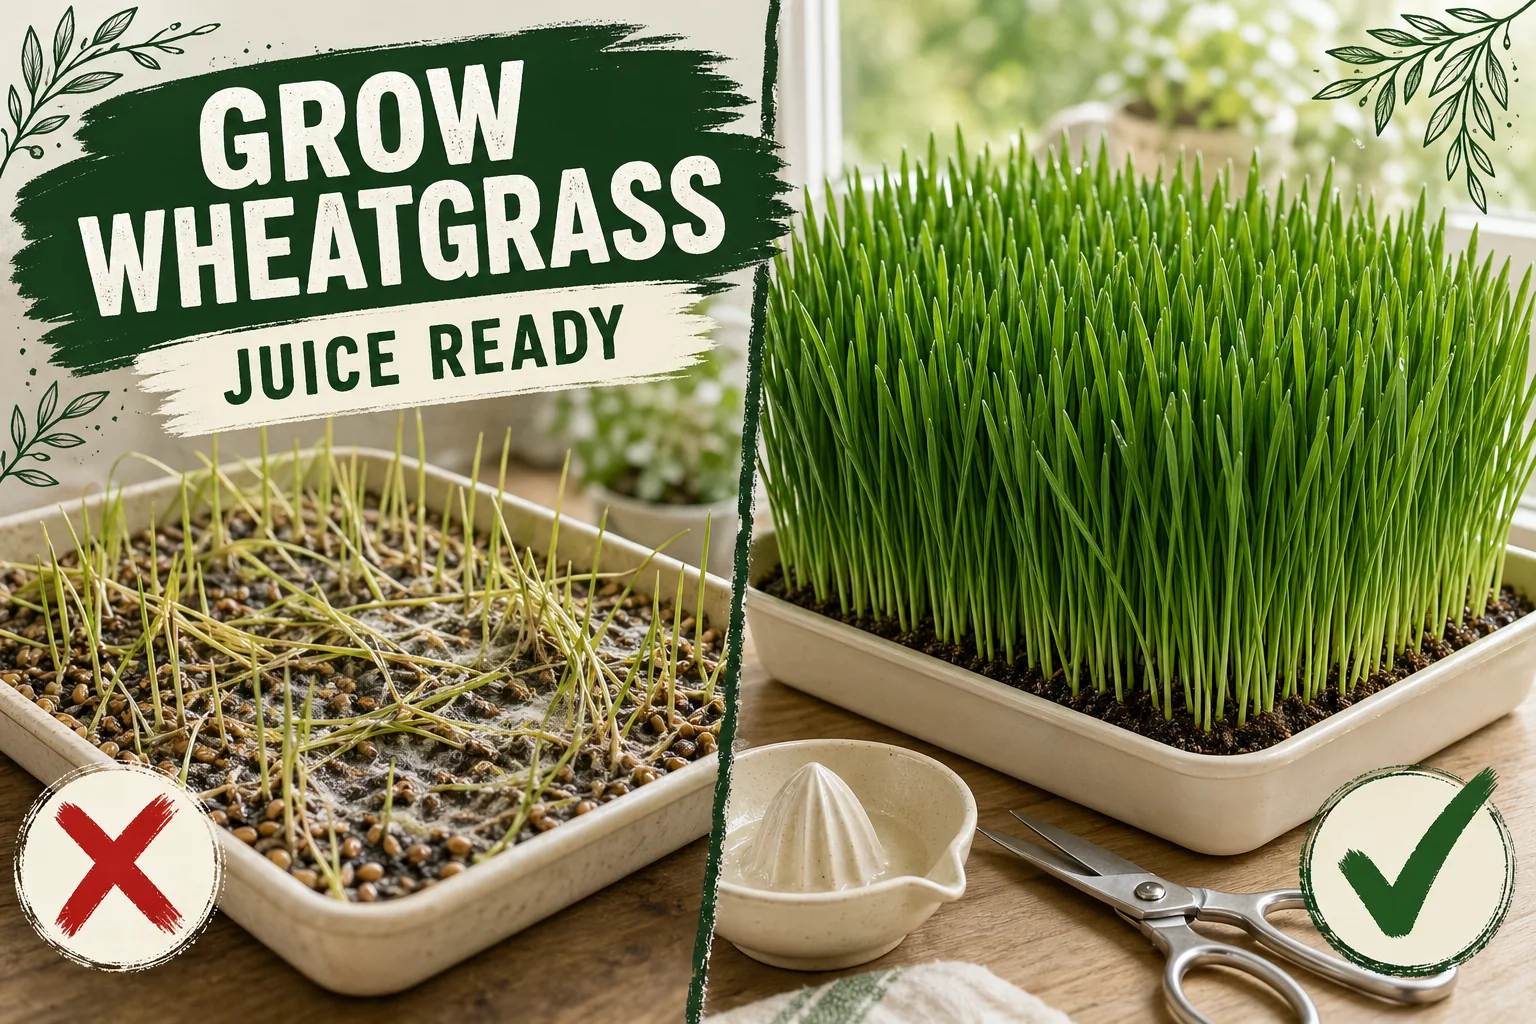
How to Grow Wheatgrass Indoors (Harvest in 7 Days)
Grow wheatgrass indoors from hard winter wheat berries — exact soak, sprout, tray, blackout, and harvest steps. Includes mold prevention and juicing guidance.
On this page
- Quick answer
- Table of contents
- Which wheat berries to buy
- What you need
- Step 1: Soak (12 hours)
- Step 2: Pre-sprout in a jar (days 1–2)
- Step 3: Lay out in tray
- Step 4: Blackout phase (days 1–3 in tray)
- Step 5: Light phase (days 3–7)
- Step 6: Harvest
- Step 7: Juicing
- Mold prevention — the number one problem
- Soil method vs hydroponic method
- Succession planting for daily juice
- Nutrition: what wheatgrass actually does and does not do
- Troubleshooting
- Watch: Wheatgrass growing guide
- FAQs
- Related posts
Watch the visual walkthrough
How To Grow Wheatgrass Indoors | Improved Growing System
OK y'all, I have grown wheatgrass in the past but my first growing system needed improvement, lemme show ya what I came up ...
Wheatgrass is one of the fastest edible crops you can grow indoors — from seed to juice in about seven days, with minimal equipment. But it is also one of the easiest to ruin. Mold, wrong seed type, and wrong juicer are the three mistakes most people hit on their first attempt.
This guide covers the complete process: the right seed, the soak, the tray setup, the blackout phase, the light phase, harvesting, juicing, mold prevention, and succession planting for a steady daily supply.
Quick answer
Soak hard winter wheat berries (untreated, organic) in water for 12 hours. Pre-sprout in a jar for 1–2 days until a small tail appears. Spread in a shallow tray over 2–3 cm (1 in) of moist coconut coir or damp paper towels. Cover for 3 days (blackout phase). Uncover and move to indirect light. Harvest at 15–20 cm (6–8 in) — typically day 7–10. Juice with a masticating or twin-gear press juicer. Compost the tray and start the next one.
Table of contents
- Which wheat berries to buy
- What you need
- Step 1: Soak (12 hours)
- Step 2: Pre-sprout in a jar (days 1–2)
- Step 3: Lay out in tray
- Step 4: Blackout phase (days 1–3 in tray)
- Step 5: Light phase (days 3–7)
- Step 6: Harvest
- Step 7: Juicing
- Mold prevention — the number one problem
- Soil method vs hydroponic method
- Succession planting for daily juice
- Nutrition: what wheatgrass actually does and does not do
- Troubleshooting
- FAQs
Which wheat berries to buy
This is where most first-time growers go wrong. You need:
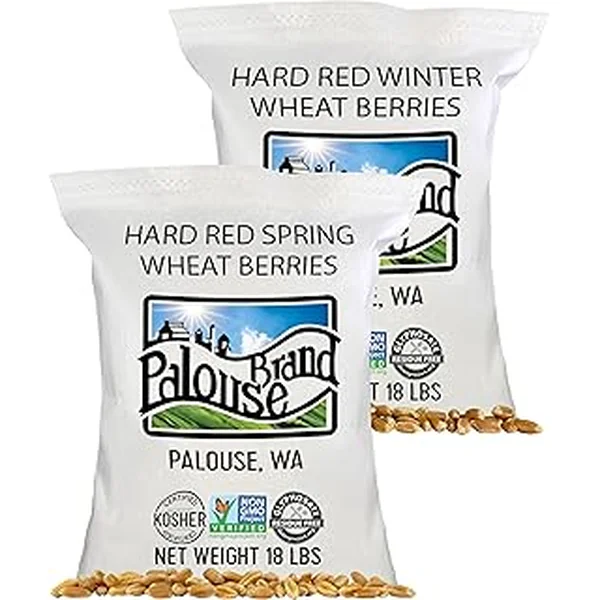
- Hard winter wheat berries (Triticum aestivum) — not bread wheat from a flour supplier, not soft spring wheat
- Untreated — no fungicide or pesticide coating (treated seed is usually pink or blue)
- Viable for sprouting — labelled as sprouting seed or planting seed, not milling grain
Bread flour wheat may sometimes germinate, but the germination rate is unreliable and it is often too old. Conventional farm seed is almost always treated and should never be used for food.
Look for “hard red winter wheat berries, organic, sprouting” from health food stores, online seed suppliers, or bulk food retailers. A 500 g (1 lb) bag is enough for roughly 8–10 standard trays.
What you need
- Hard winter wheat berries (organic, untreated)
- A jar or bowl for soaking
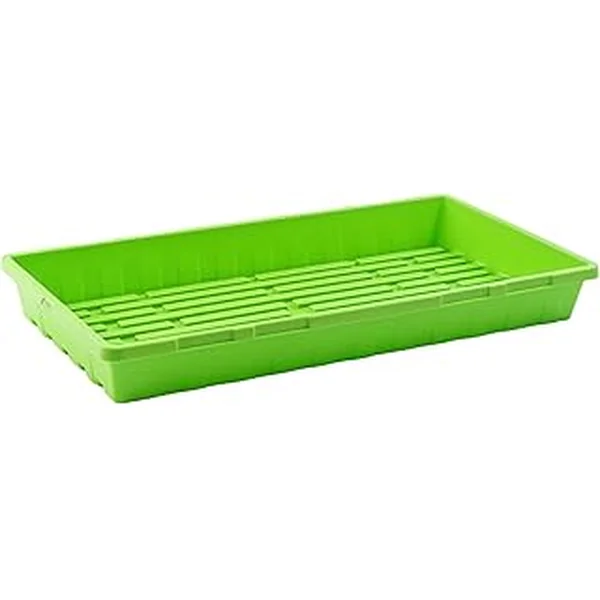
- Two shallow trays: one with drainage holes (grow tray), one without (bottom-watering tray)
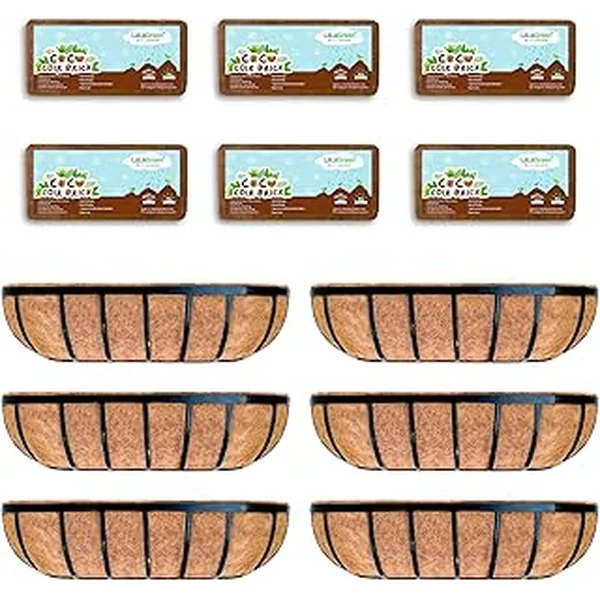
- Growing medium: coconut coir at 2–3 cm (1 in) deep, or several layers of damp paper towels
- A spray bottle
- Scissors for harvest
- A masticating or twin-gear press juicer
- A small fan (for airflow — mold prevention)
Optional but useful: a propagation lid or second inverted tray for the blackout phase.
Step 1: Soak (12 hours)
Measure out your seeds. For a standard 25 cm × 50 cm (10 in × 20 in) tray, use approximately 200–250 g (7–9 oz) of dry wheat berries. This looks like a lot — they will expand significantly.
Place them in a clean jar or bowl. Cover with cool water — at least twice the volume of the seeds. Leave at room temperature for exactly 12 hours. Do not soak longer than 16 hours: extended soaking depletes oxygen around the seeds and can cause anaerobic rot before the seeds even sprout.
Drain and rinse well after soaking.
Step 2: Pre-sprout in a jar (days 1–2)
After draining, move the seeds to a wide-mouth jar covered with cheesecloth or a mesh lid, or a sprouting tray. Lay the jar on its side at a slight angle so excess water drains away.
Rinse with cool water twice a day — once in the morning, once in the evening. The key is keeping seeds damp but never sitting in pooled water.
After 24–48 hours you should see a small white tail (radicle) emerging from each seed. This is the signal to move to the tray. Do not wait for long sprouts — a 3–5 mm (⅛–¼ in) tail is ideal. Longer sprouts tangle badly when you try to lay them flat.
Step 3: Lay out in tray
Prepare your growing medium:
Soil method: Fill the grow tray with 2–3 cm (1 in) of moist coconut coir or a light seed-starting mix. Press it gently level. Avoid standard outdoor potting mix — it is too dense and holds too much moisture, which invites mold.
Hydroponic method: Layer 3–4 sheets of damp paper towels in the tray. They should be thoroughly wet but not dripping.
Spread the pre-sprouted seeds in a single dense, even layer across the entire tray. They should be touching but not piled on top of each other. Press down lightly so roots make contact with the medium.
Mist the top of the seeds gently with a spray bottle.
Place the grow tray inside the bottom-watering tray (the solid tray with no holes). This setup is important — you will water from below from this point on.
Step 4: Blackout phase (days 1–3 in tray)
Cover the tray completely to block out all light. Options:
- An inverted second tray the same size placed on top
- A breathable cloth or newspaper weighted at the edges
- A propagation dome with the vents closed
The darkness does two things: it mimics the underground conditions that push roots downward aggressively into the medium, and it encourages upright, strong stem growth. Without this phase, many seeds germinate unevenly and the grass grows at odd angles.
During the blackout phase, water by pouring a small amount — about 100–150 ml (3–5 fl oz) — into the bottom tray. The grow tray wicks moisture up. Check once a day. The medium should feel damp, not wet. If you see condensation pooling under the cover, lift it for 10 minutes to allow airflow, then replace.
After 2–3 days, the grass should have pushed up against the cover. When you lift it, you’ll see dense pale yellow-green shoots 2–4 cm (0.75–1.5 in) tall. This is normal — they green up quickly in light.
Step 5: Light phase (days 3–7)
Remove the cover and move the tray to a spot with indirect light only. A windowsill with bright, diffused light is ideal. Direct midday sun is too intense — it heats the tray, dries the medium too fast, and scorches the tender shoots.
If you are using a grow light, position it 20–30 cm (8–12 in) above the tray on a 12-hour timer. Any cool-spectrum LED grow light works; you do not need a specialist unit for wheatgrass.
The grass will green up dramatically within the first 12–24 hours of light exposure as chlorophyll production kicks in.
Watering during the light phase: Continue bottom watering only. Pour 100–200 ml (3–7 fl oz) into the bottom tray each day. Lift the grow tray briefly and check — if there is still standing water in the bottom tray from the previous day, skip that day’s water. Never top-water after the seeds are laid out; wet grass blades and wet soil surface are the primary conditions for mold.
Run a small fan on the lowest setting nearby, angled so there is gentle air movement around the tray without drying the medium too aggressively.
Step 6: Harvest
Harvest when the grass reaches 15–20 cm (6–8 in) tall. This is the peak window for chlorophyll density and nutritional content. The exact day varies — typically day 7 in a warm room at 20–24°C (68–75°F), day 8–10 in a cooler room at 16–18°C (61–65°F).
A secondary indicator: look for the “jointing” signal — when the blades begin to split at the tip and a second blade starts to emerge from inside the first. Harvest just before or at this point. After jointing, the grass redirects energy toward seed production and the juice becomes more bitter and less nutritious.
To harvest: hold a small handful of grass, cut with clean scissors 2–3 cm (about 1 in) above the root mat. Work across the whole tray.
You can attempt a second cut (ratoon) from the same tray. The roots will send up new shoots. However, the second cut is thinner, slower, and less nutritious than the first. Most growers compost the tray after the first harvest and start fresh — it is not worth the tray space to wait for a mediocre second yield.
Rinse the cut grass briefly in cool water before juicing.
Step 7: Juicing
Wheatgrass cannot be juiced in a blender. The fibrous, cellulose-heavy cell walls of grass are too tough — a blender simply shreds the fibres without rupturing the cells to release juice. The result is a pulpy green liquid rather than actual wheatgrass juice.
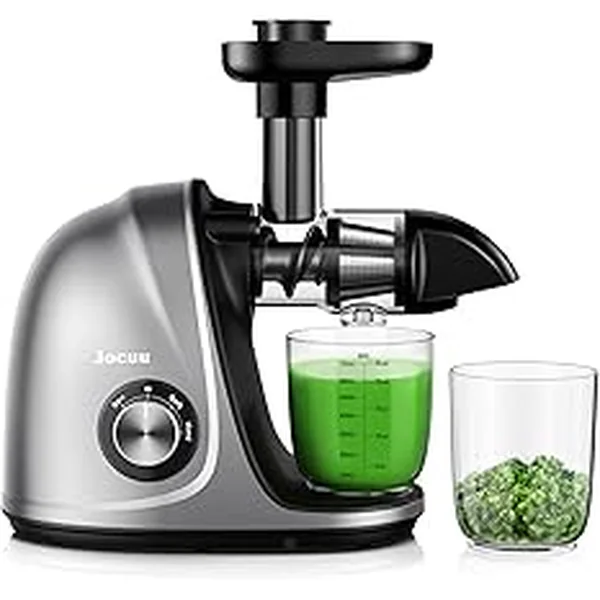
You need one of these:
- Masticating (cold-press) slow juicer — the most common home juicer for wheatgrass. Auger-style press crushes the grass slowly, extracting juice efficiently. Works with horizontal or vertical single-auger designs.
- Twin-gear (triturating) press juicer — the most efficient option, typically used by juice bars. Extracts more juice per gram but is expensive.
- Manual wheatgrass hand-press juicer — a small crank-operated device designed specifically for grass. Inexpensive, effective, slow.
A standard centrifugal juicer (the kind with a spinning metal basket) does not work well with wheatgrass. The blades spin rather than press, extract very little juice from grass, and the motor can overheat.
Feed small bunches — roughly a handful at a time — into the juicer slowly. Do not rush the feed. A standard full tray yields approximately 60–120 ml (2–4 fl oz) of juice from a single harvest, depending on tray size and juicer efficiency.
Drink wheatgrass juice immediately or within 15 minutes of pressing. It oxidises rapidly. If you cannot drink it straight away, store it in a sealed glass in the refrigerator for up to 8 hours.
Mold prevention — the number one problem
Mold is the most common failure mode with indoor wheatgrass. The conditions that cause mold are predictable and fully preventable.
Primary causes:
| Cause | Fix |
|---|---|
| Top watering (wet grass blades) | Switch entirely to bottom watering |
| No airflow around tray | Run a small fan on low nearby |
| Seeds sown too densely (piled up) | One dense layer only, no piling |
| Dirty tray or tools | Wash all trays with diluted white vinegar between batches |
| Medium too wet | Let bottom tray dry out before refilling |
| Warm stagnant air | Ensure the room has some ventilation |
Important distinction: white fuzzy growth at the base of the stems, right at soil level, is often root hairs — not mold. Root hairs are fine, uniform, and appear all along the lower stem in high-humidity conditions. They wash off when you rinse the harvested grass and are completely harmless. True mold is grey, green, or black, smells musty, and spreads across the surface of the soil or between blades. If you see true mold, that tray should be composted.
Soil method vs hydroponic method
| Soil method | Hydroponic (paper towels) | |
|---|---|---|
| Setup | Fill tray with 2–3 cm (1 in) coconut coir | 3–4 layers of damp paper towels |
| Beginner difficulty | Easier — medium buffers moisture | Harder — dries out or goes anaerobic faster |
| Mold risk | Moderate if overwatered | Higher if medium stays too wet |
| Cleanup | Compost tray | Pull out paper mat and dispose |
| Cost | Slightly higher (coir) | Very low |
| Juice quality | Identical | Identical |
Both methods produce nutritionally equivalent juice. The soil method is recommended for beginners because the growing medium is more forgiving of watering inconsistencies. Experienced growers often prefer the hydroponic method for its clean, lightweight setup and fast compost/cleanup.
Succession planting for daily juice
A single tray takes 7–10 days from sow to harvest and is consumed in 1–2 juicing sessions. To have fresh wheatgrass every day, you need staggered trays in rotation.
How to set up a rotation:
- On day 1, soak batch A.
- On day 2, soak batch B. Move batch A to the tray.
- On day 3, soak batch C. Move batch B to the tray.
- Continue sowing one new tray every 1–2 days.
- By day 7–9, batch A is ready to harvest. Harvest, compost, and start the cycle.
Once the rotation is running, you need 5–7 trays in active use at any time. Label each with a sow date — painter’s tape and a marker works perfectly.
If you want juice only every 2–3 days rather than daily, space your sowings 2–3 days apart and keep 2–3 trays in rotation.
Nutrition: what wheatgrass actually does and does not do
Wheatgrass is nutrient-dense but not a miracle food. Some marketing claims go well beyond what the evidence supports, so here is a clear summary:
What is established:
- Wheatgrass is a source of chlorophyll, vitamins C, E, and K, and several B vitamins
- It contains minerals including iron, magnesium, and calcium
- It provides some antioxidants
What is not supported:
- Wheatgrass is frequently marketed as a “complete protein.” It is not. It contains some amino acids, but the amounts are too small to function as a protein source. A 30 ml (1 fl oz) shot contains less than 1 g of protein.
- Claims that wheatgrass “detoxifies” the blood or “oxygenates” cells are not supported by clinical evidence
- Wheatgrass is not superior to eating whole leafy vegetables — a daily serving of spinach or kale provides more measurable nutrition than a wheatgrass shot
What wheatgrass is good for: it is a low-calorie, nutrient-dense addition to a diet that already includes varied vegetables. For people who like the ritual of fresh juice and the practice of growing their own food indoors, it is a worthwhile, satisfying crop. Do not expect dramatic health transformation — expect a fresh, grassy, slightly bitter juice that pairs well with apple or lemon to cut the intensity.
People with wheat or gluten allergies: wheatgrass is technically the leaf of the wheat plant, harvested before any grain forms, so it does not contain gluten protein. However, if the grass is contaminated with seed fragments at harvest, gluten exposure is possible. Those with severe wheat allergies or coeliac disease should consult a doctor before consuming wheatgrass.
Troubleshooting
| Problem | Likely cause | Fix |
|---|---|---|
| Seeds not germinating after 48 hours | Old or treated seeds | Buy new sprouting-grade hard winter wheat berries |
| Mold growing on soil surface | Top watering, poor airflow | Switch to bottom watering, run a fan |
| Grass turning yellow during light phase | Not enough light | Move to brighter indirect light or add a grow light |
| Grass falling over (lodging) | Overwatered or too warm | Reduce water, improve airflow |
| Juicer not extracting juice | Wrong juicer type | Use only a masticating or twin-gear press |
| Grass tastes bitter | Harvested too late (after jointing) | Harvest at 15–20 cm (6–8 in), before tip splits |
| Second cut is very thin | Normal ratoon behaviour | Compost and start fresh — first cut is always best |
| White fuzz at stem base | Root hairs (not mold) | Normal — rinse grass before juicing |
Watch: Wheatgrass growing guide
This video gives a visual walkthrough of the tray setup, blackout phase, and harvest that pairs well with the steps above.
FAQs
How long does it take to grow wheatgrass indoors? From dry seeds to harvestable grass is typically 7–10 days indoors. The first 12 hours are a water soak. Days 1–2 in a sprouting jar or damp cloth let the seed crack open. Days 1–3 in the tray are the blackout (covered) phase where roots establish. Days 3–7 are the light phase, where the grass grows to the harvest height of 15–20 cm (6–8 in). Warm rooms at 18–24°C (65–75°F) push the timeline toward 7 days; cooler rooms stretch it toward 10.
What wheat berries should I use for wheatgrass? Use hard winter wheat berries that are untreated (no fungicide coating), organically grown or at minimum food-grade, and meant for sprouting or planting — not for baking. The distinction matters: bread wheat from a flour supplier may be viable, but wheat seed sold for conventional farming is almost always treated with fungicides and will not grow properly, and may be unsafe to consume. Hard red winter wheat (Triticum aestivum) is the most widely available and the classic choice.
Why is my wheatgrass growing mold? Mold on wheatgrass almost always comes from three sources: overwatering (water sitting on the soil surface rather than absorbed from below), poor airflow around the tray, or seeds sown too densely. Fix all three: switch to bottom watering only — pour water into a second tray beneath the grow tray and let it wick up; run a small fan on low nearby; and space seeds to a single dense but not piled layer. Also make sure your tray and tools are clean before every batch. Mold at the soil line that does not spread onto the leaves is root hair — it looks fuzzy and white and is harmless.
Can I grow wheatgrass without soil? Yes. The hydroponic method uses a layer of damp paper towels (or a thin jute mat) instead of soil. Soak the paper towels thoroughly, layer them in a tray, spread the pre-sprouted seeds evenly, and mist daily to keep them damp. Harvested grass is nutritionally similar to the soil method, though hydroponic trays tend to need more careful moisture management — they dry out faster and can also go anaerobic if kept too wet. The soil method is generally more forgiving for beginners.
When should I harvest wheatgrass? Harvest when the grass reaches 15–20 cm (6–8 in) tall — this is typically day 7–10 from sowing. At this height the grass is at peak chlorophyll and nutrient density before the plant shifts energy toward seed production. Cut with clean scissors just above the root mat, roughly 2–3 cm (about 1 in) above the soil line. A second cut (ratoon) is possible but the second growth is thinner and less nutritious than the first — most growers compost the tray after the first harvest and start a fresh one.
What juicer do I need for wheatgrass? You need a masticating (slow/cold-press) juicer or a twin-gear press juicer. Wheatgrass has extremely tough, fibrous cell walls that centrifugal juicers cannot break down — they spin the grass without extracting juice and the motor overheats. Blenders also do not work: they shred the grass but cannot separate the indigestible fibre from the liquid. Dedicated wheatgrass hand-press juicers (manual crank models) also work well and are inexpensive. A standard cold-press juicer that handles leafy greens will handle wheatgrass.
How do I plan succession planting for daily wheatgrass juice? Start a new tray every 1–2 days, staggered. Since one tray takes 7–10 days from sow to harvest and is used up in 1–2 days of juicing (a standard 25 cm × 50 cm (10 in × 20 in) tray yields roughly 200–300 ml (7–10 fl oz) of juice), you need 5–7 trays in rotation to have fresh grass every day. Label each tray with its sow date. Once you have the rotation established, you start and harvest one tray per day with minimal effort.
Is wheatgrass safe if I have a gluten allergy? Wheatgrass itself — the leaf, harvested before any grain develops — does not contain gluten protein. However, if seed fragments contaminate the harvested grass, gluten exposure is possible. People with coeliac disease or severe wheat allergy should consult a doctor before consuming wheatgrass juice.
Related posts
- How to Grow Microgreens at Home (10-Day Beginner Guide) — microgreens and wheatgrass share the same tray setup, blackout method, and mold-prevention approach
- How to Grow Basil Indoors (Year-Round Pesto Supply) — another fast, rewarding indoor edible with the same light and watering principles
- How to Grow Spinach — grow fresh leafy greens that offer comparable nutrition to wheatgrass with much less effort
Highly recommended
The supplies that make this guide work
Tazart is an Amazon Associate — we earn from qualifying purchases at no extra cost to you. Thank you for helping us keep these guides free.
Frequently asked questions
How long does it take to grow wheatgrass indoors?
From dry seeds to harvestable grass is typically 7–10 days indoors. The first 12 hours are a water soak. Days 1–2 in a sprouting jar or damp cloth let the seed crack open. Days 1–3 in the tray are the blackout (covered) phase where roots establish. Days 3–7 are the light phase, where the grass grows to the harvest height of 15–20 cm (6–8 in). Warm rooms at 18–24°C (65–75°F) push the timeline toward 7 days; cooler rooms stretch it toward 10.
What wheat berries should I use for wheatgrass?
Use hard winter wheat berries that are untreated (no fungicide coating), organically grown or at minimum food-grade, and meant for sprouting or planting — not for baking. The distinction matters: bread wheat from a flour supplier may be viable, but wheat seed sold for conventional farming is almost always treated with fungicides and will not grow properly, and may be unsafe to consume. Hard red winter wheat (Triticum aestivum) is the most widely available and the classic choice.
Why is my wheatgrass growing mold?
Mold on wheatgrass almost always comes from three sources: overwatering (water sitting on the soil surface rather than absorbed from below), poor airflow around the tray, or seeds sown too densely. Fix all three: switch to bottom watering only — pour water into a second tray beneath the grow tray and let it wick up; run a small fan on low nearby; and space seeds to a single dense but not piled layer. Also make sure your tray and tools are clean before every batch. Mold at the soil line that does not spread onto the leaves is root hair — it looks fuzzy and white and is harmless.
Can I grow wheatgrass without soil?
Yes. The hydroponic method uses a layer of damp paper towels (or a thin jute mat) instead of soil. Soak the paper towels thoroughly, layer them in a tray, spread the pre-sprouted seeds evenly, and mist daily to keep them damp. Harvested grass is nutritionally similar to the soil method, though hydroponic trays tend to need more careful moisture management — they dry out faster and can also go anaerobic if kept too wet. The soil method is generally more forgiving for beginners.
When should I harvest wheatgrass?
Harvest when the grass reaches 15–20 cm (6–8 in) tall — this is typically day 7–10 from sowing. At this height the grass is at peak chlorophyll and nutrient density before the plant shifts energy toward seed production. Cut with clean scissors just above the root mat, roughly 2–3 cm (about 1 in) above the soil line. A second cut (ratoon) is possible but the second growth is thinner and less nutritious than the first — most growers compost the tray after the first harvest and start a fresh one.
What juicer do I need for wheatgrass?
You need a masticating (slow/cold-press) juicer or a twin-gear press juicer. Wheatgrass has extremely tough, fibrous cell walls that centrifugal juicers cannot break down — they spin the grass without extracting juice and the motor overheats. Blenders also do not work: they shred the grass but cannot separate the indigestible fibre from the liquid. Dedicated wheatgrass hand-press juicers (manual crank models) also work well and are inexpensive. A standard cold-press juicer that handles leafy greens will handle wheatgrass.
How do I plan succession planting for daily wheatgrass juice?
Start a new tray every 1–2 days, staggered. Since one tray takes 7–10 days from sow to harvest and is used up in 1–2 days of juicing (a standard 25 cm × 50 cm (10 in × 20 in) tray yields roughly 200–300 ml / 7–10 fl oz of juice), you need 5–7 trays in rotation to have fresh grass every day. Label each tray with its sow date. Once you have the rotation established, you start and harvest one tray per day with minimal effort.