Edible
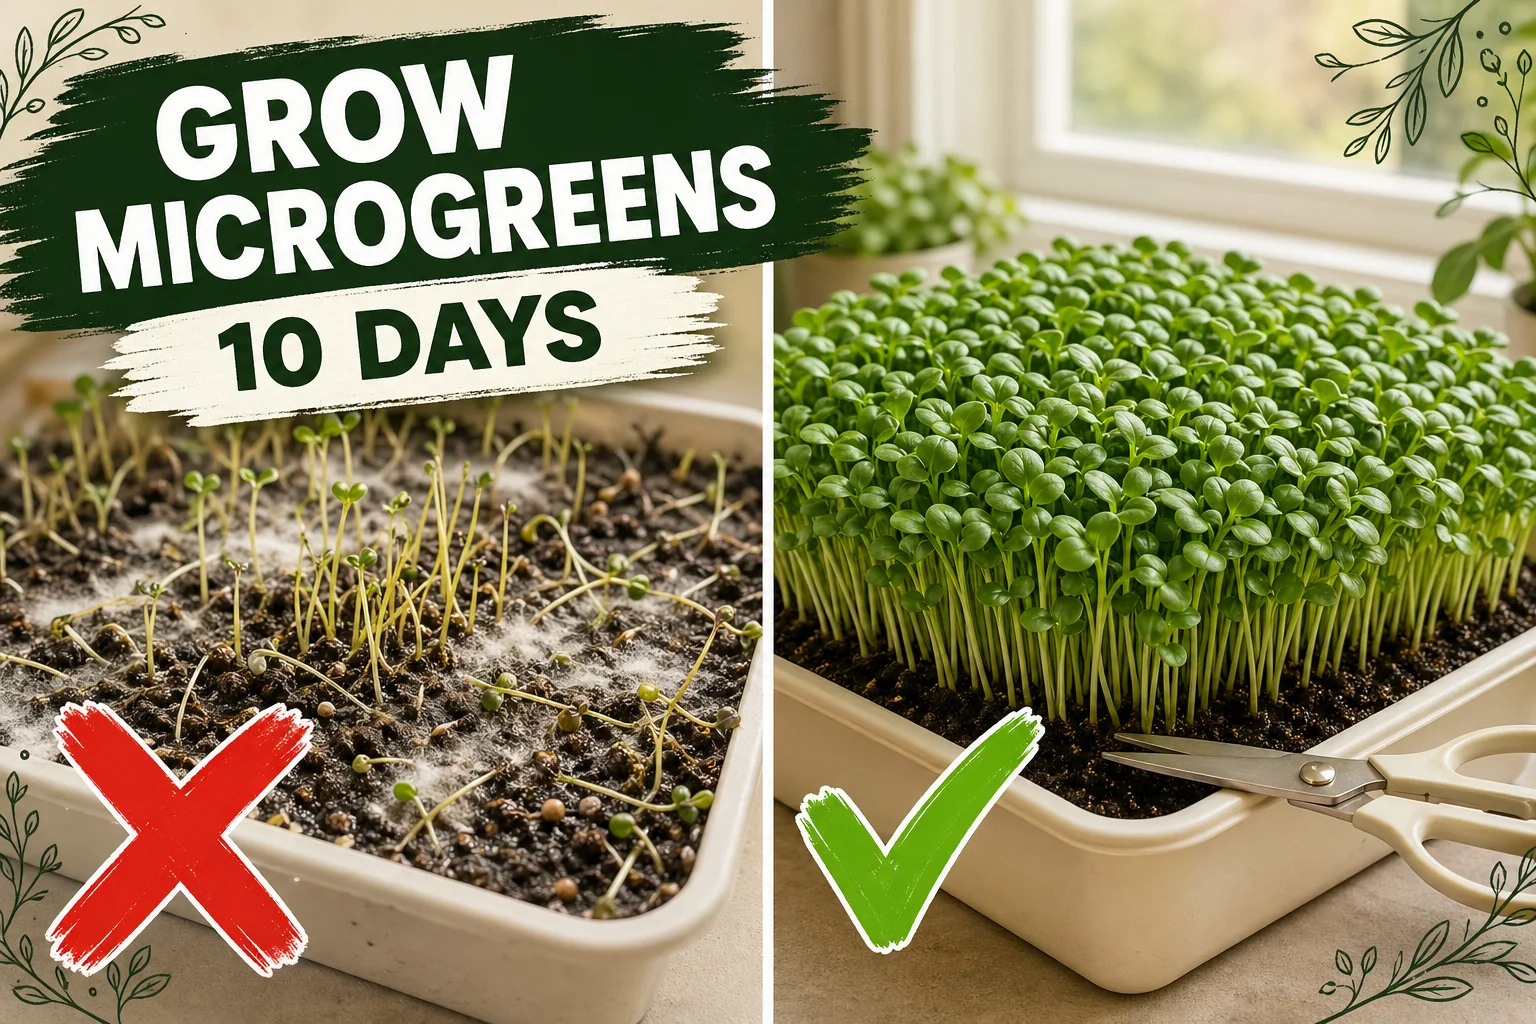
How to Grow Microgreens at Home (10-Day Beginner Guide)
Grow fresh microgreens at home in 10–14 days. Best beginner varieties, soil vs hydro methods, blackout phase, harvest timing, and mold prevention.
On this page
- Quick answer
- Table of contents
- Best beginner varieties
- Equipment you need
- Soil vs hydroponic method
- Seed soaking: which seeds need it
- Step-by-step growing guide
- The blackout phase explained
- Light phase: after the cover comes off
- Watering: bottom vs top
- Harvest timing
- Preventing mold
- Common mistakes
- Watch: How to grow microgreens at home
- Related guides
- FAQ
- Sources
Watch the visual walkthrough
#35 Grow Vegetables Indoors: Microgreens & Sprouts - From Seed to Harvest
Anyone who lives in the (big) city will know it. Having your own garden is about as likely as winning the lottery. It's considered ...
Microgreens are the fastest edible crop you can grow indoors. Sow seeds today, and in 10–14 days you have fresh, nutrient-dense greens to cut and toss directly onto eggs, salads, sandwiches, or noodle bowls — no garden, no outdoor space, no special equipment required.
The failure rate for first-time growers is high, but the causes are almost always the same: skipping the blackout phase, top-watering, and overcrowding seeds. This guide covers the exact method that produces thick, vivid, mold-free trays every time.
Quick answer
Sow seeds densely in a shallow tray of moist coir or potting mix, cover for 3–4 days (blackout phase), then uncover and give 12–16 hours of light daily. Bottom-water only — never top-water. Harvest with scissors at the cotyledon stage, 10–14 days after sowing. Broccoli, radish, pea, and sunflower are the best beginner varieties.
Table of contents
- Best beginner varieties
- Equipment you need
- Soil vs hydroponic method
- Seed soaking: which seeds need it
- Step-by-step growing guide
- The blackout phase explained
- Light phase: after the cover comes off
- Watering: bottom vs top
- Harvest timing
- Preventing mold
- Common mistakes
- FAQ
Best beginner varieties
Not all seeds are equal for microgreens. Beginners should start with fast, forgiving, high-germination varieties before experimenting with slower ones.
Fast and nearly foolproof (7–10 days)
Broccoli is the gold standard for beginners. Seeds are small and uniform, germination is close to 100%, and the greens are ready in 7–10 days. They taste mildly spicy and are the most studied microgreen nutritionally — often cited as containing significantly higher concentrations of sulforaphane than mature broccoli.
Radish germinates even faster than broccoli — sometimes visible sprouts within 24 hours. The flavour is peppery and bold. Ready to harvest in 6–9 days. Great for salads, tacos, and ramen bowls.
Medium-speed and highly rewarding (10–14 days)
Sunflower produces thick, juicy, nutty shoots. Seeds are large and benefit from an 8–12-hour soak. They need a slightly thicker layer of growing medium for root grip. Ready in 10–14 days and among the most satisfying first crops.
Pea shoots are crisp, sweet, and great for stir-fries or as a garnish. Soak for 6–8 hours before sowing. They grow tall — up to 10–15 cm (4–6 in) — and look dramatic. Ready in 10–14 days.
Other good starters
Cabbage, kale, and mustard all follow the same method as broccoli and are ready in 7–10 days. Avoid basil, fennel, and carrot as your first trays — they are significantly slower and more prone to uneven germination.
Equipment you need
The setup is minimal and inexpensive. You do not need a grow tent or a full indoor garden system.
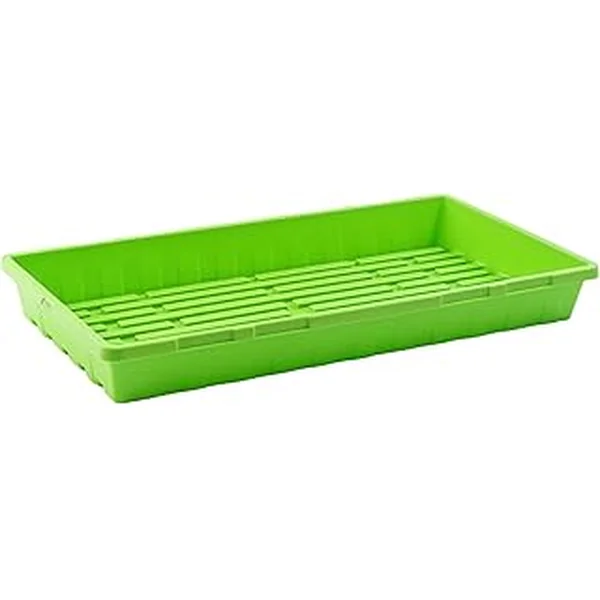
| Item | Notes |
|---|---|
| Shallow growing tray (1020 size or similar), 4–5 cm (1.5–2 in) deep | Needs drainage holes. One tray sits inside a matching solid tray for bottom watering. |
| Second tray (solid, no holes) | Acts as the water reservoir for bottom watering. |
| Growing medium | Coconut coir, a jute grow mat, or a light seed-starting mix. |
| Seeds | Buy microgreen-specific seed packs for higher germination rates. |
| Spray bottle | For the initial pre-sow medium moisture only. |
| Something to act as the blackout cover | An inverted matching tray, a piece of cardboard, or a dark cloth. |
| Light source | A south-facing window in summer, or a full-spectrum LED bar on a 12-hour timer year-round. |
| Sharp scissors | For harvesting cleanly without crushing stems. |
Optional but useful: a small USB fan set to low, aimed near (not at) the tray improves airflow and dramatically reduces mold risk.
Soil vs hydroponic method
Both work well for home growers. Choose based on what matters most to you.
Soil / coir method
Fill the tray with 2–3 cm (0.75–1 in) of coconut coir or a fine seed-starting potting mix. Pre-moisten the medium until it is damp throughout but not waterlogged — it should hold its shape when squeezed but not drip. Sow seeds on top, press them gently into the surface, and mist lightly.
Advantages: Better root grip for large seeds. Slightly more forgiving of uneven watering. Familiar if you already grow herbs.
Disadvantages: Heavier tray. Medium particles can cling to harvested greens and require extra rinsing.
Hydroponic / grow mat method
Lay a pre-soaked jute or hemp grow mat flat inside the tray. The mat wicks water from the reservoir below without any loose medium.
Advantages: Cleaner harvest — no soil on stems. Lower mold risk when mats are used correctly. Easier cleanup. Lighter.
Disadvantages: Roots do not anchor as firmly for very large seeds. Mats dry out faster, so you need to check water levels daily.
Verdict for beginners: Start with coconut coir if you are growing broccoli, radish, or kale. Use grow mats once you have one successful tray under your belt and want a cleaner process.
Seed soaking: which seeds need it
| Seed | Soak needed? | Duration |
|---|---|---|
| Broccoli | No | — |
| Radish | No | — |
| Kale / cabbage | No | — |
| Mustard | No | — |
| Sunflower | Yes | 8–12 hours in cool water |
| Pea / pea shoots | Yes | 6–8 hours in cool water |
| Fenugreek | Yes | 4–6 hours |
After soaking, drain and rinse seeds well before sowing. Do not soak small seeds — they clump together and become impossible to distribute evenly.
Step-by-step growing guide
Step 1: Prepare your tray
Fill the growing tray with 2–3 cm (0.75–1 in) of pre-moistened coir, or lay a soaked grow mat flat inside. The medium should be damp but not dripping.
Step 2: Sow seeds evenly
Distribute seeds in a single dense but non-overlapping layer. The goal is to cover the surface fully without seeds piling on top of each other. For small seeds like broccoli and radish, aim for roughly 10–15 g per standard 25×50 cm (10×20 in) tray. For large seeds like sunflower and pea, increase coverage — they can be slightly overlapping.
Step 3: Press seeds gently into the medium
Use the back of the second tray or your hand to press seeds lightly into the growing surface. Good seed-to-medium contact is critical for even germination. Do not bury them — microgreens are surface-grown.
Step 4: Mist lightly and cover (begin blackout phase)
Mist the seeds very lightly with clean water. Place the second tray upside down on top as a cover, or use a piece of cardboard. This begins the blackout phase. Set the covered tray somewhere between 18–24°C (65–75°F).
Step 5: Check daily during blackout (days 1–3)
Lift the cover once per day to check for even germination and to mist lightly if the surface looks dry. Do not over-wet. By day 2–3 you should see germinated sprouts 1–2 cm (0.5 in) tall across the tray.
Step 6: Remove cover and begin the light phase
Once most seeds have germinated and sprouts are 2–3 cm (0.75–1 in) tall — typically day 3–4 — remove the cover. Move the tray to your light source and begin bottom watering from this point on.
Step 7: Bottom water and give 12–16 hours of light daily
Pour 1–2 cm (0.5 in) of water into the lower solid tray. The coir or mat wicks it up from below. Empty any remaining water after 30 minutes to prevent standing water. Give 12–16 hours of light each day.
Step 8: Harvest
At 10–14 days (or earlier for radish), when cotyledons are fully open and vivid, harvest with sharp scissors just above the medium surface.
The blackout phase explained
The blackout phase — covering the sown tray for 3–4 days — is the most misunderstood step, and the one most beginners skip.
Here is what it does:
- Drives even germination. The enclosed humid environment keeps temperature and moisture consistent across the whole tray, so seeds germinate together rather than in patches.
- Builds root pressure. The slight weight and darkness signal the seedling to push roots downward into the medium and shoot the hypocotyl (stem) upward fast. This produces dense, upright stems instead of scattered floppy sprouts.
- Produces the etiolation effect intentionally. In the dark, seedlings stretch vertically. This is controlled etiolation — you want the stem to elongate in the dark, then green up rapidly once it hits light. The result is tall, vivid greens with crisp texture.
What happens without it: Patchy germination, uneven stem height, weak root grip, and a higher mold risk from moisture trapped between seed clusters at different stages.
Remove the cover when stems are 2–3 cm (0.75–1 in) tall with just the tips still yellow-white. They will green up within 6–12 hours in light.
Light phase: after the cover comes off
After the blackout phase, microgreens need 12–16 hours of light per day.
Windowsill: A bright south- or east-facing window works from late spring to early autumn in most climates. In winter, or in rooms with limited natural light, window light alone produces leggy, pale, slow-developing trays.
LED grow light: The reliable option year-round. Position a full-spectrum LED bar 10–20 cm (4–8 in) above the tray on a timer set to 12–16 hours on, 8–12 hours off. Distance matters — too far away and the stems stretch toward the light; too close and the tips can bleach.
Rotate the tray 180° each day if using a windowsill. Microgreens will lean toward the light aggressively, and rotation keeps them growing straight.
Watering: bottom vs top
Bottom watering is the correct method after the cover is removed. Pour 1–2 cm (0.5 in) of water into the lower solid tray. The medium wicks it up from below. The seed surface and stems stay dry, which is the single most effective mold prevention measure.
Top watering — pouring or misting water directly onto growing seedlings — wets the stems and cotyledon surfaces. This creates the humid surface environment mold needs. It is acceptable during the initial misting at sowing time and during the blackout phase (gentle mist only), but should stop the moment the cover is removed.
How often to bottom water: check the tray once or twice per day. If the medium surface looks dry and light-coloured, add water to the lower tray. In a warm room or under a grow light, this will be once per day. In a cool room, every other day is often enough.
Harvest timing
Harvest at the cotyledon stage — when the first pair of seed leaves is fully open and vivid green, but before the first true leaf (the second set of leaves that looks plant-specific) appears. At this stage the greens are at peak nutrition, peak texture, and peak flavour.
| Variety | Ready in | Visual cue |
|---|---|---|
| Radish | 6–9 days | Cotyledons open, vivid pink-tinged stems |
| Broccoli | 7–10 days | Cotyledons open, deep green, dense |
| Kale / cabbage | 7–10 days | Same as broccoli |
| Sunflower | 10–14 days | Cotyledons open, seed husks dropped or easily removed |
| Pea shoots | 10–14 days | 8–12 cm (3–5 in) tall, crisp, curling tendrils forming |
How to harvest: Hold the stems gently with one hand and cut just above the medium surface with sharp scissors. A single clean cut is faster and cleaner than multiple passes. Do not pull — pulling brings medium particles into the harvest and can disturb ungerminated seeds in the same tray.
After harvest: Rinse gently under cool water, shake dry, and store loosely in a sealed container in the fridge. Eat within 4–5 days for best texture and flavour. Microgreens do not regrow after a single cut — compost the spent tray and start fresh.
Preventing mold
Mold — white, fuzzy, and appearing at the base of stems or on the growing medium — is the most common reason microgreen trays fail. It is caused by excess moisture and stagnant air, not by contaminated seeds.
How to prevent it every time:
- Bottom water only after the cover is removed. This is the most impactful change you can make.
- Do not oversow. Seed density that is too high creates dense humid pockets between stems. Follow the recommended density for each variety.
- Airflow. Place trays somewhere with gentle air movement — near an open window, or with a small fan on low nearby. Still, closed environments (like a bathroom with no ventilation) increase mold risk significantly.
- Do not let water sit in the lower tray. Drain any unabsorbed water after 30 minutes.
- Use clean trays. Between crops, wash trays with hot soapy water and let them dry fully. Mold from a previous tray can seed the next one.
If you see white fuzz: Check whether it is mold or root hairs. Root hairs are fine, white, and appear directly on the hypocotyl (stem) — they look almost like white fuzz but are attached to the plant. Mold is on the growing medium surface and has a cottony, spreading texture. Root hairs are normal and harmless; mold is not. If it is mold, increase airflow and switch to bottom watering immediately. In severe cases, the tray may not be recoverable — compost it and start fresh with better airflow.
Common mistakes
| Mistake | What happens | Fix |
|---|---|---|
| Skipping the blackout phase | Patchy germination, weak stems | Cover for full 3–4 days |
| Top-watering after cover is removed | Mold on stem bases | Switch to bottom watering only |
| Overcrowding seeds | Mold pockets, uneven germination | Follow density guidelines per variety |
| Harvesting too late | Bitter flavour, fibrous texture | Harvest at cotyledon stage, not first true leaf |
| Not soaking large seeds | Uneven or failed germination | Soak sunflower 8–12 hrs, pea 6–8 hrs |
| Too little light after blackout | Leggy, pale, weak greens | Add LED bar or move to brighter window |
| Cold growing location (below 15°C / 59°F) | Slow germination, more mold risk | Keep tray at 18–24°C (65–75°F) |
| Reusing unwashed trays | Mold from previous crop contaminates new one | Wash and dry trays between every crop |
Watch: How to grow microgreens at home
This video gives a practical visual walkthrough of the full process — from tray setup and seed sowing to the blackout phase and final harvest. It pairs well with the step-by-step section above.
Related guides
Growing microgreens is the gateway to a wider world of fast indoor edibles. Once you have a few successful trays behind you, these are the logical next crops to try indoors:
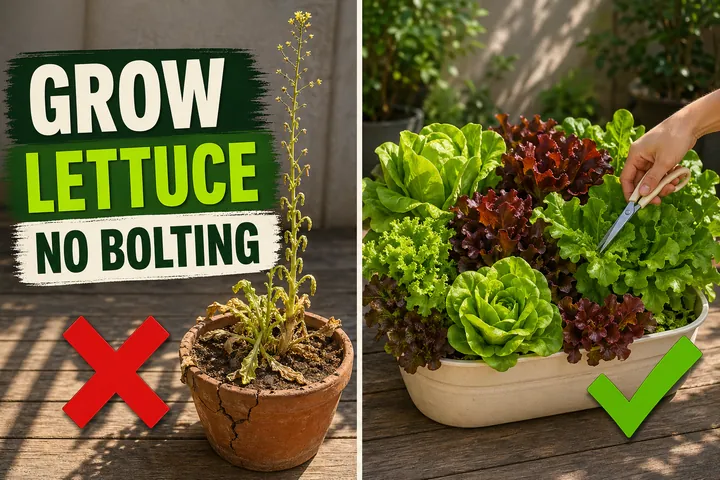
- How to grow lettuce in containers — The cut-and-come-again method that works on any patio or balcony.
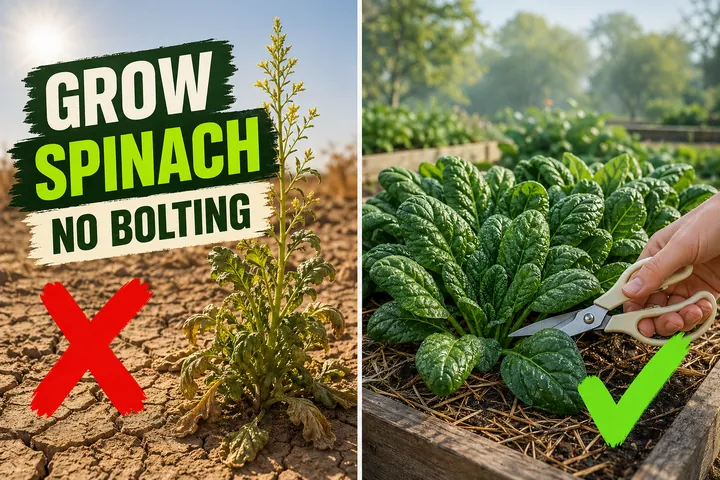
- How to grow spinach — Cool-season greens that follow the same light and watering logic as microgreens, scaled up.
- How to grow basil indoors — The most useful herb to grow under the same LED bar you use for your microgreens trays.
You can also use the Tazart plant care app to set watering reminders for your microgreens trays — helpful when you have multiple trays at different stages.
FAQ
How long do microgreens take to grow at home?
Most common varieties are ready to harvest in 10–14 days from sowing. Fast varieties like radish and broccoli are often ready in 7–10 days. Slower varieties like sunflower and pea shoots take 10–14 days. The timeline splits into two phases: blackout (dark, germination) for the first 3–4 days, then light phase until harvest at the cotyledon or first true-leaf stage.
Do microgreens need a blackout phase?
Yes. Covering the tray for the first 3–4 days after sowing — with an inverted tray or a breathable cloth — creates gentle pressure that pushes roots into the medium, drives germination evenly, and produces thick upright stems rather than leggy scattered sprouts. Without the blackout phase, germination is patchy and stems are weak. Remove the cover once most seeds have germinated and stems are 2–3 cm (0.75–1 in) tall.
How do I stop microgreens from going moldy?
Three things prevent mold: (1) bottom-watering only — pouring water into the lower tray and letting the medium wick it up keeps seed surfaces dry; (2) adequate airflow — even a gentle fan or a cracked window near the tray makes a real difference; (3) correct seed density — overcrowding creates humid stagnant pockets where mold thrives. If mold appears as white fuzzy patches, check that you are not top-watering and reduce seed density in your next tray.
Can I grow microgreens without soil?
Yes. Jute or hemp grow mats, coconut coir, and hydroponic pads all work well. The hydroponic method uses a shallow tray lined with a damp grow mat — no soil at all. It reduces mold risk, makes cleanup easier, and works for most fast-germinating varieties like radish, broccoli, and cabbage. Larger seeds like sunflower and pea shoots do slightly better in a thin layer of soil or coir because their roots grip better.
When should I harvest microgreens?
Harvest at the cotyledon stage — when the first pair of seed leaves is fully open and vivid green but before the first true leaf appears. This is usually 10–14 days after sowing for most varieties. Use sharp scissors to cut just above the medium surface. Do not pull — pulling disturbs remaining seedlings and brings medium residue onto the greens. Rinse gently before eating and eat within 4–5 days stored in a sealed container in the fridge.
How much light do microgreens need during the light phase?
After the blackout phase, microgreens need 12–16 hours of light per day. A bright south- or east-facing windowsill works in summer, but supplemental LED light is more reliable year-round. Position a full-spectrum LED bar 10–20 cm (4–8 in) above the tray on a 12-hour timer. Without enough light, stems go pale, etiolate (stretch toward the light), and the trays develop a weak, spindly texture rather than the dense vivid greens you want.
Do large seeds like sunflower and peas need to be soaked before planting?
Yes — larger, hard-coated seeds germinate faster and more evenly with a pre-soak. Soak sunflower seeds for 8–12 hours and pea seeds for 6–8 hours in cool water before sowing. Drain and rinse before spreading. Small seeds like broccoli, radish, and cabbage do not need soaking — soaking them causes clumping and makes even distribution harder.
Sources
- Penn State Extension — Microgreens: A Guide to Growing Nutrient-Packed Greens
- University of Minnesota Extension — Growing Microgreens at Home
- Cornell Cooperative Extension — Specialty Crops: Microgreens Production
- USDA Agricultural Marketing Service — Sanitation and Food Safety for Specialty Crop Producers
Highly recommended
The supplies that make this guide work
Tazart is an Amazon Associate — we earn from qualifying purchases at no extra cost to you. Thank you for helping us keep these guides free.
Frequently asked questions
How long do microgreens take to grow at home?
Most common varieties are ready to harvest in 10–14 days from sowing. Fast varieties like radish and broccoli are often ready in 7–10 days. Slower varieties like sunflower and pea shoots take 10–14 days. The timeline splits into two phases: blackout (dark, germination) for the first 3–4 days, then light phase until harvest at the cotyledon or first true-leaf stage.
Do microgreens need a blackout phase?
Yes. Covering the tray for the first 3–4 days after sowing — with an inverted tray or a breathable cloth — creates gentle pressure that pushes roots into the medium, drives germination evenly, and produces thick upright stems rather than leggy scattered sprouts. Without the blackout phase, germination is patchy and stems are weak. Remove the cover once most seeds have germinated and stems are 2–3 cm (0.75–1 in) tall.
How do I stop microgreens from going moldy?
Three things prevent mold: (1) bottom-watering only — pouring water into the lower tray and letting the medium wick it up keeps seed surfaces dry; (2) adequate airflow — even a gentle fan or a cracked window near the tray makes a real difference; (3) correct seed density — overcrowding creates humid stagnant pockets where mold thrives. If mold appears as white fuzzy patches, check that you are not top-watering and reduce seed density in your next tray.
Can I grow microgreens without soil?
Yes. Jute or hemp grow mats, coconut coir, and hydroponic pads all work well. The hydroponic method uses a shallow tray lined with a damp grow mat — no soil at all. It reduces mold risk, makes cleanup easier, and works for most fast-germinating varieties like radish, broccoli, and cabbage. Larger seeds like sunflower and pea shoots do slightly better in a thin layer of soil or coir because their roots grip better.
When should I harvest microgreens?
Harvest at the cotyledon stage — when the first pair of seed leaves is fully open and vivid green but before the first true leaf appears. This is usually 10–14 days after sowing for most varieties. Use sharp scissors to cut just above the medium surface. Do not pull — pulling disturbs remaining seedlings and brings medium residue onto the greens. Rinse gently before eating and eat within 4–5 days stored in a sealed container in the fridge.
How much light do microgreens need during the light phase?
After the blackout phase, microgreens need 12–16 hours of light per day. A bright south- or east-facing windowsill works in summer, but supplemental LED light is more reliable year-round. Position a full-spectrum LED bar 10–20 cm (4–8 in) above the tray on a 12-hour timer. Without enough light, stems go pale, etiolate (stretch toward the light), and the trays develop a weak, spindly texture rather than the dense vivid greens you want.
Do large seeds like sunflower and peas need to be soaked before planting?
Yes — larger, hard-coated seeds germinate faster and more evenly with a pre-soak. Soak sunflower seeds for 8–12 hours and pea seeds for 6–8 hours in cool water before sowing. Drain and rinse before spreading. Small seeds like broccoli, radish, and cabbage do not need soaking — soaking them causes clumping and makes even distribution harder.