Edible
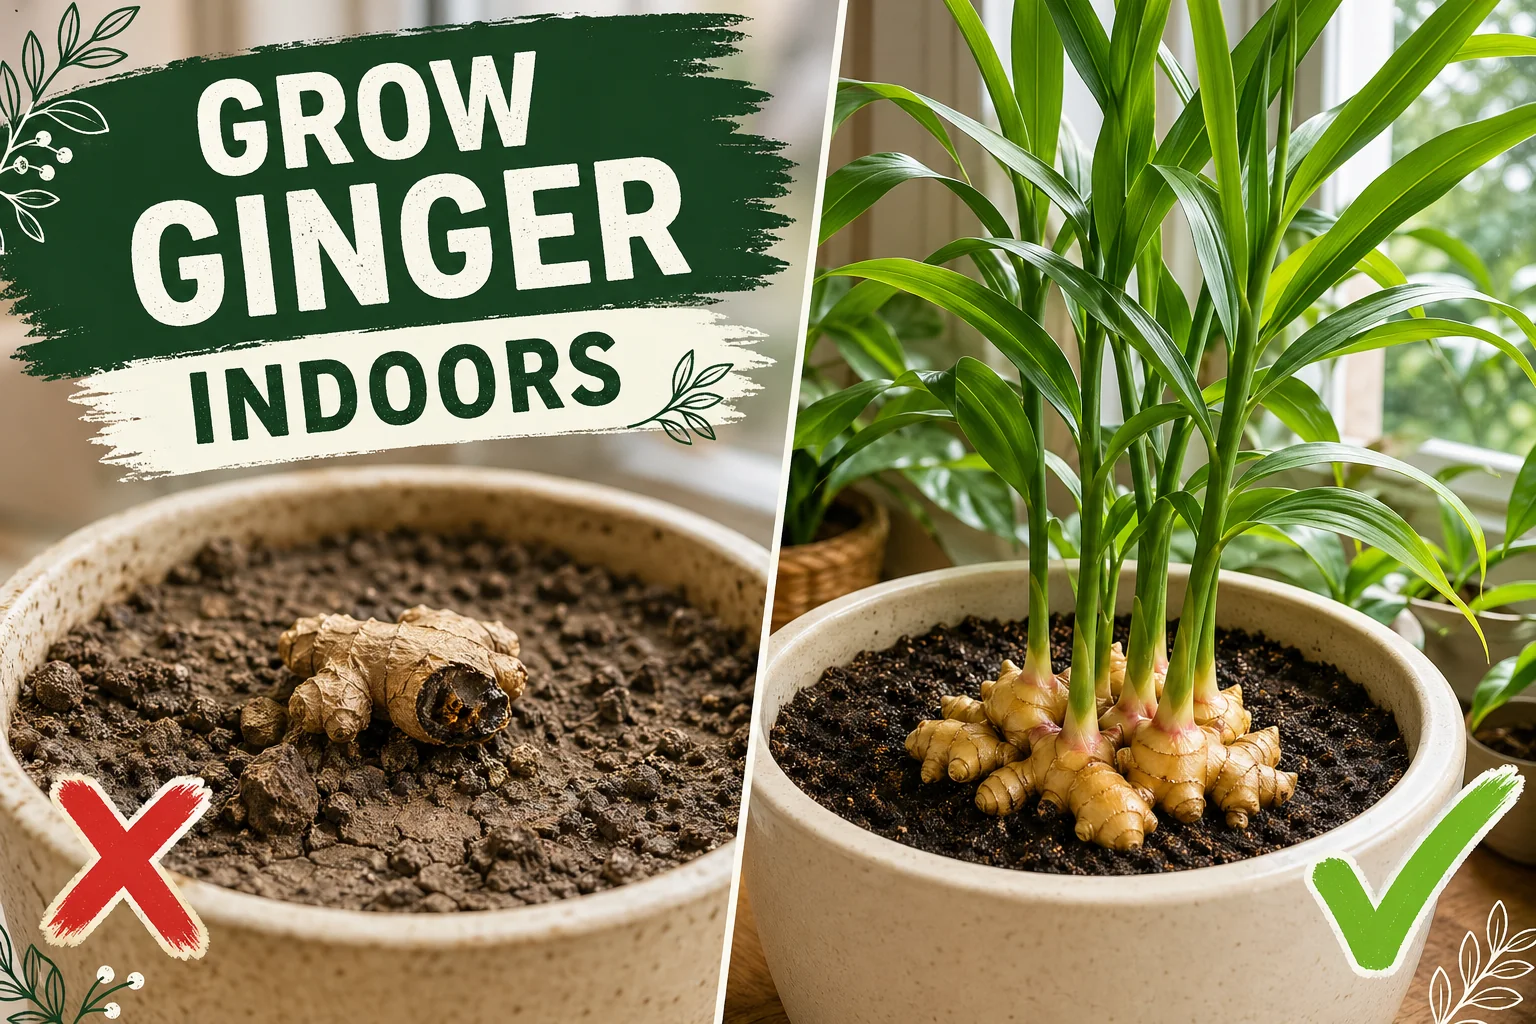
How to Grow Ginger Indoors (Full Step-by-Step Guide)
Grow fresh ginger indoors from a single organic rhizome. Covers sourcing, pre-sprouting, pot choice, soil, light, warmth, humidity, watering, and harvest timing.
On this page
- Quick answer
- Why most indoor ginger fails before it starts
- Step 1: Source the right rhizome
- Step 2: Pre-sprouting — the warm water soak
- Step 3: Choose the right pot
- Step 4: Prepare the soil mix
- Step 5: Planting depth and orientation
- Step 6: Light requirements
- Step 7: Temperature — warmth is non-negotiable
- Step 8: Humidity — the detail most guides skip
- Step 9: Watering — consistent moisture without waterlogging
- Step 10: Feeding
- Watch: How to Grow Ginger Indoors
- Harvest timing: young vs mature ginger
- Common mistakes checklist
- Troubleshooting table
- FAQs
- Related guides on Tazart
Watch the visual walkthrough
How to Grow Ginger in Containers And Get a Huge Harvest
Get free seeds, shipping, and returns: https://www.epicgardening.com/greenhouse/ Learn more: ...
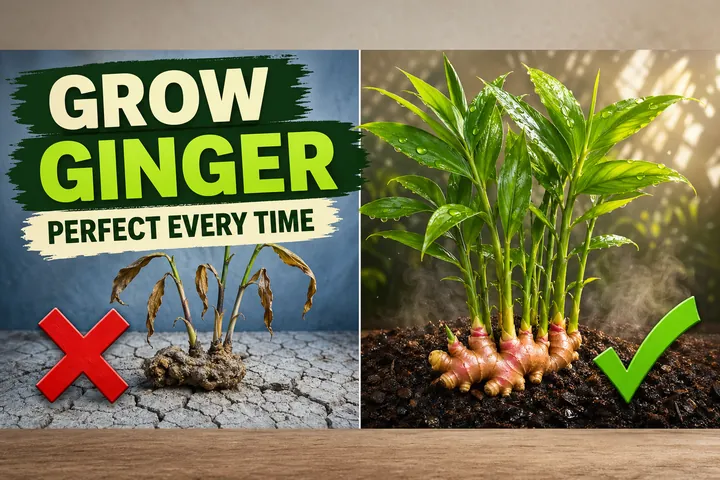
Ginger (Zingiber officinale) is one of the most rewarding edible plants you can grow indoors — and one that most people give up on after the first failed rhizome. The failure almost always comes down to two things: buying the wrong rhizome (conventional supermarket ginger is routinely treated with sprout inhibitor) and planting it in the wrong pot (deep and round instead of wide and shallow).
Get those two things right and indoor ginger is straightforward. This guide covers every step from sourcing a rhizome that will actually grow to harvesting young or mature roots — all indoors, all year.
Quick answer
Start with a certified organic ginger rhizome with visible eye buds. Soak it in warm water for a few hours, then plant it 2.5-5 cm (1-2 in) deep with the buds facing up in a wide shallow pot (at least 30 cm / 12 in wide) of loose, well-draining potting mix. Place in bright indirect light at 24-29°C (75-85°F), maintain high humidity with a pebble tray or misting, water consistently to keep the soil moist but not wet, and feed monthly with a balanced liquid fertiliser. Harvest young ginger at 4-6 months or mature ginger at 8-10 months when the leaves yellow and die back.
Why most indoor ginger fails before it starts
The single biggest mistake is buying ginger at a conventional grocery store and planting it. That root has almost certainly been treated with a sprout inhibitor — a chemical applied to supermarket ginger worldwide to extend shelf life and prevent it from sprouting on the shelf. No amount of soaking, warm soil, or patience will make a treated rhizome sprout reliably. It will simply sit in the soil and eventually rot.
The fix is simple: buy certified organic ginger from a grocery store or garden supplier, or buy rhizomes labelled specifically for planting. Organic ginger is required by law to be free of synthetic growth regulators, which means those eye buds are ready to wake up.
Step 1: Source the right rhizome
Look for a plump, firm organic ginger rhizome with several eye buds — small, rounded, slightly lighter-coloured nubs that look a bit like the eyes on a potato. More buds mean more shoots, which means a bushier plant and a bigger harvest.
Avoid:
- Shrivelled, soft, or mouldy pieces (low viability)
- Conventional supermarket ginger (likely treated)
- Rhizomes with no visible buds (too immature or dormant)
A piece 5-8 cm (2-3 in) long with two or three good buds is plenty to start a productive pot. You can use a larger section — just make sure it has multiple buds and no rot.
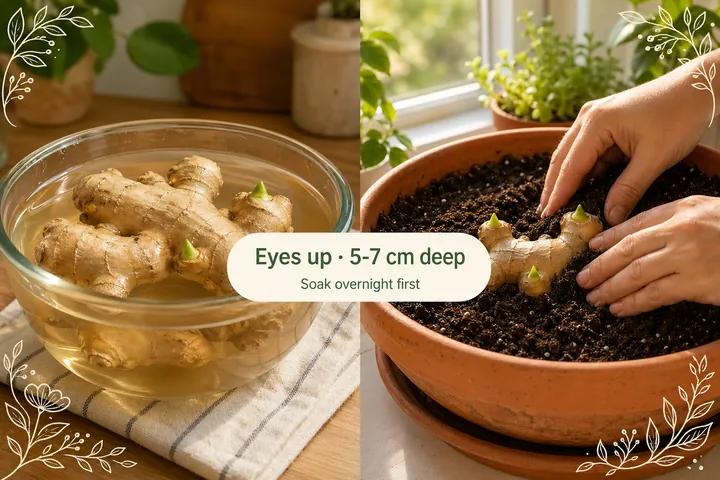
Step 2: Pre-sprouting — the warm water soak
Before planting, soak the rhizome in room-temperature water for 2-8 hours (some growers soak overnight, up to 12 hours). This rehydrates the surface, softens the skin slightly, and wakes up the eye buds. You will often see the tips of the buds turn a brighter green after soaking.
For better results, place the soaked rhizome on moist paper towel or coco coir in a warm spot (propagator, heat mat, or top of a fridge) until the buds show 5-10 mm (0.25 in) of green growth before planting. This shortens time to visible shoots by 1-2 weeks and confirms viability. The soak alone is the minimum; the warm tray method is better in cooler spaces.
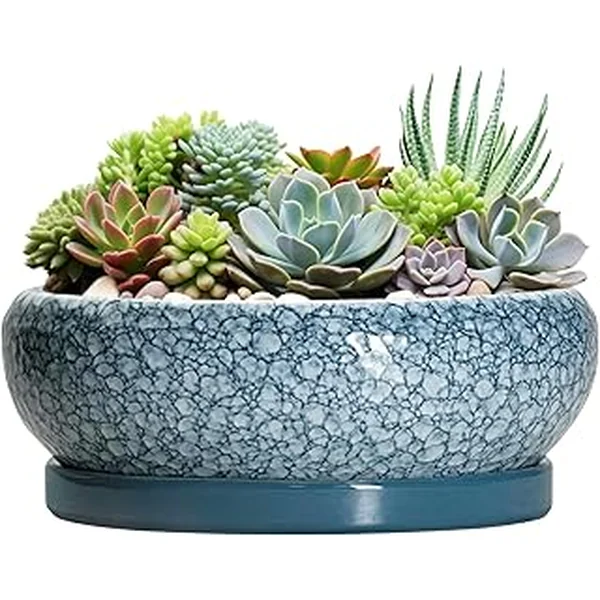
Step 3: Choose the right pot
This is where most growers go wrong: they use whatever pot is handy — usually a standard round 15 cm (6 in) or 20 cm (8 in) pot that is taller than it is wide. Ginger rhizomes spread horizontally in a fan pattern just under the soil surface. A deep narrow pot stops that spread immediately, which limits the harvest and can cause the rhizomes to rot where they are cramped.
Use a pot that is:
- Wide: at least 30 cm (12 in) across, preferably 40 cm (16 in) for a good-sized harvest
- Shallow: 20-25 cm (8-10 in) deep is enough — ginger does not send roots down far
- Drainage: must have drainage holes. No drainage = rhizome rot
Good options include wide terracotta planters, rectangular window boxes, or shallow plastic growing trays with drainage holes. Terracotta is ideal because it breathes, which helps prevent overwatering — ginger’s main killer.
Step 4: Prepare the soil mix
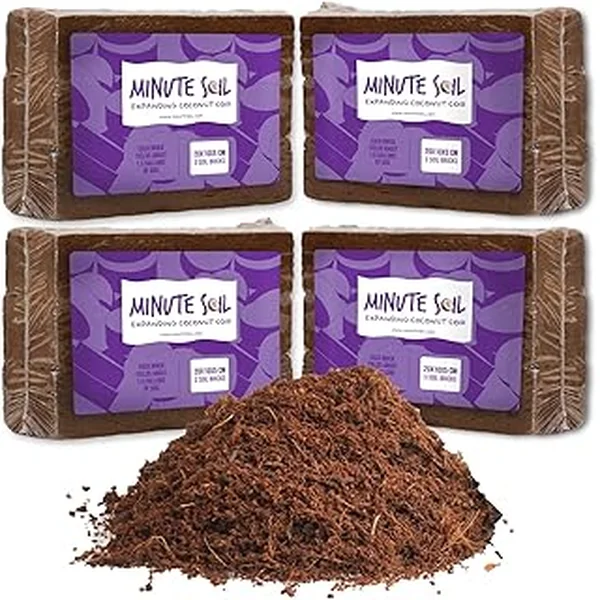
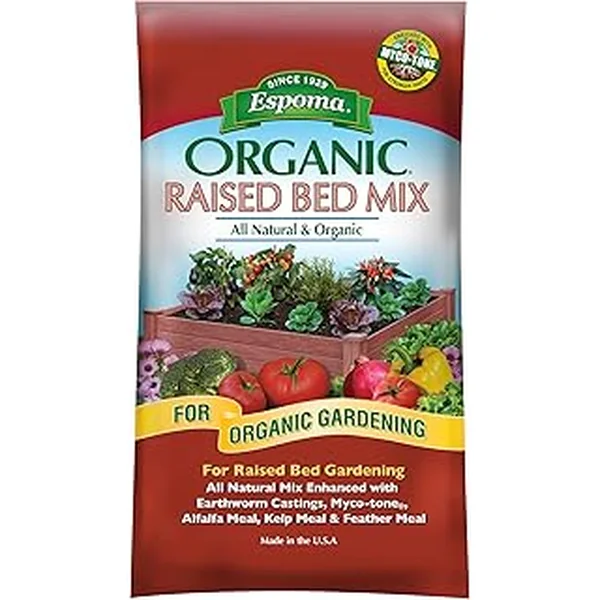
A good indoor mix: 60% peat-free potting compost + 20% perlite + 20% coco coir. The perlite keeps the mix airy; the coco coir holds moisture without getting soggy. The soil needs to be loose, moisture-retentive, and free-draining. Avoid straight garden soil — it compacts in containers and often carries pathogens that attack rhizomes.
Step 5: Planting depth and orientation
Fill the pot about two-thirds full with your prepared mix. Lay the rhizome flat on the surface with the eye buds pointing upward. Cover with 2.5-5 cm (1-2 in) of soil. Do not bury deeper — buds struggle to push through thick soil, and the extra depth keeps the rhizome in cooler, damper conditions where rot risk is higher.
Water gently after planting to settle the soil. Do not water heavily until you see the first shoots — the dormant rhizome does not need much moisture yet, and overly wet soil before growth starts is a rot risk.
Step 6: Light requirements
Place the pot in bright indirect light. The ideal spot is:
- Near an east or west-facing window (gentle morning or afternoon sun)
- A metre or two back from a south-facing window (bright ambient light without direct midday glare)
Three to five hours of soft morning sun is fine, but avoid harsh direct afternoon sun — it scorches leaf tips and stresses the plant. If your brightest windowsill is dim (north-facing room or overcast winters), a low-intensity LED grow light on a 10-12 hour timer will outperform it easily.
Step 7: Temperature — warmth is non-negotiable
Ginger is a tropical plant and warmth is its most critical requirement. Target:
- Daytime: 24-29°C (75-85°F)
- Nighttime minimum: 18°C (65°F)
- Absolute cold limit: do not let the root zone drop below 15°C (60°F)
Keep the pot away from cold windowsills in winter and air conditioning vents in summer. If your home runs cool, a seedling heat mat under the pot is particularly useful during the sprouting phase. Growth stalls below 15°C (60°F) and sustained cold leads to rot.
Step 8: Humidity — the detail most guides skip
Most indoor growing guides mention warmth and light, but skip humidity. Ginger needs 50-70% relative humidity — closer to a tropical rainforest than a typical heated or air-conditioned home, which usually sits at 30-50%.
Practical ways to raise humidity around the pot:
- Pebble tray: Fill a wide tray with pebbles, add water up to (but not touching) the bottom of the pot. As the water evaporates it raises the local humidity around the plant. Top it up every few days.
- Misting: Lightly mist the leaves with room-temperature water once or twice a day. Do this in the morning so leaves dry before evening — persistent wet foliage can encourage fungal issues.
- Grouping plants: Placing the ginger near other moisture-loving plants raises the collective local humidity.
- Humidifier: A small ultrasonic humidifier near the plant is the most effective and lowest-maintenance option if you are growing several tropical plants.
Low humidity shows as brown, crispy leaf tips and slow growth. If you are seeing that, raising humidity will make a noticeable difference within a week.
Step 9: Watering — consistent moisture without waterlogging
The golden rule: keep the soil evenly moist, never saturated. Water when the top 2-3 cm (1 in) of soil feels slightly dry to the touch. Pour slowly until water flows freely from the drainage holes, then empty the saucer.
In warm active growth (spring through summer): typically every 2-4 days. In slower periods or winter: much less — just enough to prevent the soil drying out completely.
Signs of overwatering: yellow lower leaves, soft rhizomes, musty smell from soil. Signs of underwatering: drooping or curling leaves, dry crumbly soil, slow growth.
A soil moisture meter removes the guesswork if you are unsure.
Step 10: Feeding
Ginger is a moderate feeder. Apply a balanced liquid fertiliser (such as 10-10-10 or similar) diluted to half strength once a month during the active growing season (spring through late summer). Once growth slows toward late summer and into autumn, stop feeding — the plant is beginning to wind down toward dormancy.
Avoid overfeeding. Too much nitrogen pushes leafy growth at the expense of rhizome development — you want the plant’s energy going into the root system, not just the canopy.
Watch: How to Grow Ginger Indoors
A visual walkthrough covering rhizome selection, potting, and early care for indoor ginger — pairs well with the steps above.
Harvest timing: young vs mature ginger
You have two windows to harvest, and each gives you a different product.
| Young ginger (baby ginger) | Mature ginger | |
|---|---|---|
| Timing | 4-6 months after planting | 8-10 months, when leaves yellow and die back |
| Appearance | Pink-tinged skin, thin and translucent | Thick beige-tan skin, woody |
| Flavour | Mild, fresh, lightly spicy | Stronger, more fibrous, classic ginger flavour |
| Peeling | Not needed | Peel before use |
| How to harvest | Brush soil aside, snap off a piece; leave the rest growing | Tip pot out, pull the full cluster, let it cure |
For young ginger: reach into the edge of the pot, locate a rhizome, and gently snap off a section. The plant keeps growing — this is a partial harvest. Do this 4-6 months in and you extend the productive season significantly.
For mature ginger: wait until the leaves yellow and die back naturally. Tip the pot out, shake off the soil, separate the rhizomes, and air-dry for 2-3 days before storing or using. Save a few pieces with good buds to replant for the next cycle.
Common mistakes checklist
- Using non-organic ginger — sprout inhibitor means it will not grow. Always organic.
- Planting in a deep round pot — ginger spreads sideways. Use a wide shallow container.
- Burying too deep — 2.5-5 cm (1-2 in) is the maximum. Deeper buries slow sprouting.
- Letting the soil dry out completely — ginger is not drought-tolerant. Consistent moisture matters.
- Ignoring humidity — brown leaf tips in an otherwise warm, bright spot is almost always a humidity problem.
- Placing in direct afternoon sun — bright indirect light only. Direct midday sun scorches and stresses.
- Overwatering before shoots appear — the dormant rhizome is rot-prone. Water lightly until you see green.
- Feeding in autumn/winter — the plant needs to wind down. Stop fertilising once growth slows.
Troubleshooting table
| Problem | Likely cause | Fix |
|---|---|---|
| Rhizome not sprouting after 4+ weeks | Sprout inhibitor (non-organic); soil too cold | Replace with organic rhizome; add heat mat |
| Yellow lower leaves | Overwatering or low light | Let soil dry slightly between waterings; improve light |
| Brown crispy leaf tips | Low humidity or direct sun | Add pebble tray / mist more; move from direct sun |
| Soft, rotting rhizome | Waterlogged soil, cold temps | Improve drainage; keep above 18°C (65°F) |
| Slow growth overall | Too cold, too dark, or low humidity | Raise temperature, add grow light, increase humidity |
| Leaves drooping or curling | Underwatering or too much direct sun | Water and move to indirect light |
FAQs
Can you grow ginger indoors? Yes — organic rhizome, wide shallow pot, warmth, and humidity are the four essentials. See the full FAQ answers in the frontmatter above.
How long does ginger take to grow indoors? First shoots appear within 2-4 weeks in warm soil (24°C / 75°F). Young ginger is harvestable at 4-6 months; mature ginger at 8-10 months.
Does indoor ginger flower? Occasionally. A flower spike is not a sign of stress and does not mean the rhizomes are ready to harvest.
Can I use supermarket ginger? Only certified organic supermarket ginger with visible buds has a reasonable chance of sprouting. Conventional supermarket ginger is almost always treated with sprout inhibitor.
What if my ginger goes dormant in winter? Normal. Reduce watering and stop feeding. The rhizomes are dormant underground. Resume normal care in spring and they will re-sprout. Dormancy is a good time to divide and replant fresh sections.
Related guides on Tazart
- How to Plant Ginger — step-by-step rhizome planting technique with depth and orientation detail
- Best Conditions for Ginger to Grow — temperature, humidity, soil pH, and light data for both indoor and outdoor ginger
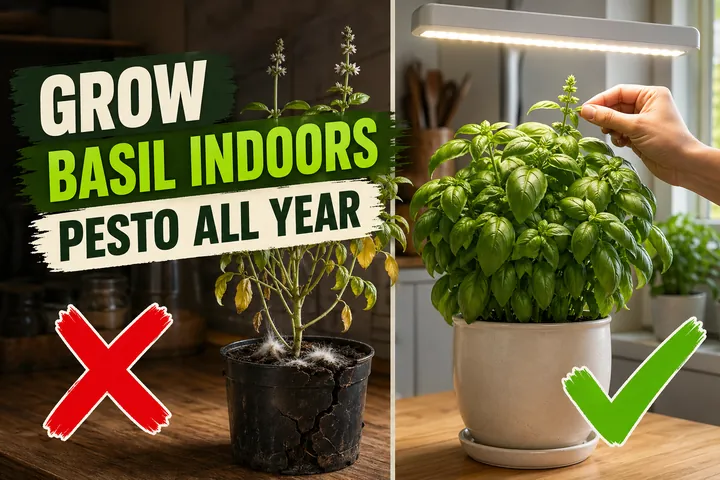
- How to Grow Basil Indoors — another warm edible herb that thrives in the same bright indirect light conditions
Highly recommended
The supplies that make this guide work
Tazart is an Amazon Associate — we earn from qualifying purchases at no extra cost to you. Thank you for helping us keep these guides free.
Frequently asked questions
Can you really grow ginger indoors?
Yes. Ginger (Zingiber officinale) is a tropical plant that naturally grows under a forest canopy — warm, humid, and sheltered from direct sun. A home interior can replicate those conditions well. The key requirements are a rhizome that has not been treated with sprout inhibitor (always buy certified organic), a wide shallow pot, consistently warm temperatures above 21°C (70°F), and high humidity. Given those conditions, ginger will sprout within 2-4 weeks and grow steadily through the season.
Why is my ginger rhizome not sprouting?
The most common reason is that the rhizome was treated with a sprout inhibitor, which is standard practice for conventional supermarket ginger. Even soaking it in warm water will not reverse the treatment — it simply will not grow. Always start with certified organic ginger or rhizomes sold specifically for planting. A second cause is low soil temperature: ginger needs the root zone to stay at least 21°C (70°F). If the pot sits on a cold tile floor or in a draughty spot, germination stalls. A heat mat under the pot can fix this.
What size and shape pot does ginger need?
Wide and shallow is the rule. Ginger rhizomes grow horizontally, spreading outward in a fan-like network just below the soil surface. A deep narrow pot starves them of lateral space. Aim for a container at least 30-40 cm (12-16 in) wide and 20-25 cm (8-10 in) deep. A single large rhizome planted in spring will fill a 30 cm (12 in) wide pot by harvest time. If you want a bigger yield, start in a 40 cm (16 in) pot or a wide rectangular planter.
Does indoor ginger need direct sunlight?
No — direct harsh sun is one of the fastest ways to stress a ginger plant indoors. Ginger evolved under forest canopies and wants bright indirect light: a spot near an east or west-facing window, or a few feet back from a south-facing window. Three to five hours of gentle morning sun is ideal. Under direct afternoon sun the leaf tips scorch, the pseudostems lean away, and the plant stops pushing new growth. If your space is dim, a low-wattage LED grow light on a 10-12 hour timer works well.
How warm does indoor ginger need to be?
Ginger's sweet spot is 24-29°C (75-85°F) during the day and no lower than 18°C (65°F) at night. Below 15°C (60°F) growth slows dramatically. Below 10°C (50°F) the rhizomes can rot. Keep the pot away from air conditioning vents, cold windowsills in winter, and draughty spots near external doors. If your home runs cool, placing the pot on a seedling heat mat set to 24°C (75°F) makes a significant difference, especially in the early sprouting phase.
How do I raise humidity for indoor ginger?
Ginger prefers 50-70% relative humidity — roughly double what most heated or air-conditioned homes maintain. Three practical methods: (1) Set the pot on a wide tray filled with pebbles and water — as the water evaporates it raises humidity around the plant without the roots sitting in water. (2) Mist the leaves lightly once or twice a day with room-temperature water. (3) Group the ginger with other moisture-loving plants, as plants collectively raise the local humidity around them. A small ultrasonic humidifier is the most effective option if you are growing several tropical plants.
When can I harvest indoor ginger?
You have two options. Young ginger (also called baby ginger) can be harvested 4-6 months after planting — it has pink-tinged skin, thin edible flesh, no need to peel, and a milder spicy flavour. Simply brush the soil aside at the pot edge, snap off a small piece of rhizome, and let the rest keep growing. Mature ginger is harvested after 8-10 months, once the leaves yellow and die back naturally. At that point, tip the pot out, pull the full rhizome cluster, dry the roots for a few days, and store them.
How often should I water indoor ginger?
Keep the soil consistently moist but never waterlogged. Water when the top 2-3 cm (1 in) of soil feels slightly dry — usually every 2-4 days in warm conditions, less often in winter or if growth has slowed. Always water slowly until it drains from the bottom, then let the pot drain fully before replacing it on its tray. Soggy soil causes rhizome rot quickly, especially if temperatures drop. In winter, when the plant enters dormancy, cut watering back significantly — just enough to stop the soil from drying out completely.