Edible
How to Plant Ginger (Step-by-Step from Root to Harvest)
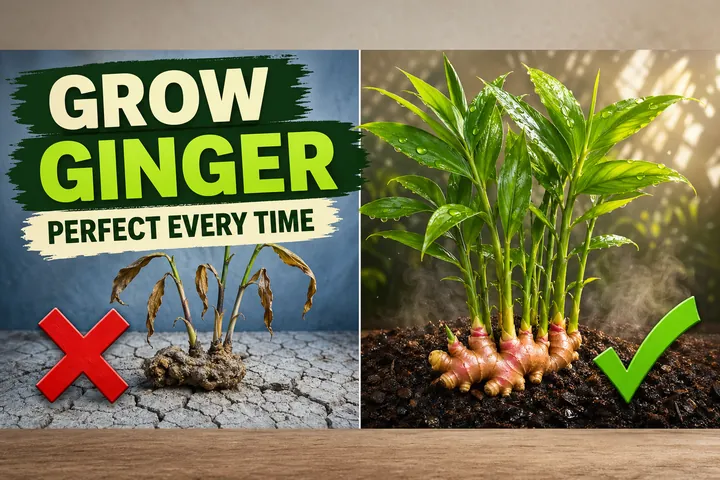
How to plant ginger: buy organic root with visible eyes, soak overnight, plant 2-4 inches deep eyes-up in a wide shallow pot. Harvest in 8-10 months.
On this page
Watch the visual walkthrough
How to Grow Ginger in Containers And Get a Huge Harvest
Get free seeds, shipping, and returns: https://www.epicgardening.com/greenhouse/ Learn more: ...
Planting ginger is one of the most satisfying things you can do with a kitchen counter find. Buy a good rhizome, give it a warm drink of water overnight, bury it eyes-up in airy soil, and 8-10 months later you’ll pull up a full clump of fresh, fragrant root. The steps are simple — but each one matters.
This guide covers every stage from choosing the right piece of ginger to pulling your harvest, including the container-versus-ground decision, the right soil mix, and the signals that tell you the root is ready to dig.
Quick answer
Buy a plump organic ginger rhizome with visible eyes. Soak it in lukewarm water overnight. Plant it eyes-up, 5-7 cm (2-3 inches) deep in a wide shallow pot or warm garden bed (zones 9+). Keep it warm, humid, and in bright filtered light. Harvest in 8-10 months when the foliage yellows.
Choose the right ginger rhizome
The single biggest factor in whether your ginger sprouts quickly or sits in the soil rotting is the rhizome you start with. You want:
- Plump and firm, not shrivelled, wrinkled, or soft
- Visible eyes — the small nubby protrusions on the surface from which shoots and roots emerge. At least two or three per piece.
- Organic, wherever possible. Conventionally grown supermarket ginger is often treated with a chemical sprout inhibitor to extend shelf life on the shelf. Organic ginger carries no inhibitor and sprouts readily. If you can only find conventional ginger, a long overnight soak usually neutralises residual inhibitors.
Look for ginger at Asian grocery stores, farmers markets, or online seed catalogues — these sources typically stock fresher, less-treated rhizomes than large-chain supermarkets. The piece should feel heavy for its size. A large rhizome with five or six eyes can be cut into sections (let the cut surfaces air-dry for 24 hours before planting) to produce multiple plants from a single root.
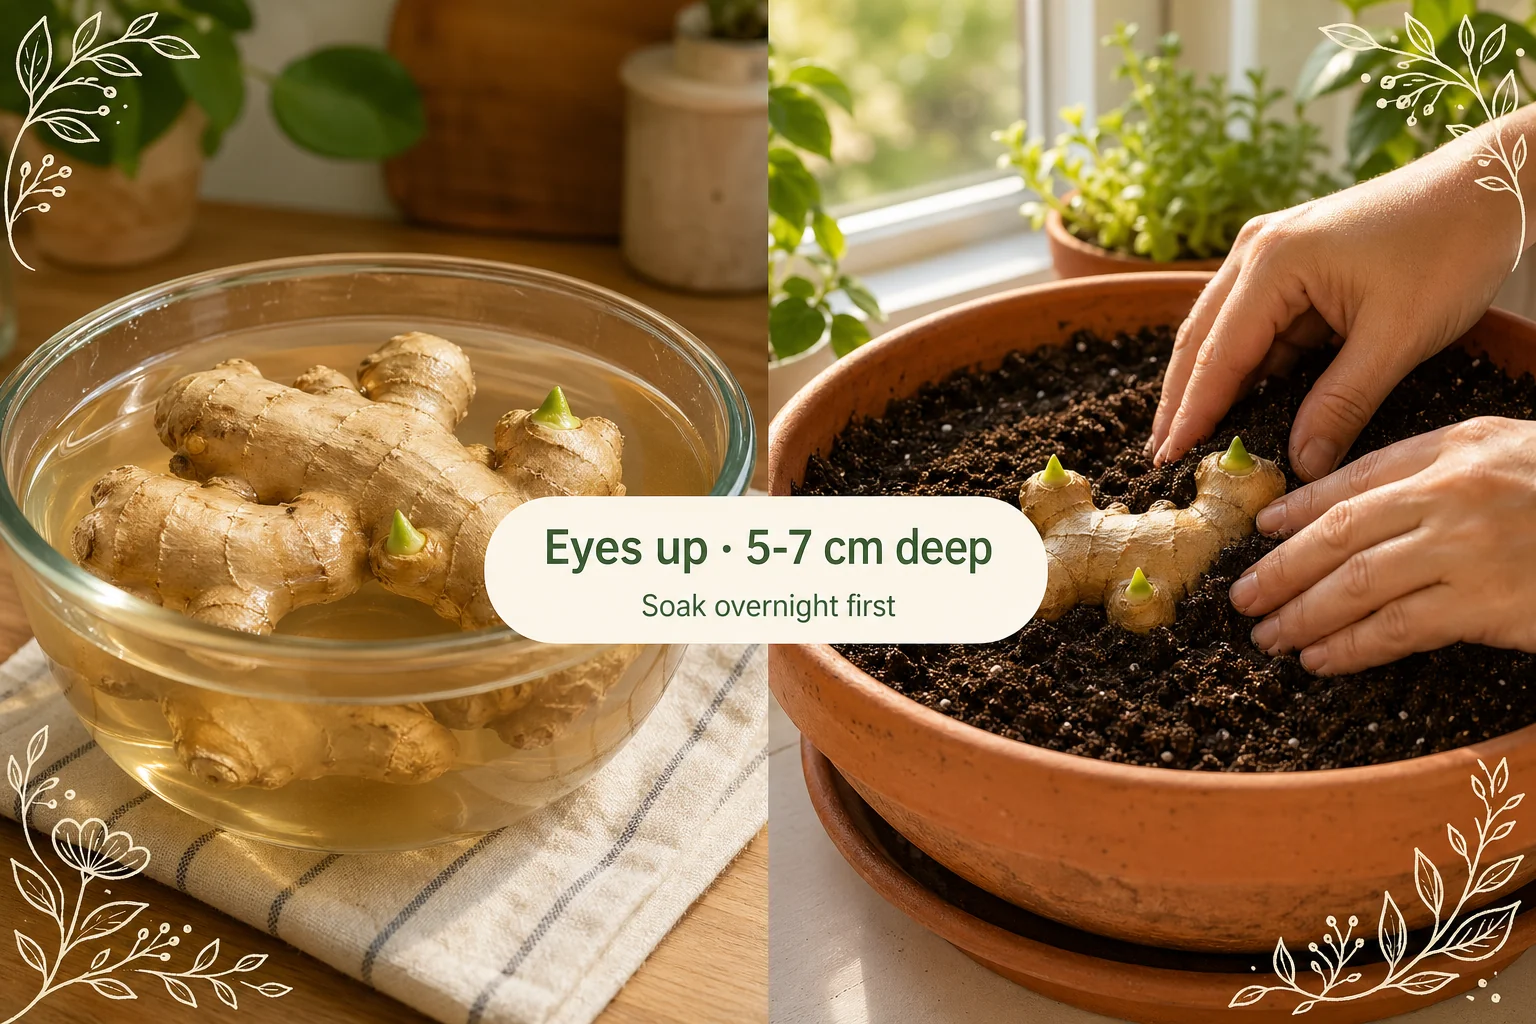
Soak overnight before planting
Don’t skip this step. Soaking the rhizome in lukewarm water — around 25°C (77°F) — for 8-12 hours before planting does three things:
- Rehydrates the root. Most fresh ginger has been refrigerated and shipped over long distances. The cells are dehydrated. A good soak plumps them back up.
- Dissolves sprout inhibitors. Even on organic roots, any surface treatment washes away.
- Wakes the eyes. You’ll often see the buds visibly swell after soaking — a sign the rhizome is ready to grow.
Use a bowl of plain lukewarm water. Do not add fertiliser, rooting hormone, or hydrogen peroxide — they are unnecessary and can irritate the tissue. After soaking, plant immediately.
Container vs ground planting
Growing in containers (zones 3-12)
A wide, shallow pot is the most reliable way to grow ginger anywhere in the world. Ginger rhizomes spread sideways through the top 5-15 cm of soil, so a pot needs to be wide more than deep.
Minimum pot size: 30 cm (12 in) wide, 20-25 cm (8-10 in) deep, with at least two drainage holes. Terracotta and glazed ceramic pots hold soil warmth better than thin plastic, which gives a meaningful advantage in cooler homes.
The container approach works in every climate zone because you can:
- Start indoors in late winter (January-March in the northern hemisphere)
- Move outdoors after the last frost for the warm summer months
- Bring back inside before the first autumn frost — and keep harvesting on schedule
Growing in the ground (zones 9-12)
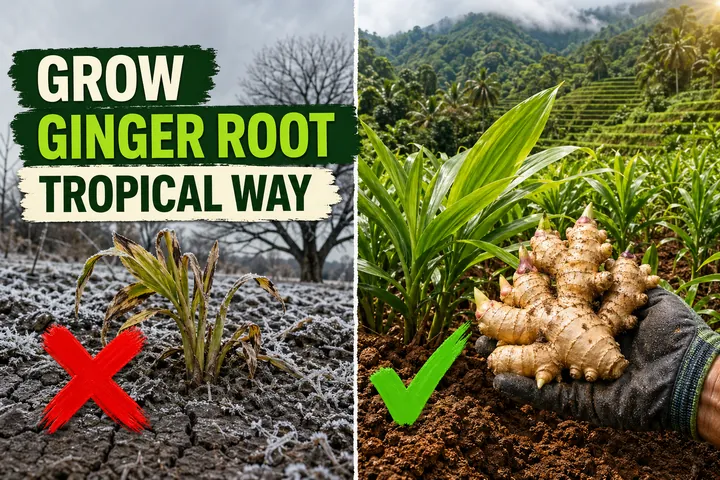
In USDA zones 9 and warmer — southern Florida, coastal and southern California, Hawaii, the Gulf Coast, and equivalent subtropical climates — ginger can go directly into a prepared garden bed and stay there year-round.
Prepare the bed by digging in a 10 cm (4 in) layer of well-rotted compost to loosen and enrich the top 20 cm of soil. Choose a spot with morning sun and afternoon shade — a position at the east side of a building, under a high tree canopy, or behind a shade structure works well. Full midday sun scorches the leaves in warm climates.
In zones 7-8, grow ginger as a summer annual in the ground: plant after the last frost, dig up the rhizomes by October before the first cold snap.
Soil mix: loose, free-draining, slightly acidic
Soil texture is more important for ginger than almost any other variable. The rhizomes need to push through the top layer of soil as they multiply, and they rot fast in dense, compacted, or waterlogged media.
The right mix:
- 60% premium tropical or peat-free potting mix
- 20% perlite or coarse horticultural sand
- 20% well-rotted compost or aged leaf mould
The result should crumble easily in your hand when squeezed — not pack into a ball. Target pH 5.5-6.5 (slightly acidic). A basic digital soil meter is worth the small cost: pH above 7.0 blocks nutrient uptake and stunts rhizome expansion.
If you use a pre-bagged “tropical plant mix,” check the label. Many are already close to the right texture. Avoid moisture-control or moisture-retaining mixes — those are designed to hold water, which is the opposite of what ginger needs.
Plant eyes-up at 5-7 cm depth
This step has two non-negotiables:
Eyes up. The growth buds must face upward. Planted eyes-down, the rhizome will eventually bend its shoots back toward the surface, but it wastes weeks and expends energy doing so. Orient the largest cluster of eyes upward; if eyes are spread around the rhizome, one flat side is usually smoother — that goes down.
Correct depth: 5-7 cm (2-3 inches). Too shallow (under 3 cm) and the rhizome dries out quickly and is exposed to temperature swings. Too deep (over 10 cm) and emergence is slow because the shoot has to push through a lot of cool, dense soil before reaching light.
Place the rhizome flat on a bed of potting mix, eyes facing up, then cover with 5-7 cm of the same mix. Firm gently — no need to pack it. Leave at least 5 cm between the rhizome and the pot wall so the spreading roots have lateral room.
Light and warmth
Ginger is a warm-climate understory plant. It evolved beneath the broken canopy of taller tropical trees, which means it wants bright filtered light, not full direct sun.
- Outdoors: Morning sun (east-facing beds or the sheltered east side of a building) with shade through the hottest afternoon hours. In zones 9+ a position under a high airy tree canopy is ideal.
- Indoors: An east-facing window is perfect. Alternatively, position the pot 60-90 cm (24-36 in) back from a south- or west-facing window. In low-light homes, a full-spectrum LED grow light 30-45 cm above the leaves on a 10-12 hour timer is a reliable substitute.
Soil temperature matters as much as air temperature. Ginger will not sprout reliably in soil below 20°C (68°F). In cool homes, a seedling heat mat under the pot brings the soil up to the right range within hours and can shave weeks off the time to first shoot.
Watering
The goal is consistently moist but never waterlogged soil. Ginger’s rhizomes rot fast in soggy conditions, especially in the early weeks before shoots appear.
Before sprouting: water just enough to keep the top 2-3 cm of soil barely moist. Err on the side of dryness — an unsprouted rhizome is more vulnerable to rot than drought.
After sprouting: water more freely. Check the top 2-3 cm of soil — when it starts to feel dry, water thoroughly until it drains from the holes. In warm weather this is typically every 3-5 days.
Approaching dormancy: when the leaves begin to yellow naturally at 8-10 months, reduce watering sharply. The plant is entering dormancy and drawing resources back into the rhizome. Continued heavy watering at this stage causes rot in the mature root you’ve spent months growing.
Always water at the base — not on the foliage. Wet leaves in the evening invite fungal disease.
Fertilizing
Ginger is a long-season crop and benefits from steady, moderate feeding across the growing season.
| Stage | Feed |
|---|---|
| Planting to first shoots | Nothing — rhizome has stored energy |
| Shoots to 30 cm tall | Begin monthly balanced organic liquid feed (5-5-5 or similar) |
| Mid-season (months 3-6) | Continue monthly — switch to a slightly lower-nitrogen feed |
| Months 7-8 | Reduce to once every 6-8 weeks; stop altogether as foliage yellows |
A dedicated tropical plant fertiliser or a balanced organic liquid feed both work well. Avoid synthetic high-nitrogen feeds in the second half of the season — nitrogen pushes leafy growth at the exact time you want the plant channelling energy into the underground rhizomes.
Compost tea or diluted liquid seaweed can supplement the regular feed and improve soil microbial activity, which helps rhizome expansion.
Harvest timing: read the foliage
Ginger does not need to be dug up and inspected to know if it’s ready. The plant tells you itself.
At 4-5 months: baby ginger is available. It’s thin-skinned, mild, almost fiber-free, and pale pink at the tips — the delicacy sold at Japanese restaurants and gourmet markets. Dig carefully at the edge of the clump with a fork, extract a few young rhizomes, and let the main plant continue growing.
At 8-10 months: the foliage naturally begins to yellow and die back. This is dormancy onset and the signal that the rhizomes have reached full size. Stop watering. Wait 1-2 weeks. Then:
- Tip the pot out (or use a garden fork to loosen the soil around the bed)
- Lift the full rhizome clump — it should fill the pot and feel dense and heavy
- Break apart the clump, brush off loose soil, and rinse
- Set aside 2-3 healthy pieces with visible eyes to replant immediately for next year’s crop
- Store the remainder in a cool, dry spot or freeze for long-term use
Mature ginger has the brown, papery outer skin and strong pungent flavour that matches store-bought root. The longer you wait within that 8-10 month window, the more fibre develops — some prefer to harvest slightly early for a more tender root.
Related reading
- Best conditions for ginger to grow — the full deep-dive on temperature, humidity, light, and soil requirements once your rhizome is in the ground.
- Where is ginger root grown — origins, top producer countries, and which climates support outdoor growing globally.
- How to grow mint — a fast-growing herb with similar moisture needs and partial-shade preferences that pairs well with a ginger setup.
- Track your ginger’s watering schedule, humidity reminders, and harvest countdown alongside all your other plants with the free Tazart plant care app.
Highly recommended
The supplies that make this guide work
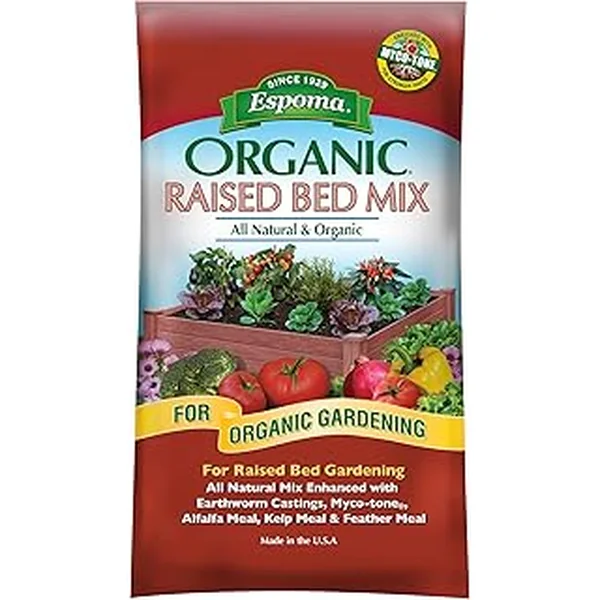
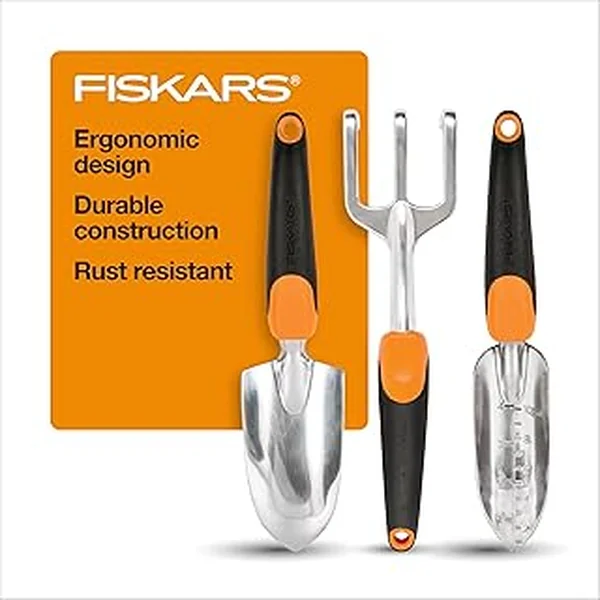
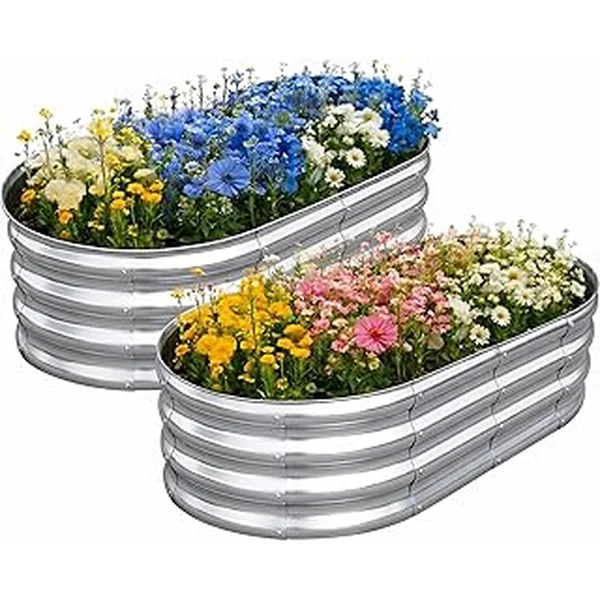

Tazart is an Amazon Associate — we earn from qualifying purchases at no extra cost to you. Thank you for helping us keep these guides free.
Frequently asked questions
How do you plant ginger root?
Buy a plump organic ginger rhizome with at least two or three visible growth buds (eyes). Soak it in lukewarm water overnight to hydrate it and accelerate sprouting. Fill a wide, shallow pot (at least 30 cm / 12 in across) with loose, free-draining potting mix. Lay the rhizome flat on the soil surface with the eyes pointing upward, then cover with 5-7 cm (2-3 in) of mix. Keep the soil warm (above 21°C / 70°F) and lightly moist. Shoots should emerge in 2-4 weeks.
Should you soak ginger before planting?
Yes — soaking ginger rhizomes in lukewarm water for 8-12 hours before planting significantly speeds sprouting. The soak rehydrates the rhizome after cold storage, softens any sprout-inhibitor coating applied to supermarket ginger, and encourages the eyes to swell and break dormancy. Some growers soak for up to 24 hours with good results. Do not use hot water — lukewarm (around 25°C / 77°F) is ideal.
How deep should ginger be planted?
Plant ginger rhizomes 5-7 cm (2-3 inches) deep, eyes facing up. In warm climates with light sandy soil you can go slightly shallower (4 cm / 1.5 in); in cooler conditions or heavier soil, aim for the full 5-7 cm. Deeper than 10 cm (4 in) slows sprouting because the rhizome has to push through too much cold soil. The eyes need to be covered — exposed rhizomes dry out quickly and may not sprout.
Can you plant ginger from the grocery store?
Yes, with one caveat: choose organic ginger wherever possible. Conventionally grown supermarket ginger is often treated with a sprout inhibitor to extend shelf life. Organic ginger has no inhibitor and sprouts readily. Look for a piece that is plump and firm (not shrivelled), with at least two visible nubby growth eyes. A soak overnight removes residual inhibitors from conventional roots if organic is unavailable.
What kind of pot is best for growing ginger?
A wide, shallow pot at least 30 cm (12 in) across and 20-25 cm (8-10 in) deep with free-draining holes. Ginger rhizomes spread sideways through the top 5-15 cm of soil, so width matters far more than depth. Terracotta and ceramic pots hold soil warmth better than thin plastic, which helps in cooler homes. Avoid pots without drainage — waterlogged soil rots ginger rhizomes before they ever sprout.
How long does ginger take to grow?
Ginger takes 8-10 months from planting to a full mature harvest. You can dig tender 'baby ginger' — mild, thin-skinned, fiber-free — at 4-5 months if you want an earlier taste, but the brown-skinned pungent root seen in supermarkets needs the full growing season. The clock starts when the rhizome is planted in warm soil, not when the first shoot appears above ground.
How do you know when ginger is ready to harvest?
The clearest signal is the foliage naturally yellowing and dying back, which happens at 8-10 months after planting. This is the plant going into dormancy and signalling that the rhizomes underground have reached their maximum size and pungency. Stop watering when the leaves yellow, wait one to two weeks for the soil to dry slightly, then tip the pot or dig the bed and pull up the full rhizome clump. Reserve a few healthy pieces with eyes to replant for next year.
Should ginger be planted eyes up or eyes down?
Always eyes up. The eyes (growth buds) are the points from which new shoots and roots emerge. Planted eyes-down, the rhizome wastes energy bending back toward the surface and sprouting is delayed by weeks. Laid flat with eyes pointing upward and covered with 5-7 cm of soil, the shoots emerge quickly and roots anchor downward naturally. If the rhizome has eyes on multiple sides, orient the largest cluster upward.