Houseplants
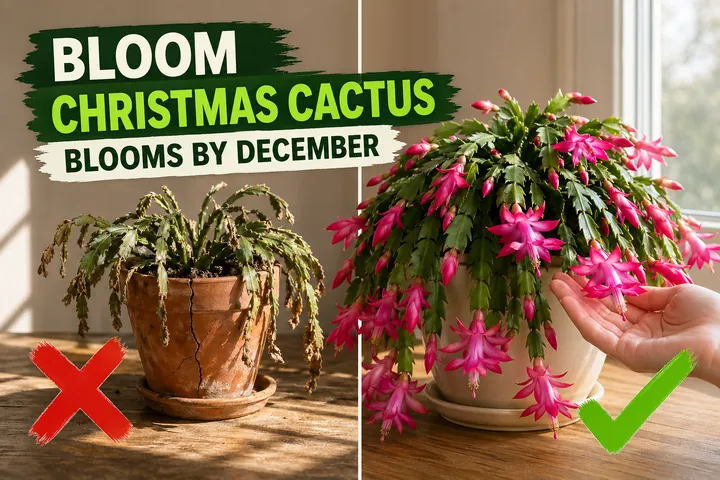
How to Propagate Christmas Cactus (3-Segment Cutting Guide)
Propagate Christmas cactus the easy way — twist off a 3-segment cutting, callus 2–3 days, root in damp cactus mix, and you'll have new plants in 4–6 weeks.
On this page
- Quick answer
- Why Christmas cactus is one of the easiest plants to propagate
- When to propagate a Christmas cactus
- What you’ll need
- Method 1: Soil propagation (most reliable)
- Method 2: Water propagation (for visible roots)
- Watch: How to propagate a Christmas cactus
- Common mistakes that kill Christmas cactus cuttings
- Troubleshooting table
- After it roots: first weeks of care
- Will the new plant flower the same colour as the parent?
- Frequently asked questions
- Related guides
Watch the visual walkthrough
Christmas Cactus Care | How to, Tips, and Tricks
Learn how to keep your Christmas cactus thriving year-round with this comprehensive care guide! We'll cover everything from ...
A Christmas cactus is one of the most generous houseplants you’ll ever own. Twist off a small piece, set it on damp soil, and within a couple of months you have a brand new plant — same flower colour, same vigour, ready to bloom for the holidays in a year or two. A single mature Schlumbergera can give you a dozen new plants in one afternoon, with no harm to the parent.
The single thing most beginners get wrong is rushing the cut piece into wet soil. Christmas cactus segments are juicy little water tanks, and a fresh wound stuck straight into damp mix rots before it can root. Let it callus first, plant it shallow, and the rest is mostly waiting.
Quick answer
Twist off a healthy Y-shaped piece with at least 3 segments at a natural joint. Let it callus in a shaded dry spot for 2–3 days. Insert the bottom segment 2–3 cm (about 1 in) deep into damp cactus and succulent mix. Keep it in bright indirect light at 18–22°C (65–72°F) and mist every few days. Roots form in 3–4 weeks; new top growth appears in 6–8 weeks.
Why Christmas cactus is one of the easiest plants to propagate
Christmas cactus (Schlumbergera × buckleyi) evolved as an epiphyte on mossy tree branches in the cloud forests of southeast Brazil. In the wild, broken segments fall onto damp moss, root quickly, and grow into a new plant. Your job indoors is simply to imitate that — a slightly damp gritty surface, indirect light, and patience.
Two practical advantages follow from that wild biology:
- The segments carry plenty of stored water and energy, so they don’t need a fragile humidity dome.
- Cuttings clone the parent exactly. A pink-flowered Christmas cactus produces pink-flowered babies. A white one produces white. This is the only way to keep a specific colour line going.
If you want to know more about the parent plant before you start, our Christmas cactus care guide covers light, watering, and the rebloom trick that gets it flowering every December.
When to propagate a Christmas cactus
The best window is late spring through early summer, right after the holiday bloom finishes and the plant pushes fresh new segments. At this point, internal growth hormones are high and rooting is fastest.
Avoid taking cuttings:
- During autumn bud-set (October–November). The plant is photoperiodic and stressed; disturbance causes bud drop on the parent.
- Mid-bloom in December. Same reason — the parent is putting all its energy into flowers.
- Deep winter when the room is below 15°C (59°F). Rooting essentially stops below that.
If you’re propagating outside the ideal window, it still works — the cutting just sits longer before it pushes roots.
What you’ll need
- A healthy mature Christmas cactus to take cuttings from
- Clean, sharp bypass pruning shears (sterilize with rubbing alcohol)
- A small shallow tray or small terracotta pot with drainage
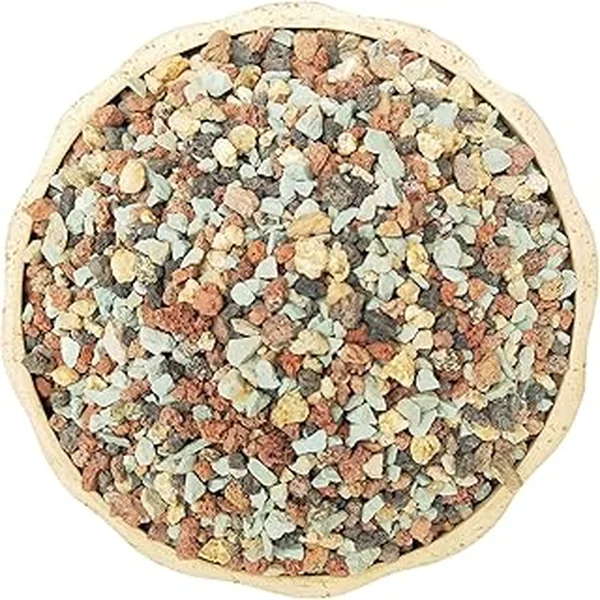
- Cactus and succulent potting mix (gritty, fast-draining)
- A small spray bottle for misting
- Optional: a pinch of rooting hormone powder
- A bright spot with indirect light, ideally 18–22°C (65–72°F)
That’s the whole list. No heat mat, no plastic dome, no fancy lights.
Method 1: Soil propagation (most reliable)
Soil is the method that produces the strongest plants and the highest success rate. Aim for this whenever you can.
1. Pick a healthy Y-shaped section with 3 segments
Find a stem on the parent plant where you can count three or more segments (the flat pads, technically called phylloclades) in a row. A Y-shaped piece — three segments on each fork — is even better, because each fork can root and you’ll get a bushier baby plant.
Skip wrinkly, limp, or discoloured segments. Pick firm, plump, deep-green pads.
2. Twist gently at a natural joint
Don’t cut. Hold the segment just above the joint where you want to detach, and twist sideways with your other hand. The segments are designed to break apart cleanly at these joints — the wound is small and uniform. If you have to use shears (for thicker old stems), make a single clean cut right at the joint with sterilized bypass pruners.
3. Callus the cut end for 2–3 days
Lay the cutting on a paper towel in a shaded, dry spot indoors. Don’t put it in water, don’t bury it, don’t mist it. After 2–3 days, the wound at the bottom segment should look dry, slightly inset, and slightly hardened. This thin callus is the seal that prevents rot once you plant it.
If your room is very humid, give it 4 days. If it’s bone dry, 2 days is enough.
4. Optional: dip in rooting hormone
A pinch of rooting hormone powder on the calloused end speeds rooting by about a week and bumps the strike rate on stubborn single-segment cuttings. It’s not necessary for healthy 3-segment Y-cuttings, but it’s cheap insurance.
5. Insert the bottom segment 2–3 cm deep
Fill a small terracotta pot or shallow tray with cactus and succulent mix. Pre-moisten the mix until it’s barely damp — like a wrung-out sponge, not wet to the touch. Insert the bottom segment about 2–3 cm (1 in) into the mix. The next segment up should sit just above the soil line.
For a Y-shaped piece, plant the single trunk segment and let the two top forks stand free.
6. Bright indirect light, no direct sun
Set the pot near an east-facing window, or 1 m (3 ft) back from a south- or west-facing window. Direct hot sun cooks an unrooted cutting fast. Cool morning sun is fine.
Target room temperature is 18–22°C (65–72°F). Below 15°C (59°F) rooting nearly stops; above 27°C (80°F) the cutting can shrivel.
7. Mist, don’t water, for the first 2 weeks
For the first two weeks, mist the soil surface lightly every 3–4 days. The mix should never go completely dry, but it should also never look wet. After the first 2 weeks, switch to a small drink of water once a week — just enough to barely moisten the top 2–3 cm (1 in).
8. Tug-test at the 4-week mark
After about 4 weeks, gently tug the cutting. If it resists slightly, you’ve got roots. Keep doing the weekly small drink. New growth at the tip — a tiny fresh segment forming at the top — is the visible confirmation that the plant has rooted and is ready to start its life. That usually appears around the 6–8 week mark.
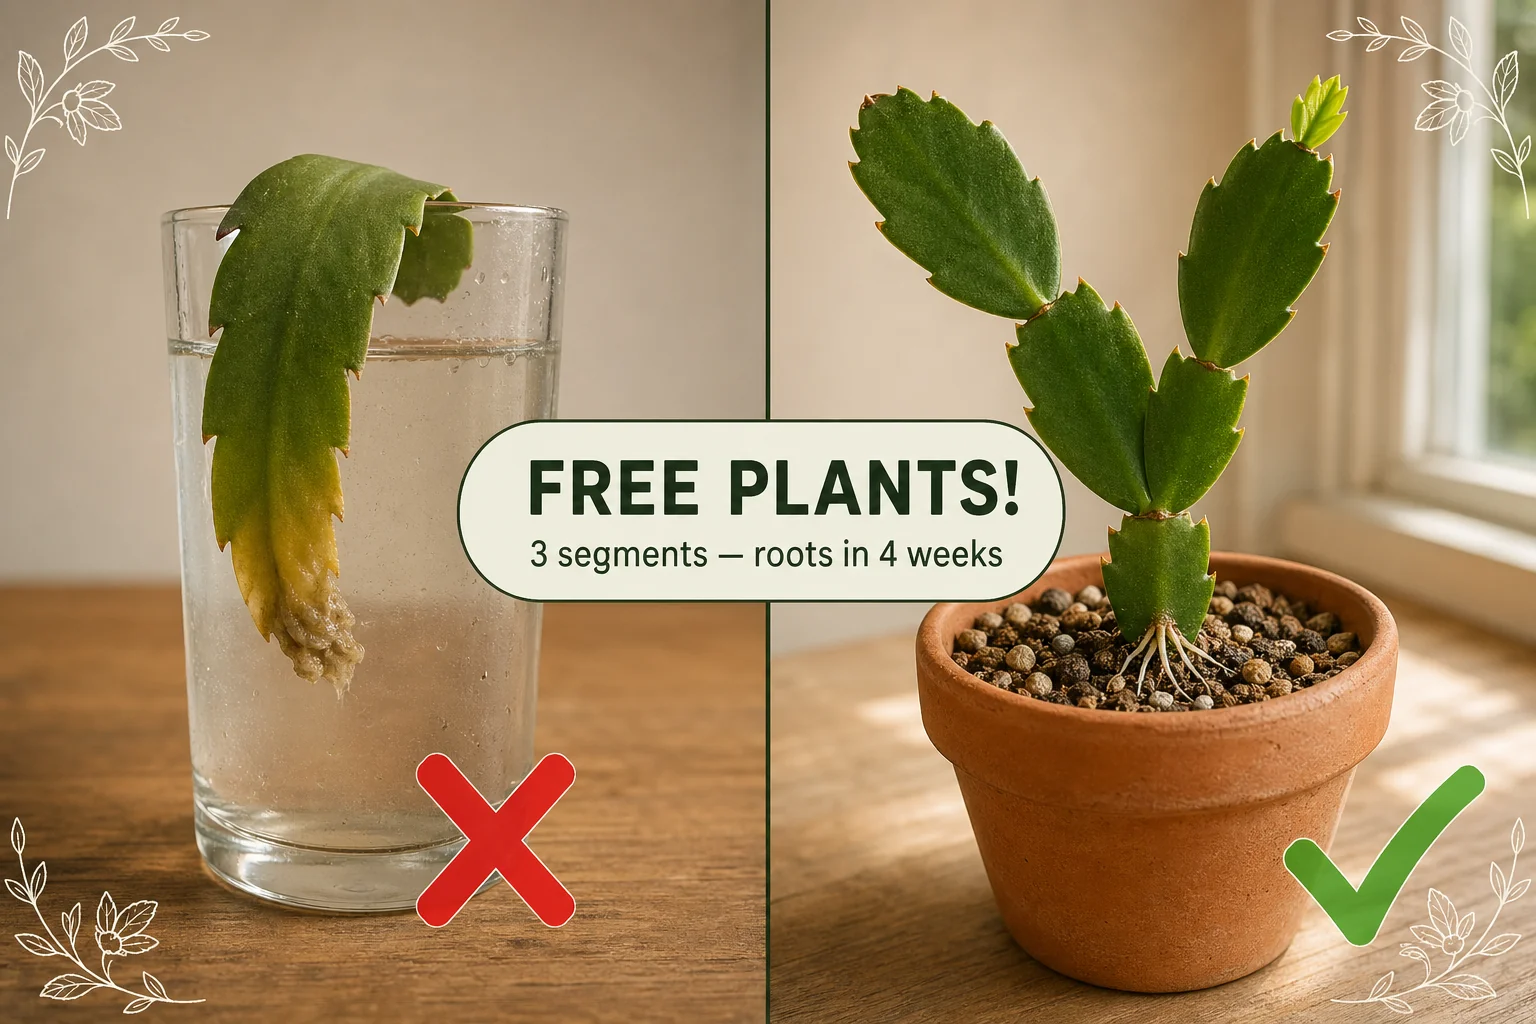
Method 2: Water propagation (for visible roots)
Water rooting is the method most beginners try first because you can watch the white roots form. It works, but it’s less reliable than soil and the roots that form in water often stall when you transplant.
If you want to try it anyway:
- Take the same 3-segment Y-cutting and callus it for 2–3 days as in Method 1.
- Put it in a clear glass or small propagation jar with the bottom 1 cm (½ in) submerged in clean water. Don’t drown the second segment.
- Place in bright indirect light. Change the water every 5–7 days to keep it fresh.
- After 2–4 weeks you should see thin white roots emerging from the calloused tip.
- As soon as those roots reach 2–3 cm (about 1 in), pot the cutting into damp cactus mix at the same depth as Method 1. Don’t wait longer — the longer water roots get, the harder the soil transition.
You’ll see slower top growth in the first month after transplant because the plant has to grow new soil-adapted roots. Don’t panic; it catches up.
Watch: How to propagate a Christmas cactus
This short video pairs well with the steps above — a quick visual walkthrough showing the twist-off, callus, and planting steps in real time.
Common mistakes that kill Christmas cactus cuttings
Most failed propagations come down to one of these five things:
- Cutting fresh segments straight into damp soil. Without a callus, the wound rots. Fix: 2–3 day callus, every time.
- Using regular potting mix. It holds way too much water for an epiphyte. Fix: cactus and succulent mix, or 50/50 potting mix and coarse perlite.
- Watering instead of misting in the first 2 weeks. Drowns the wound before roots form. Fix: light mist every 3–4 days, no soaking until rooted.
- Direct hot sun on an unrooted cutting. Cooks it. Fix: bright indirect light, east window or filtered west.
- Single segments with no callus. Tiny cuttings have minimal energy reserves. Fix: 3 segments minimum, ideally a Y-shape.
Troubleshooting table
| Symptom | Most likely cause | Fix |
|---|---|---|
| Cutting goes mushy at base in 1–2 weeks | No callus, or soil too wet | Pull cutting, snip back to firm green at a joint, re-callus 3 days, restart on barely-damp mix |
| Cutting shrivels and goes wrinkly | Soil too dry, or direct sun | Mist more often, move to indirect light |
| No roots after 6 weeks | Room too cold (below 18°C / 65°F) or too dark | Move to a warmer brighter spot, top-up with rooting hormone if redoing |
| Roots form but no new top growth | Underfeeding once rooted | After 8 weeks, start half-strength balanced fertilizer monthly |
| Whole cutting turns red or purple | Stress from sun or cold | Move out of direct sun, away from cold drafts |
After it roots: first weeks of care
Once your cutting is rooted (around the 6–8 week mark with visible top growth):
- Pot up. Move the rooted cutting into a 10 cm (4 in) pot of fresh cactus mix if it isn’t there already. Christmas cactus likes to be slightly snug in its pot.
- Switch to normal watering. Water when the top 2–3 cm (1 in) of soil dries out. In summer that’s roughly every 7–10 days indoors.
- Start light feeding. From 8 weeks after rooting, feed once a month with a half-strength balanced houseplant fertilizer through summer. Stop in October to let the plant set buds.
- Wait for the first bloom. A cutting from a 2-segment cutting usually first blooms 12–18 months later; a 3-segment Y-cutting can sometimes bloom the very first holiday season.
Will the new plant flower the same colour as the parent?
Yes — Christmas cactus propagated from cuttings is a clone. Pink parents give pink babies, white parents give white, salmon gives salmon. This is the only reliable way to preserve a specific colour. Seed-grown Schlumbergera, by contrast, can revert or surprise you.
If you’ve got a colour you love (especially heirloom plants passed down in families — some are 30+ years old), cuttings are how you keep that exact line going.
Frequently asked questions
How do you propagate a Christmas cactus?
Twist off a healthy Y-shaped piece with at least 3 segments at a natural joint. Let it callus in a shaded dry spot for 2–3 days. Insert the bottom segment 2–3 cm (about 1 in) deep into barely-damp cactus and succulent mix, keep it in bright indirect light, and mist lightly every few days. Roots form in 3–4 weeks; new top growth in 6–8 weeks.
Can you root a Christmas cactus in water?
Yes, but soil is more reliable. A 3-segment cutting in a glass with the bottom 1 cm (½ in) submerged will sprout white roots in 2–4 weeks. Move it to damp cactus mix as soon as the roots reach 2–3 cm (about 1 in) — long water roots stall badly when transplanted.
How long does a Christmas cactus cutting take to root?
About 3–4 weeks for the first white root tips, and 6–8 weeks for visible new top growth. Cool rooms or low light can stretch that to 10–12 weeks.
Should Christmas cactus cuttings be calloused first?
Yes. A 2–3 day callus is the difference between rooting and rotting. Lay the cutting on a paper towel in a shaded dry spot until the wound looks dry and slightly hardened, then plant.
How many segments do you need for propagation?
Three segments is the sweet spot — enough stored energy to root and push new growth without exhausting itself. Two will work; one usually rots or stalls; four to five is great and may flower the following winter.
When is the best time to propagate a Christmas cactus?
Late spring through early summer, right after the holiday bloom and as the plant restarts active growth. Avoid the autumn bud-set period and mid-bloom December.
Why are my Christmas cactus cuttings rotting?
Three usual suspects: skipping the callus, using regular potting soil, or watering instead of misting. Snip back to firm green tissue at a joint, re-callus for 3 days, and restart on barely-damp cactus mix.
Related guides
- Christmas cactus care (get it blooming every December) — light, water, and the cool-and-dark rebloom trick.
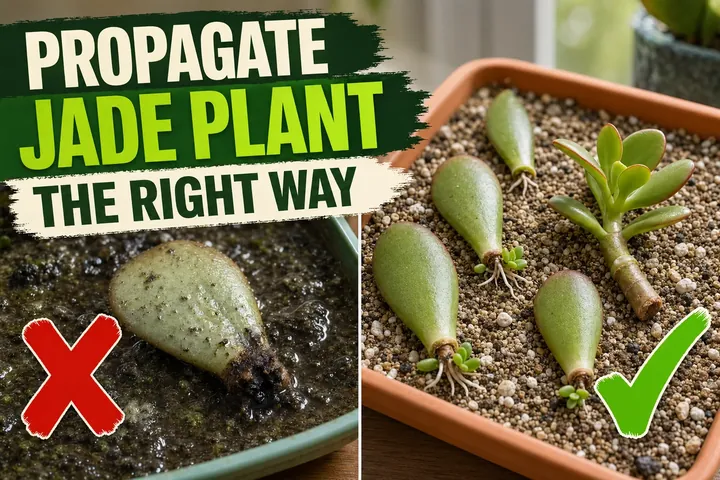
- How to propagate a jade plant — same callus-then-soil principle for another easy succulent.
- How to propagate a ZZ plant — slower but bombproof rhizome method.
Once your new plants are established, the Tazart app can track watering, light, and bloom-cycle reminders for each pot so they keep flowering every December for decades.
Highly recommended
The supplies that make this guide work


Tazart is an Amazon Associate — we earn from qualifying purchases at no extra cost to you. Thank you for helping us keep these guides free.
Frequently asked questions
How do you propagate a Christmas cactus?
Twist off a healthy Y-shaped piece with at least 3 segments at a natural joint. Let the cut end callus over in a shaded dry spot for 2–3 days until the wound looks dry and slightly hardened. Insert the bottom segment 2–3 cm (about 1 in) deep into damp cactus and succulent mix, keep it in bright indirect light, and mist lightly every few days. Roots form in 3–4 weeks and new growth appears at the tip in 6–8 weeks.
Can you root a Christmas cactus in water?
Yes, but soil is more reliable. A 3-segment cutting in a clear glass with the bottom 1 cm (½ in) submerged will sprout white roots in 2–4 weeks. The catch is that water roots are fragile and often stall when transplanted into soil. If you start in water, move it to damp cactus mix as soon as roots reach 2–3 cm (about 1 in) so the plant can adapt.
How long does a Christmas cactus cutting take to root?
On damp cactus and succulent mix in bright indirect light at 18–22°C (65–72°F), Christmas cactus cuttings push out white root tips in about 3–4 weeks. Visible new pad growth at the top of the cutting takes another 3–4 weeks. Total time from cut to obviously growing baby plant is about 6–8 weeks. Cool rooms or low light can stretch that to 10–12 weeks.
Should Christmas cactus cuttings be calloused first?
Yes — this short pause prevents most rot. Lay the freshly twisted cutting on a paper towel in a shaded, dry spot for 2–3 days until the cut surface looks dry and slightly hardened. Schlumbergera segments are juicy and full of moisture, so a fresh wet wound dropped straight into damp soil tends to rot at the base before roots can form.
How many segments do you need for propagation?
A minimum of 2 segments will root, but 3 segments is the sweet spot. Three pads give the cutting enough stored energy to push roots and a new growing tip without exhausting itself. Single segments often rot or sit there for months. Bigger Y-shaped pieces with 4–5 segments work too and tend to flower the following winter.
When is the best time to propagate a Christmas cactus?
Late spring through early summer, right after blooming finishes and active growth restarts. The plant is producing fresh segments at this time and rooting hormone levels in the tissue are highest. Avoid taking cuttings during the autumn bud-set period — disturbance can cause the parent to drop its forming buds.
Why are my Christmas cactus cuttings rotting?
Almost always one of three causes: skipping the 2–3 day callus, using regular potting soil that holds too much moisture, or watering instead of misting while roots are forming. Pull the cutting, snip back to firm green tissue at a joint, callus for another 3 days, and restart on fresh barely-damp cactus mix.