Houseplants
How to Propagate a ZZ Plant (Water, Soil, and Division Methods)
Propagate a ZZ plant the right way. Step-by-step guide to stem cuttings in water, leaflet propagation, and division — with realistic 2 to 9 month timelines.

On this page
- Quick answer
- Why ZZ propagation is so slow
- What you’ll need
- Method 1: Stem cuttings in water
- Method 2: Leaflet propagation in water or soil
- Method 3: Division
- Care after propagation
- When to pot up
- Common mistakes to avoid
- Troubleshooting
- Watch: propagating a ZZ plant
- Related reading
- A note on conditions
Watch the visual walkthrough
ZZ Plant Propagation - 5 Ways To Propagate with Results (Zamioculcas Zamiifolia)
A short visual walkthrough that pairs with the steps above.
ZZ plant propagation is the slowest reliable propagation in the houseplant world — and that’s actually good news. Unlike fast cuttings that rot easily, ZZ plants build a rhizome (an underground tuber that stores water and energy) before they grow anything visible above the soil. Once that rhizome forms, the plant is essentially unkillable.
This guide covers the three working methods — stem cuttings in water, single leaflet propagation, and division — with realistic timelines so you know exactly what to expect at month 1, month 3, and month 9.
Quick answer
Stem cuttings in a jar of water grow visible rhizomes in 2 to 4 months. Single leaflets in water or soil take 4 to 9 months. Division gives you new plants the same day. All three methods need bright indirect light, room temperature (18–24°C (64–75°F)), and patience — the rhizome forms first, the shoot comes much later.
Why ZZ propagation is so slow
A ZZ plant (Zamioculcas zamiifolia) is built around its rhizome, the potato-like tuber underground. The shiny green stems and leaflets you see above the soil are storage leaves — they exist to feed the rhizome.
When you take a cutting, the plant has to do everything in reverse: it spends most of its energy growing a brand-new rhizome first, and only once that’s established does it bother sending up a new shoot. That’s why a ZZ cutting can sit in water for months looking identical, while a tiny tuber is quietly forming at the base.
It’s the opposite of a pothos cutting (roots in 7 days). And it’s why so many people give up — they don’t realize the plant is working.
What you’ll need
- A healthy mature ZZ plant (at least 6 stems for division, 1 stem to spare for cuttings)
- A clean glass jar or vase for water propagation
- Filtered or tap water left out overnight to dechlorinate
- A small pot (10–13 cm (4–5 in)) with drainage for soil propagation
- Cactus or succulent potting mix (well-draining; ZZ rhizomes hate wet soil)
- Sharp clean scissors or a sterilized knife
- Bright indirect light (no direct afternoon sun)
No rooting hormone is needed. ZZ plants don’t respond to it the way woody cuttings do.
Method 1: Stem cuttings in water
This is the most popular method because you can see the rhizome forming. Expect 2 to 4 months for a usable rhizome.
Step-by-step
- Choose a healthy stem. Pick a mature stem with glossy dark-green leaflets — not a brand-new one that just emerged. Cut 10–15 cm (4–6 in) off the tip with sharp clean scissors, just above where it meets the main rhizome.
- Strip the bottom leaflets. Remove the lowest 2–3 leaflets so 3–4 cm (1–1.5 in) of bare stem will sit underwater. Wet leaflets rot.
- Place in a clear jar of dechlorinated water. Use enough water to cover the bare stem but keep the remaining leaflets dry. A clear jar lets you watch the rhizome form.
- Set it in bright indirect light at 18–24°C (64–75°F). No direct sun — it cooks the cutting.
- Change the water once a week. Rinse the jar, refill with fresh water, and trim any blackened or mushy stem tissue with clean scissors.
- Wait. At week 4–6 you may see tiny bumps on the submerged stem. By month 2–4, those swell into visible round white rhizomes the size of a pea. Once the rhizome is firm and at least 2 cm (0.75 in) long, the cutting is ready to pot up.
A new green shoot may not appear for another 1–3 months after potting, and that’s normal.
Method 2: Leaflet propagation in water or soil
The slowest method, but the most fun — you can fill a tray with leaflets from a single trim. Realistic timeline: 4 to 9 months.
Step-by-step
- Pluck healthy leaflets. Gently pull individual leaflets off a mature stem, keeping the small base node where each leaflet meets the stem. The node is where the rhizome forms.
- Choose water or soil.
- Water: stand the leaflets upright in a small jar with the bottom 1 cm (0.5 in) submerged. Refresh weekly.
- Soil: push the base of each leaflet 1 cm (0.5 in) deep into barely damp cactus mix. Don’t water again for 2 weeks.
- Bright indirect light, 18–24°C (64–75°F). Same conditions as stem cuttings.
- Wait — really wait. For the first 3–4 months you’ll see no visible change. Don’t pull up the leaflets to check; that breaks the forming rhizome. Around month 4–6, a small white rhizome forms at the base of each leaflet. Around month 6–9, a new green shoot pushes up from the rhizome.
- Pot up once the shoot is 5 cm (2 in) tall and the rhizome is firm.
The original leaflet often yellows and drops off once the new plant takes over. That’s success, not failure.
Method 3: Division
By far the fastest method — you turn one mature plant into two or three on the same day. Best done when you’re already repotting.
Step-by-step
- Unpot a mature ZZ plant. Look for one with several visibly distinct rhizome clumps under the soil — usually plants 3+ years old.
- Brush soil off the rhizomes with your fingers so you can see the natural divisions.
- Pull the clumps apart by hand. Wiggle gently. Healthy ZZ rhizomes often separate cleanly into two or three sections, each with its own stems and roots.
- If a clump won’t separate, slice it. Use a sharp clean knife and cut straight through the rhizome so each section has at least one stem, a chunk of rhizome, and some roots. Wipe the blade with rubbing alcohol between cuts.
- Let cut surfaces callus over for 24 hours on a paper towel out of direct sun. This step prevents rot.
- Repot each section in dry cactus or succulent mix, in a pot just slightly larger than the rhizome. Don’t bury the rhizome deeper than it was originally.
- Wait one week before the first watering. Then water lightly. Resume normal ZZ care.
Each division acts like an established adult plant — no waiting months for shoots.
Care after propagation
Whether you used water, soil, or division, the new ZZ wants the same thing: dry, bright, and warm.
| Care item | What to do |
|---|---|
| Light | Bright indirect light. No direct afternoon sun for the first 6 weeks. |
| Water | Wait until the top 5 cm (2 in) of soil is fully dry. Then water lightly. |
| Temperature | 18–24°C (64–75°F). Avoid cold drafts and rooms below 15°C (59°F). |
| Fertilizer | None until you see new shoots emerging — usually 2–6 months out. |
| Humidity | Average household (40–60%) is fine. ZZs do not need humidifiers. |
A free plant care app like Tazart tracks these intervals automatically and adjusts the watering reminder for the season — useful when you’re managing several propagation pots that all want different amounts of water.
When to pot up
Don’t rush the move from water (or seed tray) into a real pot. Wait for all three signals:
- Rhizome is firm to the touch, not squishy
- Rhizome is at least 2 cm (0.75 in) long
- A few small white roots are visible growing from the rhizome itself
A new green shoot is a bonus, not a requirement. The rhizome is the real plant.
When potting, use dry cactus mix (yes — dry, straight from the bag), bury the rhizome at the same depth it was sitting in water, and water lightly once. Keep it dry for 7–10 days, then resume normal ZZ care.
Common mistakes to avoid
- Watering propagation cuttings. Water-propagated stems live in water; soil-propagated leaflets need almost none. Most failed ZZ propagations are drowned, not dehydrated.
- Giving up too early. Two months of “nothing happening” is normal. The rhizome is forming silently.
- Propagating in a cold room. Below 15°C (59°F), ZZ propagation effectively stops. A warm spot is the difference between 3 months and 9.
- Fertilizing before shoots emerge. The cutting has no system to use fertilizer yet — it just builds up salt and burns the new rhizome.
- Taking weak or yellowing cuttings. Only mature, glossy, fully green stems carry enough stored energy to push out a rhizome.
- Pulling up leaflets to check progress. Every check resets the timer. Leave them alone for 3 months minimum.
Troubleshooting
| Symptom | Likely cause | Fix |
|---|---|---|
| Leaflet turns mushy and black at base | Bacterial rot from stagnant water or wet soil | Discard the leaflet, sterilize jar, restart with fresh water and clean leaflets |
| No rhizome after 6 months | Cold room or too-low light | Move to 20–24°C (68–75°F) and brighter indirect light; expect another 2–3 months |
| Stem cutting goes mushy at the cut end | Cut too jagged, or water too dirty | Trim back to clean tissue, change water, switch to a sharper blade for next attempt |
| Leaflet yellows but stays attached | Slow but normal — rhizome is using up the leaflet’s reserves | No action needed; pot up once a rhizome is visible |
| New shoot is very thin or pale | Light too low | Move closer to a bright window (no direct afternoon sun); the next shoot will be thicker |
| Rhizome forms but never sprouts a shoot | Rhizome too small, or fertilized too early | Stop fertilizing; keep dry; wait — most rhizomes shoot up within 1–4 months of potting |
Watch: propagating a ZZ plant
A short visual walkthrough is genuinely helpful for ZZ propagation, because the timelines feel slow on paper. If you’re a visual learner, watch a quick tutorial like How to Propagate a ZZ Plant on YouTube — look for one that shows month-by-month progress photos — then come back to follow the exact steps and timing in this guide.
Related reading
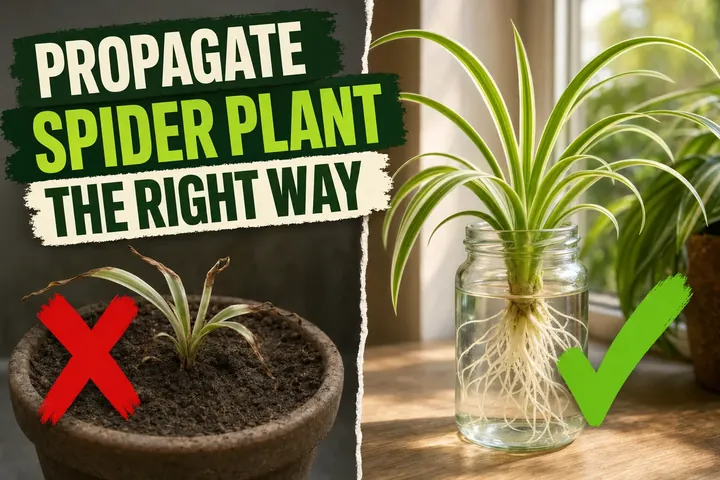
- How to propagate a spider plant — the opposite end of the propagation spectrum: spider plant pups root in days, not months.
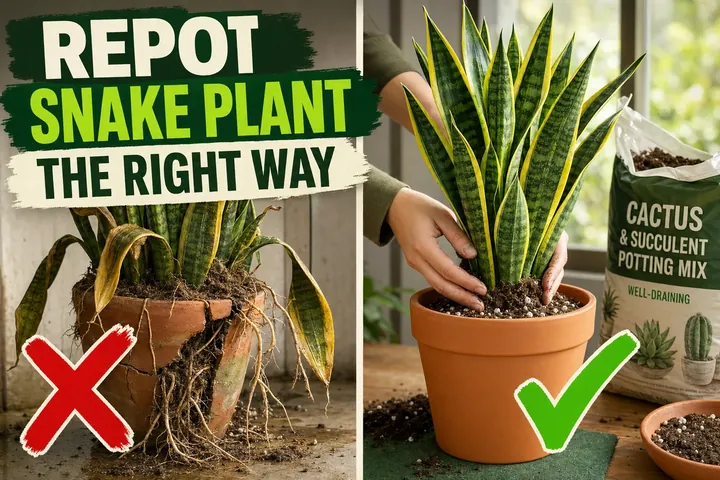
- How to repot a snake plant — snake plants share ZZ’s dry-loving rhizome behavior; repotting rules are nearly identical.
- How to water a Monstera — once your new ZZ is potted, the “let it dry between waterings” rule applies just as much as it does to a Monstera.
- Scan any new propagation in your home with the free Tazart plant identifier and let it set the watering schedule — it’s calibrated for slow-rooting houseplants like ZZ.
A note on conditions
Every home is different. Light, temperature, water source, jar size, soil mix, and the time of year all change how fast a ZZ rhizome forms. The timelines in this guide — 2 to 4 months for stem cuttings, 4 to 9 months for leaflets, instant for division — are realistic averages, not promises. Note that ZZ plants are mildly toxic if eaten, so keep cuttings out of reach of pets and kids. Use the steps above as a starting point and adjust based on what your propagation actually does in month two — that’s when patience pays off.
Highly recommended
The supplies that make this guide work

Tazart is an Amazon Associate — we earn from qualifying purchases at no extra cost to you. Thank you for helping us keep these guides free.
Frequently asked questions
How long does it take to propagate a ZZ plant?
ZZ propagation is slow but very reliable. Stem cuttings in water grow visible rhizomes in 2 to 4 months, and a new shoot follows a few weeks later. Single leaflets take 4 to 9 months to form a rhizome and shoot. Division is instant — you separate an existing plant into multiple potted plants the same day.
Can you propagate a ZZ plant from a single leaf?
Yes, but it's the slowest method. Pluck a healthy leaflet at the base where it meets the stem, place it in water or moist potting mix, and wait. A small white rhizome (tuber) forms underground over 4 to 9 months, then a new shoot pushes up. The original leaflet usually drops off once the new plant takes over.
Is it better to propagate ZZ plant in water or soil?
Water is better for beginners because you can see the rhizome forming and watch for rot. Soil works just as well for experienced growers and skips the transplant step. Both methods need the same conditions: bright indirect light, room temperature, and patience. Water propagation just gives you visual feedback.
How do you divide a ZZ plant?
Unpot a mature ZZ plant, brush soil off the rhizomes, and gently pull the rhizome clumps apart by hand. If they won't separate, slice through the rhizome cleanly with a sharp clean knife so each section has at least one stem and a chunk of rhizome with roots. Repot each section in fresh dry potting mix and wait a week before watering.
Why is my ZZ plant cutting not rooting?
The most common cause is rot from too much water touching the cut end without airflow — change water weekly and trim any black mush. The second is impatience: ZZ plants store energy in the rhizome before sending up shoots, so a cutting can look unchanged for 8 to 12 weeks while a rhizome is quietly forming underground or under the water line.
When should I pot up a ZZ plant cutting?
Wait until the new rhizome is firm and at least 2 cm (0.75 in) long, with a few visible roots growing from it. A new green shoot doesn't have to be visible yet — the rhizome is the real plant. Pot into dry potting mix, water lightly once, and resume normal ZZ care.