Edible
How to Grow Sweet Potatoes in Containers (Full Guide)
Grow sweet potatoes in containers with the right pot size, soil mix, watering, and curing. Everything from slips to harvest in 90–120 days.
On this page
- Table of Contents
- 1. Starting from Slips — Homemade vs. Purchased
- 2. Container Size: The Most Important Decision
- 3. Grow Bag vs. Hard Pot
- 4. Soil Mix for Container Sweet Potatoes
- 5. Planting Timing and Temperature
- 6. How to Plant Slips in a Container
- 7. Watering Container Sweet Potatoes
- 8. Fertilizing: Low-N, High-K
- 9. Vine Management
- 10. The 90–120 Day Season
- 11. Harvest Signals
- 12. Curing: The Step That Makes Sweet Potatoes Sweet
- 13. Storage After Curing
- 14. Common Mistakes
- Watch: Growing Sweet Potatoes in Containers
- FAQs
- Conclusion
Watch the visual walkthrough
Turn ONE Sweet Potato Into 100 LBS Of Sweet Potatoes By Growing SWEET POTATO SLIPS! [Complete Guide]
This video will teach you the BEST WAY to start sweet potato slips! Using this method, you can turn one sweet potato into 100 lbs ...
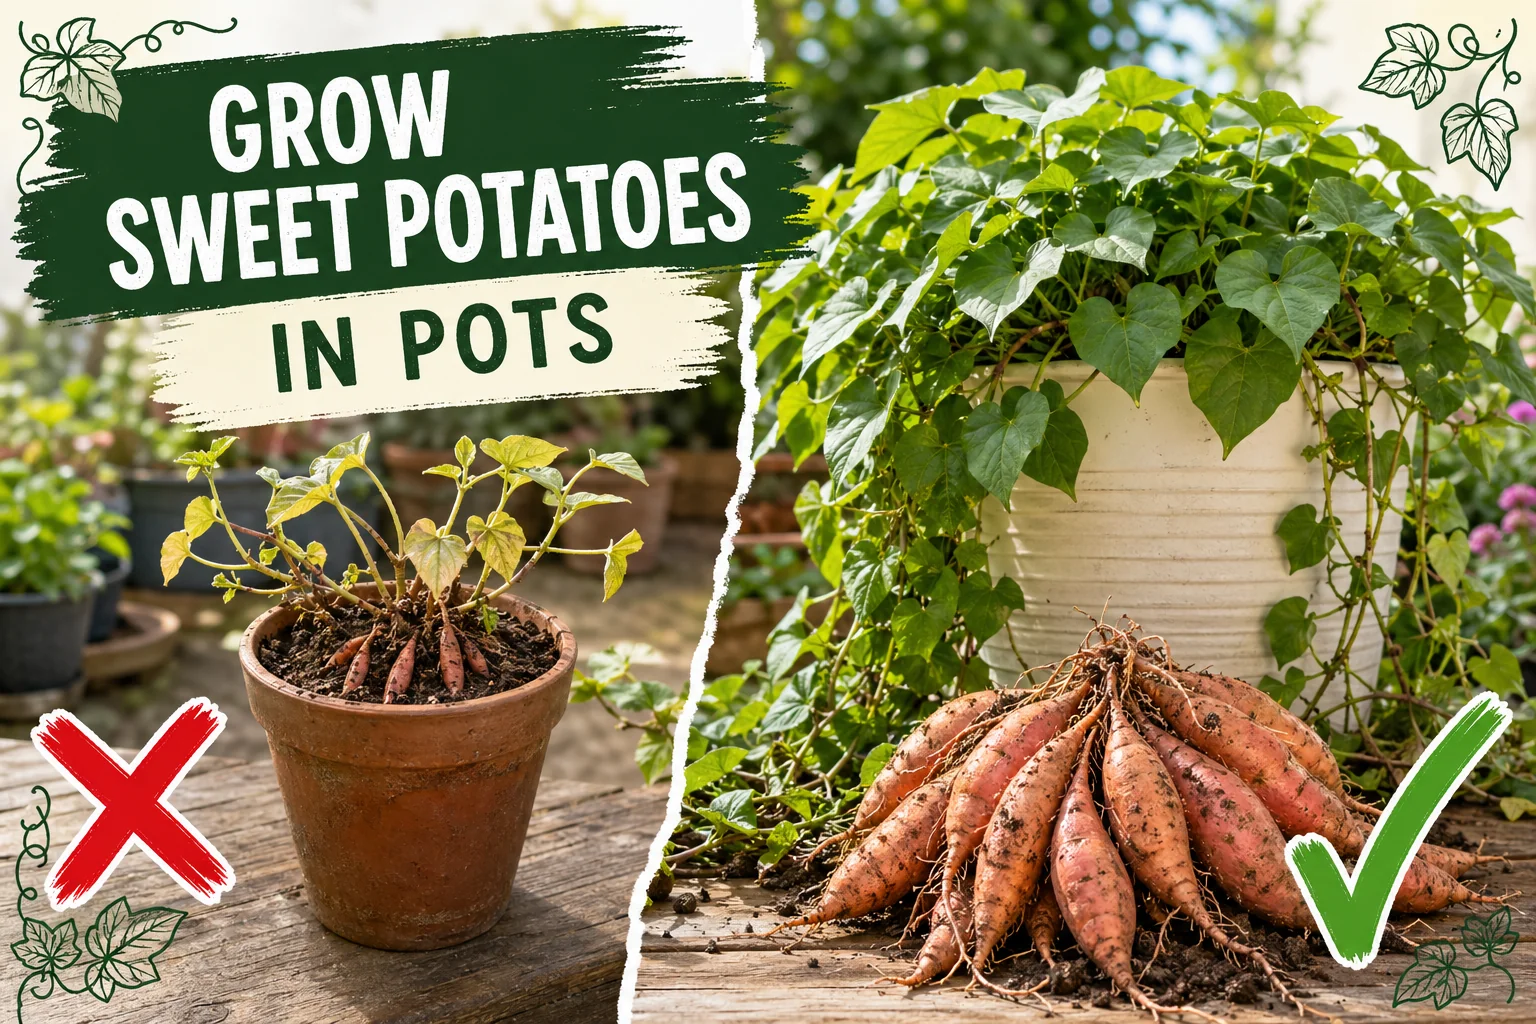
You can grow sweet potatoes in containers — and harvest a real crop — as long as you give them the right pot size, warm soil, and enough season length.
The most common mistake is using a pot that’s far too small. Sweet potato tubers expand underground and need space to grow into round, full roots. In a cramped container they produce nothing, or produce small forked results that aren’t worth the season.
Get the container size, soil mix, timing, and curing right and a single 95-L (25-gal) grow bag can produce 1-2 kg (2-4 lb) of sweet potatoes from one plant.
Quick answer: Use at least a 57-L (15-gal) container per plant — 95 L (25 gal) is better. Plant rooted slips after the last frost when soil exceeds 18°C (65°F). Grow 90-120 days, then harvest and cure for 10-14 days at 27-32°C (80-90°F) to develop sweetness.
Table of Contents
- Starting from Slips — Homemade vs. Purchased
- Container Size: The Most Important Decision
- Grow Bag vs. Hard Pot
- Soil Mix for Container Sweet Potatoes
- Planting Timing and Temperature
- How to Plant Slips in a Container
- Watering Container Sweet Potatoes
- Fertilizing: Low-N, High-K
- Vine Management
- The 90–120 Day Season
- Harvest Signals
- Curing: The Step That Makes Sweet Potatoes Sweet
- Storage After Curing
- Common Mistakes
- FAQs
1. Starting from Slips — Homemade vs. Purchased
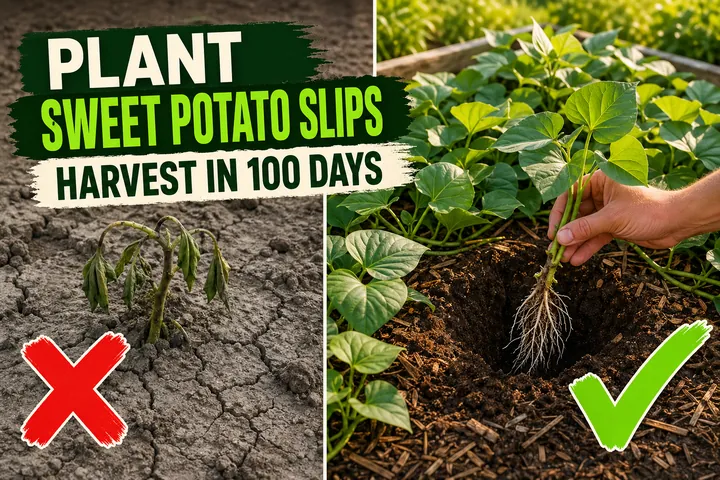
Sweet potatoes are grown from slips — rooted shoots that sprout from a mature tuber. You cannot plant a sweet potato like a seed.
Purchased slips are the fastest option. Nurseries and online garden suppliers sell bundles of bare-root slips in spring. They arrive ready to plant (or nearly so) and skip 4-6 weeks of indoor sprouting.
Homemade slips cost nothing if you have a store-bought sweet potato:
- Choose an organic sweet potato (conventional ones are sometimes treated to suppress sprouting).
- Suspend it halfway in a jar of water — use toothpicks to hold it at the rim.
- Place in a warm spot, 21-27°C (70-80°F), in indirect light.
- Slips sprout in 3-6 weeks. Wait until they are 10-15 cm (4-6 in) long.
- Twist or cut slips off at the base.
- Place slips in a glass of water for 1-2 weeks to grow roots before planting outdoors.
See the full step-by-step slip guide for more detail on sourcing and rooting.
2. Container Size: The Most Important Decision
Container size is the single biggest factor in your container sweet potato harvest.
| Container size | Plants | Expected yield |
|---|---|---|
| Under 38 L (10 gal) | 0 (too small) | Little to nothing |
| 57 L (15 gal) | 1 | 0.5–1 kg (1–2 lb) |
| 76 L (20 gal) | 1 | 1–1.5 kg (2–3 lb) |
| 95 L (25 gal) | 1–2 | 1.5–2.5 kg (3–5 lb) |
The minimum is 57 L (15 gal) for one plant. The 95-L (25-gal) size is the sweet spot — it’s large enough to produce a real harvest without being impractical to move.
Depth matters too. Tubers grow downward. Aim for a container at least 30 cm (12 in) deep, ideally 40-45 cm (16-18 in).
3. Grow Bag vs. Hard Pot
Fabric grow bags are better than hard pots for sweet potatoes for three reasons:
- Air pruning: The fabric walls air-prune roots naturally, preventing the roots from circling the pot and becoming rootbound.
- Better drainage: Excess water exits through the sides and bottom — sweet potatoes hate sitting in soggy soil.
- Faster warm-up: Fabric absorbs heat quickly in spring, giving you a slightly earlier season start.
Hard pots (plastic, ceramic, terracotta) work if they have good drainage holes and adequate volume, but avoid glazed ceramic pots without drainage — they stay too wet.
If using a hard pot, drill extra drainage holes in the bottom if the existing ones seem small.
4. Soil Mix for Container Sweet Potatoes
Sweet potatoes need loose, well-draining, slightly acidic soil (pH 5.8-6.2). Dense or compacted mix produces forked, stunted tubers because the roots can’t push through.
Best container mix:
- 40% good-quality potting mix (not garden soil)
- 30% coarse perlite or coarse sand
- 20% aged compost
- 10% coir or peat for moisture retention
This gives you fast-draining, airy soil that still holds enough moisture between waterings. Skip heavy garden soil entirely — it compacts in containers and suffocates tuber development.
Avoid mixes with a lot of bark or wood chips, which stay too wet and can harbor fungal issues.
5. Planting Timing and Temperature
Sweet potatoes are a warm-season tropical crop. They will not tolerate cold soil.
Plant outdoors when:
- All frost risk has passed (check your last frost date)
- Daytime air temperatures are consistently above 18°C (65°F)
- Soil at 10 cm (4 in) depth reads at least 18°C (65°F) — ideally 21°C (70°F)
A soil thermometer takes the guesswork out of timing. Planting too early into cold soil causes slips to rot before they establish.
In most of the US, this means:
- Zones 8-10: March to April
- Zones 6-7: May
- Zone 5 and colder: Late May to early June, with a short-season variety like Beauregard
Because containers warm up faster than ground soil, you may be able to plant container sweet potatoes 1-2 weeks earlier than in-ground plantings — but only after the last frost.
6. How to Plant Slips in a Container
- Fill your container to within 5 cm (2 in) of the top with the soil mix above.
- Water the mix thoroughly and let it drain before planting.
- Make a hole 10-15 cm (4-6 in) deep per slip.
- Place the slip so the bottom 10 cm (4 in) of stem is buried, with only the top 2-3 leaves above the soil. Roots and tubers form along the buried stem, so deeper planting means more tuber potential.
- Firm the soil around the stem gently.
- Water in lightly.
- Spacing: In a 95-L (25-gal) container, plant 1-2 slips spaced at least 30 cm (12 in) apart. One slip per 57-L (15-gal) container.
If you’re also growing sweet potatoes in the ground and want to compare optimal row and plant spacings, the sweet potato spacing guide explains how distance affects tuber size and yield.
After planting: Slips may wilt for 3-5 days as they adjust. This is normal. Keep them watered and shaded from harsh afternoon sun for the first week.
7. Watering Container Sweet Potatoes
Sweet potatoes need consistent moisture but not waterlogged soil. Containers dry out faster than ground beds, so daily checking is important in summer heat.
General rule: Water deeply when the top 2.5 cm (1 in) of soil feels dry. In hot weather (above 30°C / 86°F), this may be every 1-2 days. In mild weather, every 3-4 days.
Watering by growth stage:
- First 2 weeks (establishment): Water regularly to help slips root in. Do not let the soil dry out completely.
- Active vine growth (weeks 3-10): Maintain consistent moisture. Water deeply each time until it drains from the bottom.
- Final 2-3 weeks before harvest: Reduce watering significantly. Drier soil helps the skin set firm and prevents tubers from cracking or rotting in the ground.
Avoid overhead watering on the foliage in evening — this encourages fungal disease. Water at the base of the plant.
8. Fertilizing: Low-N, High-K
Sweet potatoes are not heavy feeders, and too much nitrogen is actively harmful — it pushes lush, leafy vine growth at the expense of tuber development.
What to use:
- A 5-10-10 or tomato fertilizer (low nitrogen, high phosphorus and potassium) works well.
- Organic options: compost tea, fish emulsion (low-N blend), or wood ash (potassium source) worked into the top soil layer.
Feeding schedule:
- At planting: Mix a slow-release low-N granular fertilizer into the soil.
- Weeks 4-6: Liquid low-N feed to support early root and vine development.
- Weeks 8-10: One final potassium-focused feed to support tuber bulking.
- Stop fertilizing 4-6 weeks before expected harvest. Late feeding pushes foliage when you want the plant focusing energy underground.
Do not feed with high-nitrogen fertilizer (like lawn fertilizer or fish emulsion heavy blends) — the result is spectacular vines and tiny tubers.
9. Vine Management
Sweet potato vines grow aggressively and can sprawl 1.5-2.5 m (5-8 ft) in every direction during a full season. In a container, you have two options:
Option 1 — Let them trail: Let the vines hang over the sides and sprawl on the ground. This is the easiest approach and the vines naturally root where they touch soil (though those secondary roots won’t produce significant tubers in a pot).
Option 2 — Train up a trellis: Insert a 1.2-1.5 m (4-5 ft) trellis or bamboo stake structure into the container and gently tie vines upward as they grow. This saves patio space and looks tidy. Note that trellised vines get more sun exposure, which can increase vine growth — balance this with reduced nitrogen.
One warning: Do not bury trailing vines back into the container soil hoping for more tubers — this creates a tangle and doesn’t produce meaningful yields in a contained space.
Vines are edible. Young sweet potato leaves can be harvested and stir-fried — a common vegetable in Southeast Asian and West African cooking. Light harvesting of leaves does not significantly harm tuber development.
10. The 90–120 Day Season
Sweet potatoes need a long warm season. Count from the day you plant your slips.
| Variety | Days to harvest |
|---|---|
| Beauregard | 90-100 days |
| Covington | 100-110 days |
| Jewel | 100 days |
| Bonita | 100-120 days |
| Georgia Jet | 90 days |
Short-season varieties (Beauregard, Georgia Jet) are the best choice for containers in cooler climates (Zone 5-6) because they mature before the first fall frost.
In a container, the soil stays warmer than in-ground soil, which can shave a few days off the growing time — but don’t count on it to compensate for a late start.
11. Harvest Signals
Sweet potatoes are ready to harvest when:
- Leaves begin to yellow and die back — the plant is naturally entering dormancy
- 90-120 days have passed since planting
- The first frost is 1-2 weeks away — do not leave tubers in the ground through a frost
How to harvest from a container:
- Stop watering 1 week before harvest.
- Lay the container on its side.
- Gently tip out the soil onto a tarp or into a wheelbarrow.
- Use your hands — not a fork — to carefully dig through the soil. Punctured tubers rot and cannot be stored.
- Leave tubers to air-dry in the sun for 1-2 hours to remove surface moisture before curing.
You may find more tubers than expected — they spread throughout the container soil wherever the roots ran.
12. Curing: The Step That Makes Sweet Potatoes Sweet
Do not skip curing. A freshly dug sweet potato tastes nothing like the sweet, rich root you expect. The sugars develop during the curing process.
How to cure sweet potatoes:
- Do not wash the tubers. Brush off loose dirt gently with your hands.
- Place them in a single layer — not touching each other — on a surface with airflow.
- Cure at 27-32°C (80-90°F) with 80-90% humidity for 10-14 days.
- Good curing locations: a heated greenhouse, a warm bathroom with a bowl of water for humidity, or a warm closet near a heating vent.
- After curing, the skin will have tightened and the flesh will taste noticeably sweeter.
What curing does biologically: The heat and humidity heals any surface cuts or nicks (preventing rot during storage), and activates enzymes that convert starches to sugars — which is what gives cured sweet potatoes their sweetness and characteristic texture.
13. Storage After Curing
After curing:
- Store tubers at 13-16°C (55-60°F) in a dark, dry location with moderate humidity.
- Do not refrigerate — temperatures below 10°C (50°F) cause the flesh to become hard and tasteless.
- Store each tuber wrapped loosely in newspaper or in a cardboard box with ventilation.
- Check monthly and remove any that show soft spots or mold.
Properly cured and stored sweet potatoes keep for 4-6 months.
14. Common Mistakes
| Mistake | What goes wrong | Fix |
|---|---|---|
| Container too small | No tubers or tiny forked roots | Use 57 L (15 gal) minimum, 95 L (25 gal) ideal |
| Planting into cold soil | Slips rot before rooting | Wait until soil is 18°C (65°F) at 10 cm (4 in) depth |
| High-nitrogen fertilizer | Huge vines, tiny tubers | Switch to 5-10-10 or tomato fertilizer |
| Overwatering | Tubers crack and rot | Water only when top 2.5 cm (1 in) is dry |
| Skipping curing | Bland, starchy taste | Cure 10-14 days at 27-32°C (80-90°F) before eating or storing |
| Harvesting with a fork | Punctured tubers that rot quickly | Use hands only to pull tubers from tipped-out soil |
| Refrigerating sweet potatoes | Chilling injury — hard, flavorless flesh | Store at 13-16°C (55-60°F), never below 10°C (50°F) |
| Planting too late | Frost kills vines before 90 days | Count backward from first frost date and plant on time |
Watch: Growing Sweet Potatoes in Containers
This video gives a visual walkthrough of container sweet potato setup and harvest that pairs well with the steps above.
FAQs
What size container do I need to grow sweet potatoes? Use a minimum of 57 L (15 gal) per plant, but 95 L (25 gal) is ideal. Tubers need room to expand — cramped pots produce nothing or produce small, forked roots. One plant per 57-L (15-gal) container, or two plants per 95-L (25-gal) container.
Can I grow sweet potatoes in a grow bag? Yes — fabric grow bags are actually better than hard pots for sweet potatoes. The fabric walls air-prune the roots, prevent compaction, and the sides warm up quickly in sun. Use a 57-L (15-gal) minimum, preferably a 95-L (25-gal) bag.
How do I start sweet potatoes from slips? You can buy slips from a nursery or make your own. To make slips, suspend a sweet potato in water (half submerged) at 21-27°C (70-80°F) for 4-6 weeks until 10-15 cm (4-6 in) shoots appear. Twist or cut them off, place in water for 1-2 weeks to root, then plant outdoors once the soil is warm. See our how to plant sweet potato slips guide for full detail.
When should I harvest sweet potatoes grown in containers? Harvest 90-120 days after planting, or when the leaves start to yellow and the first frost is approaching. Tip the container on its side and gently dig through the soil with your hands to avoid puncturing tubers.
How do you cure sweet potatoes after harvest? Cure unwashed sweet potatoes at 27-32°C (80-90°F) with 80-90% humidity for 10-14 days. This heals skin damage and converts starches to sugar — raw sweet potatoes taste nothing like cured ones. A warm closet near a heating vent works well.
How often should I water sweet potatoes in containers? Water deeply when the top 2.5 cm (1 in) of soil is dry, typically every 2-4 days in summer heat. Reduce watering in the final 2-3 weeks before harvest to encourage the skin to set. Overwatering causes the tubers to split and rot.
What fertilizer should I use for container sweet potatoes? Use a low-nitrogen, high-potassium fertilizer such as 5-10-10 or a tomato formula. Too much nitrogen pushes leafy vine growth at the expense of tubers. Feed every 3-4 weeks through mid-season, then stop 4-6 weeks before expected harvest.
How long do sweet potatoes take to grow in containers? Most varieties take 90-120 days from slip planting to harvest. Short-season varieties like Beauregard are ready closer to 90 days. Containers warm up faster than ground soil, which can give you a slight head start in spring.
Conclusion
Container sweet potatoes are genuinely achievable — the key is not overthinking the growing and not underthinking the container size. Give each plant at least 57 L (15 gal) of loose, well-draining soil, plant slips into warm ground after the last frost, fertilize low-nitrogen all season, and do not skip the curing step after harvest.
The curing process is where the magic happens. Ten to fourteen days of warmth and humidity transforms a bland starchy root into the sweet, caramel-flavored vegetable you expect. Every minute of those 10 days is worth it.
Start your slips now — or order them from a supplier — and count forward 90-120 days to your harvest window.
Sources: University of Minnesota Extension · NC State Extension · Missouri Botanical Garden · Cornell Cooperative Extension
Highly recommended
The supplies that make this guide work

Tazart is an Amazon Associate — we earn from qualifying purchases at no extra cost to you. Thank you for helping us keep these guides free.
Frequently asked questions
What size container do I need to grow sweet potatoes?
Use a minimum of 57 L (15 gal) per plant, but 95 L (25 gal) is ideal. Tubers need room to expand — cramped pots produce nothing or produce small, forked roots. One plant per 57-L (15-gal) container, or two plants per 95-L (25-gal) container.
Can I grow sweet potatoes in a grow bag?
Yes — fabric grow bags are actually better than hard pots for sweet potatoes. The fabric walls air-prune the roots, prevent compaction, and the sides warm up quickly in sun. Use a 57-L (15-gal) minimum, preferably a 95-L (25-gal) bag.
How do I start sweet potatoes from slips?
You can buy slips from a nursery or make your own. To make slips, suspend a sweet potato in water (half submerged) at 21-27°C (70-80°F) for 4-6 weeks until 10-15 cm (4-6 in) shoots appear. Twist or cut them off, place in water for 1-2 weeks to root, then plant outdoors once the soil is warm.
When should I harvest sweet potatoes grown in containers?
Harvest 90-120 days after planting, or when the leaves start to yellow and the first frost is approaching. Tip the container on its side and gently dig through the soil with your hands to avoid puncturing tubers.
How do you cure sweet potatoes after harvest?
Cure unwashed sweet potatoes at 27-32°C (80-90°F) with 80-90% humidity for 10-14 days. This heals skin damage and converts starches to sugar — raw sweet potatoes taste nothing like cured ones. A warm closet near a heating vent works well.
How often should I water sweet potatoes in containers?
Water deeply when the top 2.5 cm (1 in) of soil is dry, typically every 2-4 days in summer heat. Reduce watering in the final 2-3 weeks before harvest to encourage the skin to set. Overwatering causes the tubers to split and rot.
What fertilizer should I use for container sweet potatoes?
Use a low-nitrogen, high-potassium fertilizer (such as 5-10-10 or tomato formula). Too much nitrogen pushes leafy vine growth at the expense of tubers. Feed every 3-4 weeks through mid-season, then stop 4-6 weeks before expected harvest.
How long do sweet potatoes take to grow in containers?
Most varieties take 90-120 days from slip planting to harvest. Short-season varieties like Beauregard are ready closer to 90 days. Containers warm up faster than ground soil, which can give you a slight head start in spring.