Edible
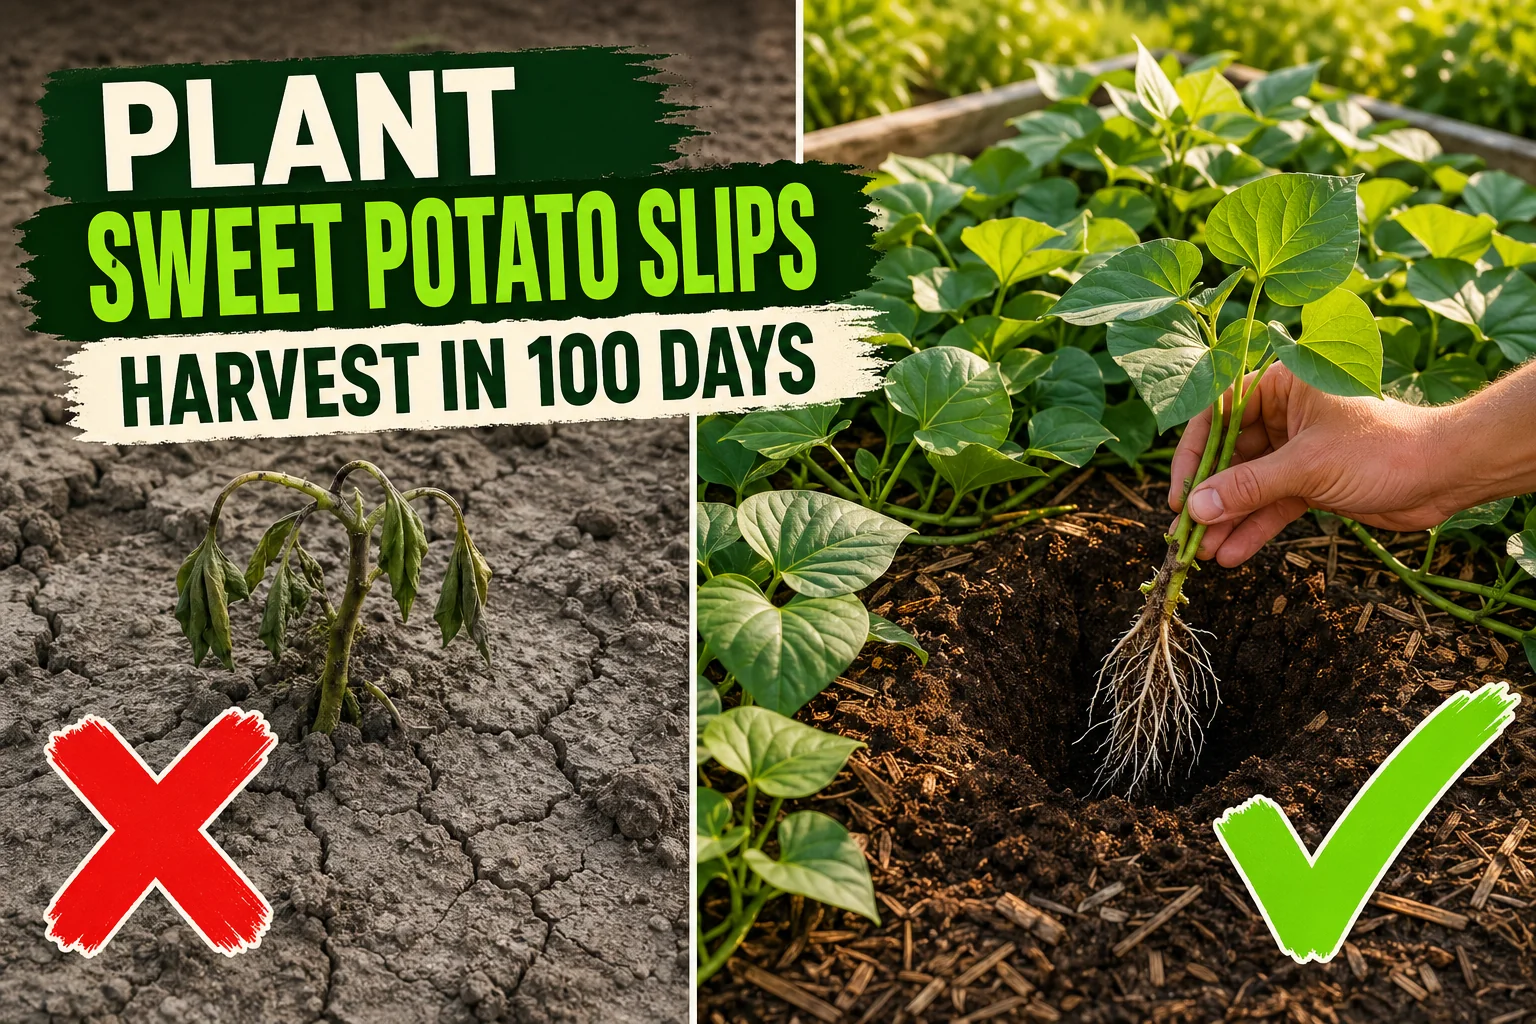
How to Plant Sweet Potato Slips (From Slip to Harvest)
Sweet potatoes grow from rooted slips, not seeds or tubers. Here's exactly how to plant slips — soil temp, depth, spacing, watering, and harvest in 90 to 120 days.
On this page
- Quick answer
- What are sweet potato slips?
- Why timing matters more than anything else
- What you’ll need
- Step-by-step: planting sweet potato slips
- Spacing reference
- Care after planting
- When and how to harvest
- Common mistakes to avoid
- Troubleshooting
- Watch: planting sweet potato slips
- Related reading
- A note on conditions
Watch the visual walkthrough
Turn ONE Sweet Potato Into 100 LBS Of Sweet Potatoes By Growing SWEET POTATO SLIPS! [Complete Guide]
A short visual walkthrough that pairs with the steps above.
Sweet potatoes (Ipomoea batatas) don’t grow from seeds or whole tubers the way regular potatoes do. They grow from slips — small rooted shoots cut from a mother tuber. Plant the slip, give it heat and time, and 90 to 120 days later you dig up a cluster of fat sweet potatoes from each one.
This guide covers exactly how to plant rooted slips: when to plant, soil prep, depth, spacing, watering, and how to know they’re done.
Quick answer
Plant rooted sweet potato slips 3 to 4 weeks after your last frost, once the soil at 10 cm (4 in) depth is at least 18°C (65°F). Bury the lower stem 10 to 15 cm (4 to 6 in) deep with only the top leaves above soil, space slips 30 cm (12 in) apart in rows 90 cm (36 in) apart, water in deeply, and mulch. First harvest in 90 to 120 days, before the first fall frost.
What are sweet potato slips?
A slip is a leafy shoot that sprouts from a sweet potato tuber, about 15 to 30 cm (6 to 12 in) long, with several leaves and ideally a small mass of white roots at the base. Slips are how the entire commercial sweet potato industry propagates the crop — every sweet potato in the supermarket started life as a slip.
You can buy bare-root slips by mail in spring, or grow your own by suspending a healthy organic sweet potato in water until shoots appear, then twisting the shoots off and rooting them in a glass of water for a week or two before planting.
For most home gardeners, buying certified slips is the safer route: they’re already rooted, disease-screened, and ship at the right planting time for your zone.
Why timing matters more than anything else
Sweet potatoes are a tropical crop. Unlike regular potatoes, which can be planted in cool spring soil, sweet potato slips will sit and rot if the ground is below 18°C (65°F).
The cheapest mistake new growers make is planting on the same date they plant other things in spring. Wait. Sweet potatoes want:
- Air temperatures consistently above 18°C (65°F) day, above 13°C (55°F) night
- Soil temperature at 10 cm (4 in) depth at 18°C (65°F) or warmer
- A frost-free runway of at least 100 days from planting to harvest
A simple soil thermometer pushed 10 cm (4 in) into the bed for three mornings in a row tells you when it’s time. In most US zones 6 and 7, that’s late May to early June. In zone 8 and warmer, mid-May. In zone 5 and colder, you’ll often need black plastic mulch over the bed for 2 weeks ahead to warm the soil.
What you’ll need
- 6 to 12 rooted sweet potato slips (one slip yields 1.5 to 3.5 kg / 3 to 8 lb of tubers)
- A sunny spot — at least 6 to 8 hours of direct sun
- Loose, well-draining soil — heavy clay produces deformed tubers
- A bag of compost or aged manure (a 5 cm / 2 in layer worked into the bed)
- Mulch — straw or shredded bark, 5 cm (2 in) deep
- A soil thermometer
- A watering can or drip line
Step-by-step: planting sweet potato slips
1. Prepare the bed
Sweet potatoes are root crops, so the soil shape matters as much as the soil chemistry. Three weeks before planting:
- Loosen the soil to a depth of 25 to 30 cm (10 to 12 in)
- Mix in a 5 cm (2 in) layer of compost or aged manure
- Build raised mounds (or “ridges”) about 20 cm (8 in) high and 75 cm (30 in) wide
Mounded soil drains faster and warms faster — both critical. If you garden in heavy clay, raised beds with imported topsoil make a much bigger difference for sweet potato yield than for almost any other crop.
Skip high-nitrogen fertilizer. It produces lush vines and tiny tubers. A balanced 5-10-10 worked into the bed at planting is plenty.
2. Wait for warm soil
Push a soil thermometer 10 cm (4 in) into the mounded bed in the morning. When it reads 18°C (65°F) or warmer for three days running, it’s go time.
If you’re impatient, cover the mound with black plastic for two weeks first — it adds 3 to 6°C (5 to 10°F) to soil temperature.
3. Make a deep planting hole
For each slip, dig a hole 10 to 15 cm (4 to 6 in) deep with a trowel or your fingers. Sweet potato slips look fragile but they’re tough — the depth matters because tubers form along the buried stem, not from the tip of the root.
4. Plant the slip on its side
This is the part that surprises most beginners. Lay the slip into the hole on its side so the bottom 10 to 15 cm (4 to 6 in) of stem is buried horizontally and only the top leaves point up at the surface. The buried stem produces roots along its entire length, and roots = tubers later.
If you’d rather plant upright, that works too — just bury the stem deep so most of it is underground. Either way, the goal is maximum buried stem.
5. Backfill, firm gently, and water in
Push soil around the buried stem and press lightly. Water deeply, until the soil is moist 15 cm (6 in) down. Slips often look wilted and limp for the first 3 to 5 days — that’s normal. They’ll perk up once the buried stem develops new roots.
6. Mulch and wait
Once you see new growth from the top leaves (usually within a week), spread a 5 cm (2 in) layer of straw or shredded bark mulch around each slip, leaving a small gap right at the stem so it doesn’t rot.
Mulch keeps soil warm, holds moisture, and stops weeds — all of which sweet potatoes love.
Spacing reference
| Layout | Spacing within row | Row spacing |
|---|---|---|
| Standard raised bed | 30 cm (12 in) | 90 cm (36 in) |
| Wide row / tight planting | 25 cm (10 in) | 75 cm (30 in) |
| Container (10 gal / 38 L) | 1 slip per pot | n/a |
Closer spacing means more plants per square metre but smaller tubers. For first-time growers, the standard 30 cm (12 in) by 90 cm (36 in) spacing is the most forgiving.
Care after planting
Sweet potatoes are mostly hands-off once the vines take off. The main jobs:
| Task | When |
|---|---|
| Water | Deeply once a week — about 2.5 cm (1 in) of water — for the first 6 weeks, then taper off |
| Stop watering | About 2 to 3 weeks before harvest, so tubers cure in dry soil |
| Hill (mound soil over the base) | Once after vines reach 30 cm (12 in) long |
| Lift vines | Mid-season, gently lift any vines that have rooted into the soil so the energy goes back to the main plant |
| Fertilize | Side-dress with a 5-10-10 fertilizer once at week 6, then leave them alone |
A free plant care app like Tazart can hold the watering rhythm for you and adjust it based on local rainfall — useful when you’re juggling several heat-loving crops in mid-summer.
When and how to harvest
Sweet potatoes don’t tell you they’re ready by flowering or dying back the way regular potatoes do. You watch the calendar and the leaves:
- Calendar: 90 to 120 days from planting, depending on variety
- Leaves: the lower foliage starts to yellow
- Frost: before the first fall frost — frost damages tubers in the ground within hours
Stop watering 2 to 3 weeks before you plan to dig, so the soil dries out and the tubers cure better.
To harvest:
- Cut the vines back to 30 cm (12 in) stubs (compost the foliage, it’s edible too)
- Use a digging fork well outside the centre of the plant to lift the soil
- Pull tubers up by hand — never stab a fork into the cluster, sweet potatoes bruise easily
Cure the harvested tubers in a warm (29°C / 85°F) humid spot for 7 to 10 days. This converts starches to sugars — uncured sweet potatoes taste bland and starchy. After curing, store at 13 to 16°C (55 to 60°F). Properly cured sweet potatoes keep for 6 months.
Common mistakes to avoid
- Planting too early. Cold soil rots slips. Wait for 18°C (65°F) at 10 cm (4 in) depth.
- Planting too shallow. Tubers form on the buried stem. Bury 10 to 15 cm (4 to 6 in) of slip, not just the roots.
- High-nitrogen fertilizer. You’ll get a jungle of vine and pencil-thin tubers.
- Letting vines root everywhere. Lift sprawling vines once mid-season so energy stays at the main plant.
- Harvesting after frost. Frost damage on tubers in the ground turns them mushy in storage.
- Skipping the cure. Uncured sweet potatoes taste like potatoes, not sweet potatoes.
Troubleshooting
| Symptom | Likely cause | Fix |
|---|---|---|
| Slips wilt and look dead for a week | Normal transplant shock | Keep soil moist, wait 5 to 7 days for new growth |
| Slips rot at the soil line | Cold or waterlogged soil | Pull and replant when soil is 18°C (65°F) and drains well |
| Massive vines, tiny tubers | Too much nitrogen | Stop fertilizing; lift sprawling vines off the soil |
| Tubers crack or split | Inconsistent watering | Water deeply once a week instead of light daily sprinkles |
| Hollow or misshapen tubers | Heavy clay or rocky soil | Plant in raised mounds with loose compost-rich soil next year |
| Tubers chewed or tunnelled | Voles, wireworms, or sweet potato weevils | Lift earlier; rotate beds; use crop covers in pest-prone zones |
| Yellow leaves before 90 days | Could be ready or could be drought | Dig one tuber to check size; water if dry |
Watch: planting sweet potato slips
A short visual walkthrough pairs well with the steps above. If you’re a visual learner, watch a quick tutorial like How to Plant Sweet Potato Slips on YouTube and then come back to follow the timing in this guide.
Related reading
- How to plant sprouted potatoes — same family of advice for regular potatoes from kitchen sprouts.
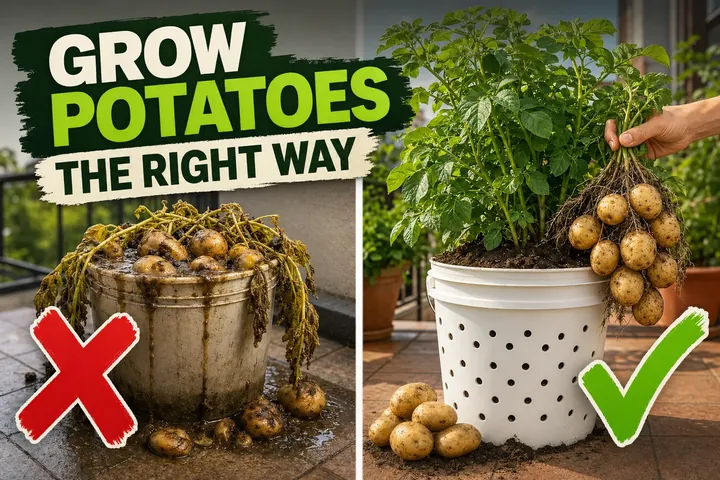
- How to grow potatoes in a bucket — the container approach also works for sweet potatoes in 10 gallon (38 L) fabric bags.
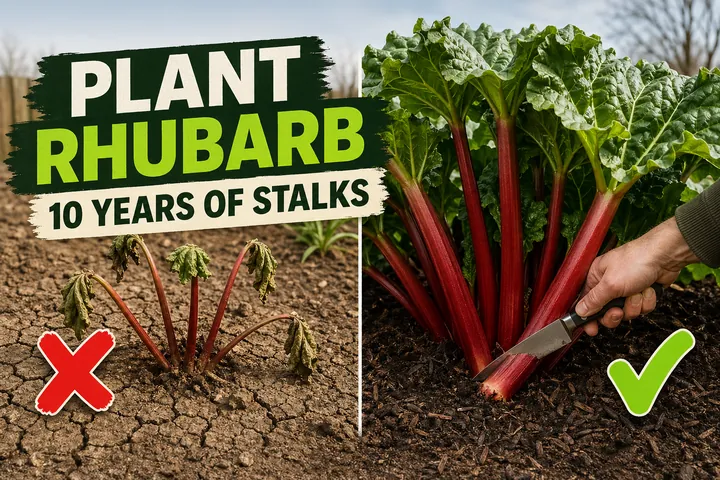
- How to plant rhubarb — another long-season crop where soil prep does most of the work.
- Track watering and harvest windows on the free Tazart plant care app so you don’t miss the 100-day window or the first frost.
A note on conditions
Every garden is different. Soil type, latitude, summer heat, rainfall, and your last and first frost dates all change how sweet potato slips perform. Use the steps above as a starting point, log what your slips actually do in week three, and adjust planting date and spacing for next year — that’s how every good sweet potato grower learns the crop in their own climate.
Highly recommended
The supplies that make this guide work

Tazart is an Amazon Associate — we earn from qualifying purchases at no extra cost to you. Thank you for helping us keep these guides free.
Frequently asked questions
When should I plant sweet potato slips?
Plant slips outdoors 3 to 4 weeks after your last frost date, once daytime temperatures stay above 18°C (65°F) and the soil at 10 cm (4 in) depth has warmed to at least 18°C (65°F). Sweet potatoes are a tropical crop — cold soil stalls the slips and they may rot before they root.
How deep should sweet potato slips be planted?
Bury the lower stem of each slip about 10 to 15 cm (4 to 6 in) deep, so only the top 2 to 3 leaves sit above the soil. Roots and tubers form along the buried stem, so a deeper slip means more potential tubers per plant.
How far apart do you plant sweet potato slips?
Space slips 30 cm (12 in) apart in rows that are 90 cm (36 in) apart. The vines sprawl aggressively — closer spacing tangles the canopy and shades the soil so tubers stay small.
How long do sweet potatoes take to grow from slips?
Most varieties are ready 90 to 120 days after planting, once the leaves start to yellow and the first frost is near. Short-season varieties like Beauregard mature closer to 90 days; storage types like Bonita can take 120+ days.
Do sweet potato slips need full sun?
Yes. Sweet potatoes need at least 6 to 8 hours of direct sun and warm soil to size up tubers. In partial shade you'll get pretty heart-shaped foliage but very small tubers.
Can I plant sweet potato slips in a container?
Yes — use a container at least 40 cm (16 in) wide and 30 cm (12 in) deep per slip, with drainage holes and loose well-draining mix. A 10 gallon (38 L) fabric grow bag works well and warms up faster than a clay pot.