Guide
Starter Fertilizer Guide (NPK, When to Use, How Much)
Starter fertilizer explained: high-phosphorus NPK blends like 18-24-12, when to use, exact rates per area, and the application steps for fast strong roots.
On this page
- Quick answer
- Why phosphorus matters for new roots
- When to use starter fertilizer
- NPK ratios explained
- How much starter fertilizer to apply
- How to apply it
- Starter vs. slow-release: not the same thing
- Signs of starter fertilizer burn
- Common mistakes to avoid
- Troubleshooting
- Watch: applying starter fertilizer the right way
- Related reading
- A note on conditions
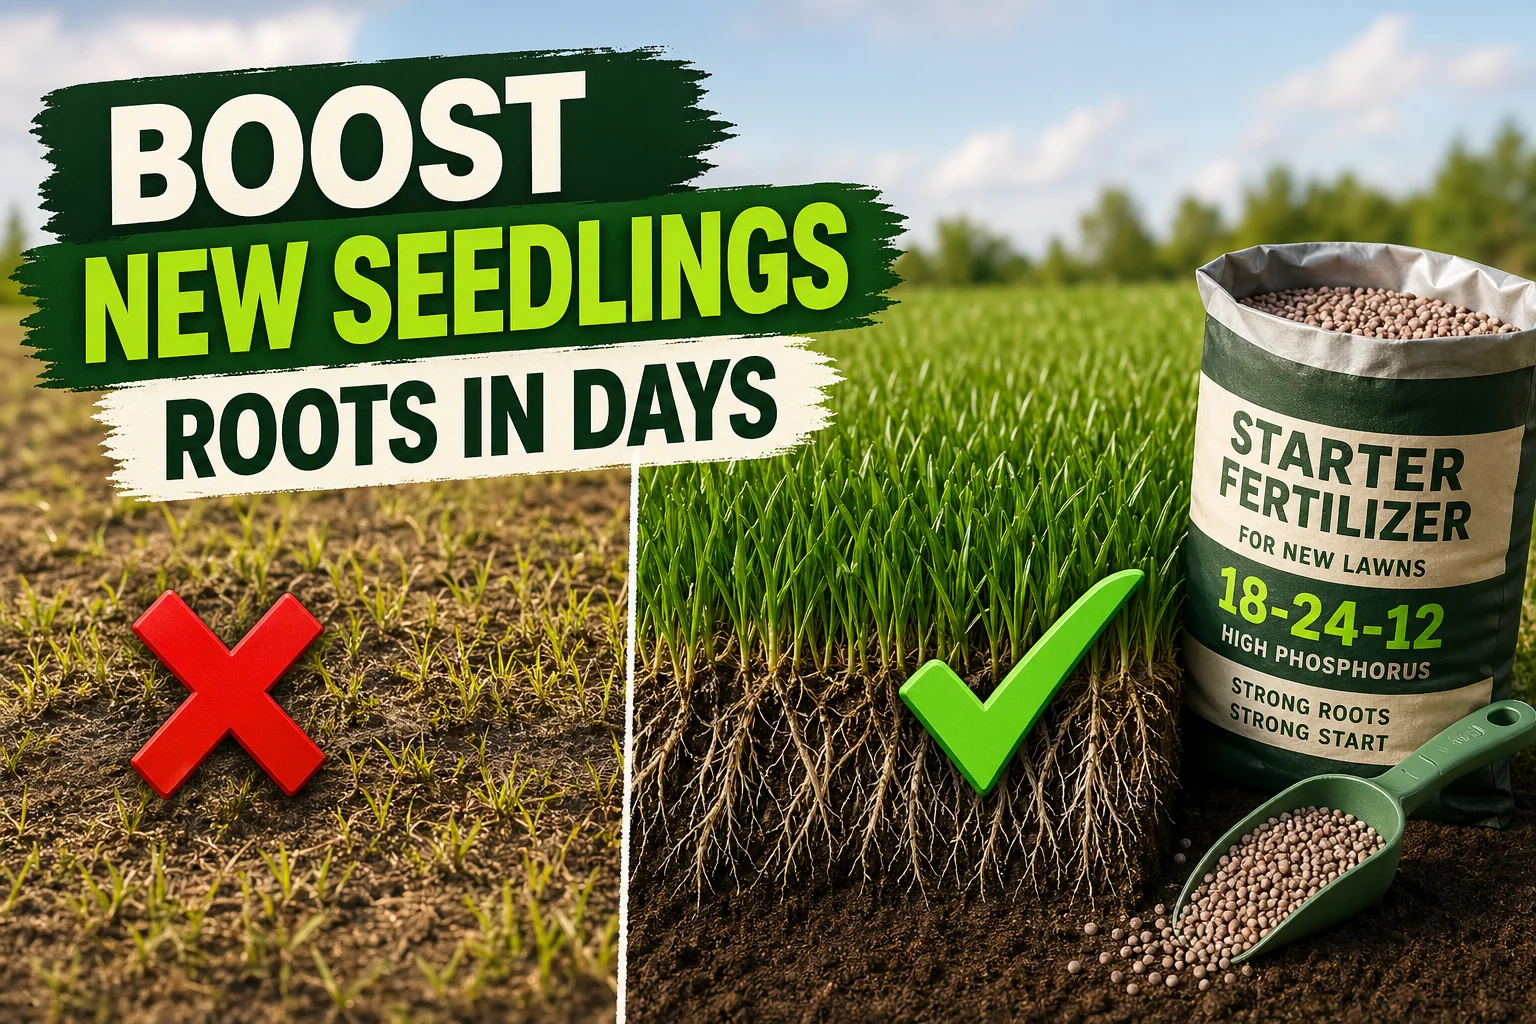
Starter fertilizer is a high-phosphorus blend designed for one job and one job only: getting brand-new seedlings, sod, and transplants to put down strong roots fast. The classic ratios — 18-24-12, 10-20-10, 12-25-12 — all share the same shape: the middle number (phosphorus, P) is bigger than the first (nitrogen, N) and last (potassium, K). That extra phosphorus is what tells a freshly germinating seed or a transplanted root ball to push roots before it pushes leaves.
A maintenance fertilizer — what you use on an established lawn or houseplant — is the opposite. Ratios like 24-0-10, 28-0-3, or a balanced 10-10-10 lean on nitrogen for top growth and skip or reduce phosphorus. Using a maintenance feed at planting is one of the most common reasons new seedings come in thin and yellow: enough nitrogen to push leaves, not enough phosphorus to support roots. This guide walks through exactly when to use a starter, the right NPK ratios, how much to spread per area, and how to apply it so it actually works instead of burning the plants you just put in.
Quick answer
Use starter fertilizer once, at the exact moment of seeding, sodding, or transplanting. Pick a blend with phosphorus higher than nitrogen — common choices are 18-24-12 or 10-20-10. Apply at 2–4 lb per 1000 sq ft (1–2 kg per 100 m²), broadcast evenly, and water it in within 24 hours. The phosphorus drives early root development so seedlings and transplants establish in days instead of weeks. Switch to a balanced maintenance fertilizer at the 4–6 week mark.
Why phosphorus matters for new roots
The middle number on every fertilizer bag is phosphorus (P₂O₅), and at planting it is the limiting nutrient. Phosphorus is essential for:
- Cell division in growing root tips
- Energy transfer (ATP) inside young plant cells
- Sugar transport from leaves down to the developing root system
- Establishment of the deep, branching root system that lets a plant survive its first dry spell
Mature plants pull phosphorus slowly from existing soil reserves. A germinating seed or a freshly cut sod root cannot — its tiny roots cannot reach far enough to find what’s there. Phosphorus is also slow-moving in soil: it stays put within a few centimetres of where it lands. Surface-applying a starter that gets watered in puts P right where new roots are forming.
That is why you cannot fix a phosphorus shortage at planting by feeding more nitrogen later. Once the early root window is missed, a thin lawn or sluggish transplant stays thin and sluggish.
When to use starter fertilizer
Starter fertilizer is for the moment of planting only. The four cases:
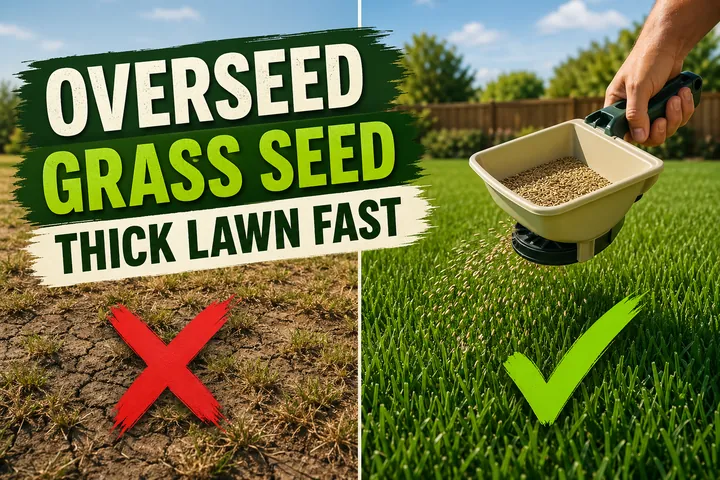
1. Lawn seeding and overseeding bare patches
Apply starter fertilizer the same day you spread grass seed. Rake it into the top 1 cm (0.5 in) of soil before seeding, or broadcast it on top of the seed and water in. New grass shows visible thickening within 2–4 weeks compared to seed sown with no starter.
2. Sod laying
Spread starter fertilizer onto the prepared soil before unrolling the sod. The roots in the sod are very short, and the only phosphorus they can reach is the layer of soil they sit on. Putting starter under the sod, not on top of it, makes a measurable difference in how fast the sod knits in.
3. Tree and shrub planting
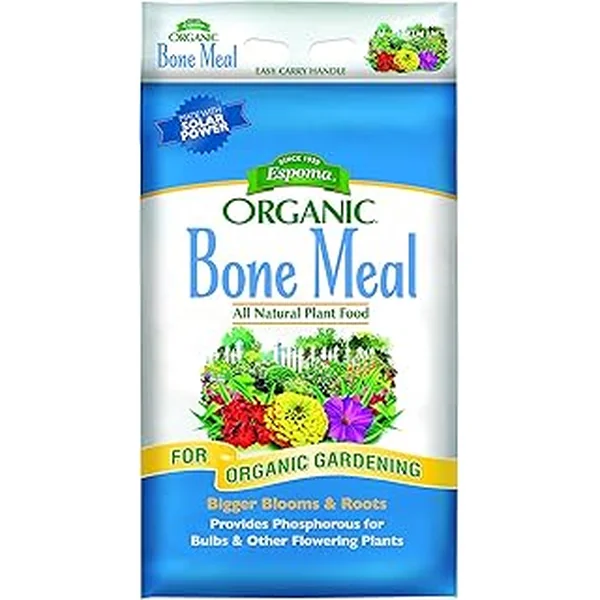
Mix a small amount of starter fertilizer (or bone meal as a slower organic equivalent) into the bottom of the planting hole and the top 15 cm (6 in) of backfill. Do not pile granular fertilizer in direct contact with bare roots — buffer it with soil.
4. Vegetable and ornamental transplants
For tomatoes, peppers, eggplants, brassicas, and other annual transplants, mix about a tablespoon (15 ml) of starter into the bottom of each planting hole and stir it into the surrounding soil before setting the transplant. The phosphorus shortens transplant shock and gets the roots growing into the new soil within days.
NPK ratios explained
Every fertilizer label shows three numbers: N-P-K (nitrogen, phosphorus, potassium) as a percentage of weight.
| Ratio | Type | Use |
|---|---|---|
| 18-24-12 | Synthetic starter (high analysis) | Lawn seeding, sod laying — most efficient |
| 10-20-10 | Synthetic starter (mid analysis) | Lawn seeding, vegetable transplants |
| 12-25-12 | Synthetic starter (high P) | Sod, slow-establishing turf |
| 6-20-20 | Starter for poor soils | Sandy or low-K soils |
| 3-15-0 | Bone meal (organic) | Bulbs, trees, transplants — slow release |
| 10-10-10 | Balanced (NOT a starter) | General-purpose maintenance feed |
| 24-0-10 | Maintenance lawn feed | Established turf — do NOT use at seeding |
The simple test: the middle number must be bigger than the first. If N is bigger than P, it is a maintenance feed, not a starter — using it at seeding wastes the seed.
How much starter fertilizer to apply
Most starter fertilizers are spread at 2–4 lb per 1000 sq ft (1–2 kg per 100 m²). The exact rate depends on the formula’s strength: high-analysis 18-24-12 goes on the lower end, weaker 10-20-10 toward the upper end. Always follow the bag’s recommended rate — going heavier never gives faster results, only fertilizer burn.
| Area to cover | Starter at 3 lb / 1000 sq ft (1.5 kg / 100 m²) |
|---|---|
| 100 sq ft (9 m²) | About 0.3 lb (135 g) |
| 500 sq ft (46 m²) | About 1.5 lb (680 g) |
| 1000 sq ft (93 m²) | About 3 lb (1.35 kg) |
| 2500 sq ft (232 m²) | About 7.5 lb (3.4 kg) |
| 5000 sq ft (465 m²) | About 15 lb (6.8 kg) |
For trees and shrubs, use about 60 g (2 oz) of starter mixed into the backfill of a 30–45 cm (12–18 in) deep planting hole. For vegetable transplants, a level tablespoon (15 ml, about 15 g) per hole is plenty.
How to apply it
The application is what separates a useful starter feeding from a wasted one.
- Calibrate the spreader. A rotary (broadcast) or drop spreader at the setting on the bag gives even coverage. An uncalibrated spreader is the #1 cause of streaks and burn spots.
- Spread in two perpendicular passes. Walk the area in one direction with half the bag, then walk perpendicular to that with the second half. Even coverage matters more than nominal rate.
- Apply to lightly moist soil. Dry powdery soil pulls fertilizer granules into the dust and into the wind. A morning where the soil is just damp is ideal.
- Water it in within 24 hours. Starter fertilizer needs water to dissolve and reach the seeds and roots. Apply 5–10 mm (0.2–0.4 in) of water — enough to wet the top 2–3 cm (1 in) of soil. Without this step, granules sit on the surface and never reach where they’re needed.
- Do not double-apply. One application at planting is the entire program. Repeated starter applications build phosphorus to toxic levels in soil and increase runoff into local waterways.
Starter vs. slow-release: not the same thing
A starter fertilizer is fast-release by design. It is meant to deliver phosphorus to germinating seeds and freshly cut roots in days. A slow-release fertilizer feeds over 2–3 months and is used after establishment.
Some bags combine the two — a fast-release starter component plus a small slow-release fraction — to bridge the gap to the first maintenance feeding at 4–6 weeks. That is fine, as long as the middle number is still the largest. Pure slow-release fertilizers (think coated urea pellets) make poor starters: by the time they release their phosphorus, the early root window has closed.
Signs of starter fertilizer burn
Burn happens when granules concentrate in one spot, when starter is applied in direct contact with bare roots, or when the soil dries out before the fertilizer is watered in. Signs to watch for in the first 2 weeks:
- Yellow or bleached strips in a new lawn — usually wheel tracks from a poorly calibrated spreader
- Brown crispy seedling tips in patches that match where the bag was first opened or last emptied
- A white salt crust on the soil surface
- Wilting transplants that are well-watered — the roots cannot pull water through high-salt soil
- Leaf scorch along the edges of transplant leaves within 5–7 days
If you spot any of these, flush the area with plain water — the equivalent of 25 mm (1 in) of rainfall over the affected zone. Repeat the next day. Do not apply more fertilizer for at least 6 weeks.
Common mistakes to avoid
- Using a maintenance fertilizer instead of a starter. A 24-0-10 or 28-0-3 has no phosphorus. New seedlings come in thin and yellow because they cannot build a root system on nitrogen alone.
- Double-applying. “More is better” with starter fertilizer always ends in burn or runoff. One application at planting is the full program.
- Applying to dry soil. Granules sitting on dry soil never dissolve. Water lightly first, apply, then water in.
- Spreading on top of laid sod. Starter belongs under the sod, on the prepared soil, not on top where the sod’s leaves block it from reaching roots.
- Skipping the water-in step. A starter not watered in within 24 hours might as well not be applied.
- Using starter on an established lawn. A healthy mature lawn does not need extra phosphorus and many regions restrict phosphorus on established turf to protect waterways.
Troubleshooting
| Symptom | Likely cause | Fix |
|---|---|---|
| Newly seeded lawn comes in thin and yellow | No starter applied, or wrong NPK (maintenance feed used) | Wait until first mow; apply a balanced 10-10-10 at half the bag rate |
| Streaks of burnt or brown grass | Uncalibrated spreader; uneven application | Flush with 25 mm (1 in) of water; reseed bare strips at 2× the rate |
| Transplant wilts despite consistent watering | Starter granules in direct contact with bare roots | Water deeply; mulch the surface; do not refeed for 6 weeks |
| White salt crust on soil surface | Over-application or poor watering-in | Flush with plain water; skip the next 1–2 scheduled feedings |
| Sod fails to knit in after 3 weeks | Starter applied on top of sod, not under it | Lift a corner to confirm; topdress with thin compost and a maintenance feed |
| Sluggish vegetable transplants | Starter mixed in too late or omitted | Side-dress with bone meal at 30 g (1 oz) per plant; water in well |
Watch: applying starter fertilizer the right way
A short visual walkthrough pairs well with the steps above. If you’re a visual learner, watch a quick tutorial like How to Apply Starter Fertilizer on YouTube and then follow the exact rates and timing in this guide.
Related reading
- How to plant grass seed on an existing lawn — the overseeding companion guide where starter fertilizer fits into the workflow.
- How to make compost at home — the slow, organic counterpart that builds long-term soil phosphorus and microbial life.
- How to plant an apple tree — exactly where bone meal and starter fertilizer go in a tree-planting hole.
- Track watering, fertilizing, and seeding schedules with the free Tazart plant care app and let it adjust for your local weather and soil temperature.
A note on conditions
Soil chemistry is not uniform. Existing soil phosphorus levels, pH, organic matter, drainage, recent rain, and local soil-test results all change how much starter fertilizer is actually needed. Use the rates above as a safe starting point, follow your local soil test if you have one, and respect any regional restrictions on phosphorus near waterways. The 2–4 week window after seeding or transplanting is when small adjustments — an extra watering, a thin compost topdress, a flush after a hot day — pay back the most.
Highly recommended
The supplies that make this guide work
Tazart is an Amazon Associate — we earn from qualifying purchases at no extra cost to you. Thank you for helping us keep these guides free.
Frequently asked questions
What is starter fertilizer and when should I use it?
Starter fertilizer is a high-phosphorus blend (commonly 18-24-12 or 10-20-10) used once at the moment of seeding, laying sod, or transplanting trees, shrubs, and vegetables. The high phosphorus drives early root development so seedlings and transplants establish in days rather than weeks. Use it only at planting — switch to a balanced or maintenance fertilizer afterward.
What NPK ratio is a starter fertilizer?
Starter fertilizers carry a phosphorus number (the middle number, P) higher than nitrogen (N) and potassium (K). Common ratios are 18-24-12, 10-20-10, 12-25-12, and 6-20-20. The middle number should be the largest — that is what makes a fertilizer a starter rather than a maintenance feed.
How much starter fertilizer per 1000 sq ft?
Most starter fertilizers are applied at 2–4 lb per 1000 sq ft (1–2 kg per 100 m²). Always read the bag — concentrated formulas (high analysis like 18-24-12) use the lower end, weaker blends use the upper end. Spreading at the heavier rate does not give faster results — it causes fertilizer burn.
Can I use starter fertilizer on an existing lawn?
Only when overseeding bare patches or thin spots. An established healthy lawn does not need extra phosphorus; many regions even restrict phosphorus on established turf to protect waterways. For a regular feed on an existing lawn, use a maintenance fertilizer like 24-0-10 instead.
Can I make my own starter fertilizer?
Yes — a homemade equivalent uses bone meal (about 3-15-0) plus a small amount of balanced organic fertilizer. Mix 2 parts bone meal to 1 part balanced organic feed and apply at 2–3 lb per 1000 sq ft (1–1.5 kg per 100 m²). It is slower than a synthetic starter but will not burn seedlings and is safer near edibles and pets.
Is starter fertilizer the same as slow-release fertilizer?
No. Starter fertilizer is fast-release and front-loads phosphorus to drive early root growth. Slow-release fertilizer feeds steadily over 2–3 months and is used for maintenance after the plant or lawn establishes. Some starter blends combine a small slow-release component, but the defining feature is still the high middle (P) number.