Diagnosis
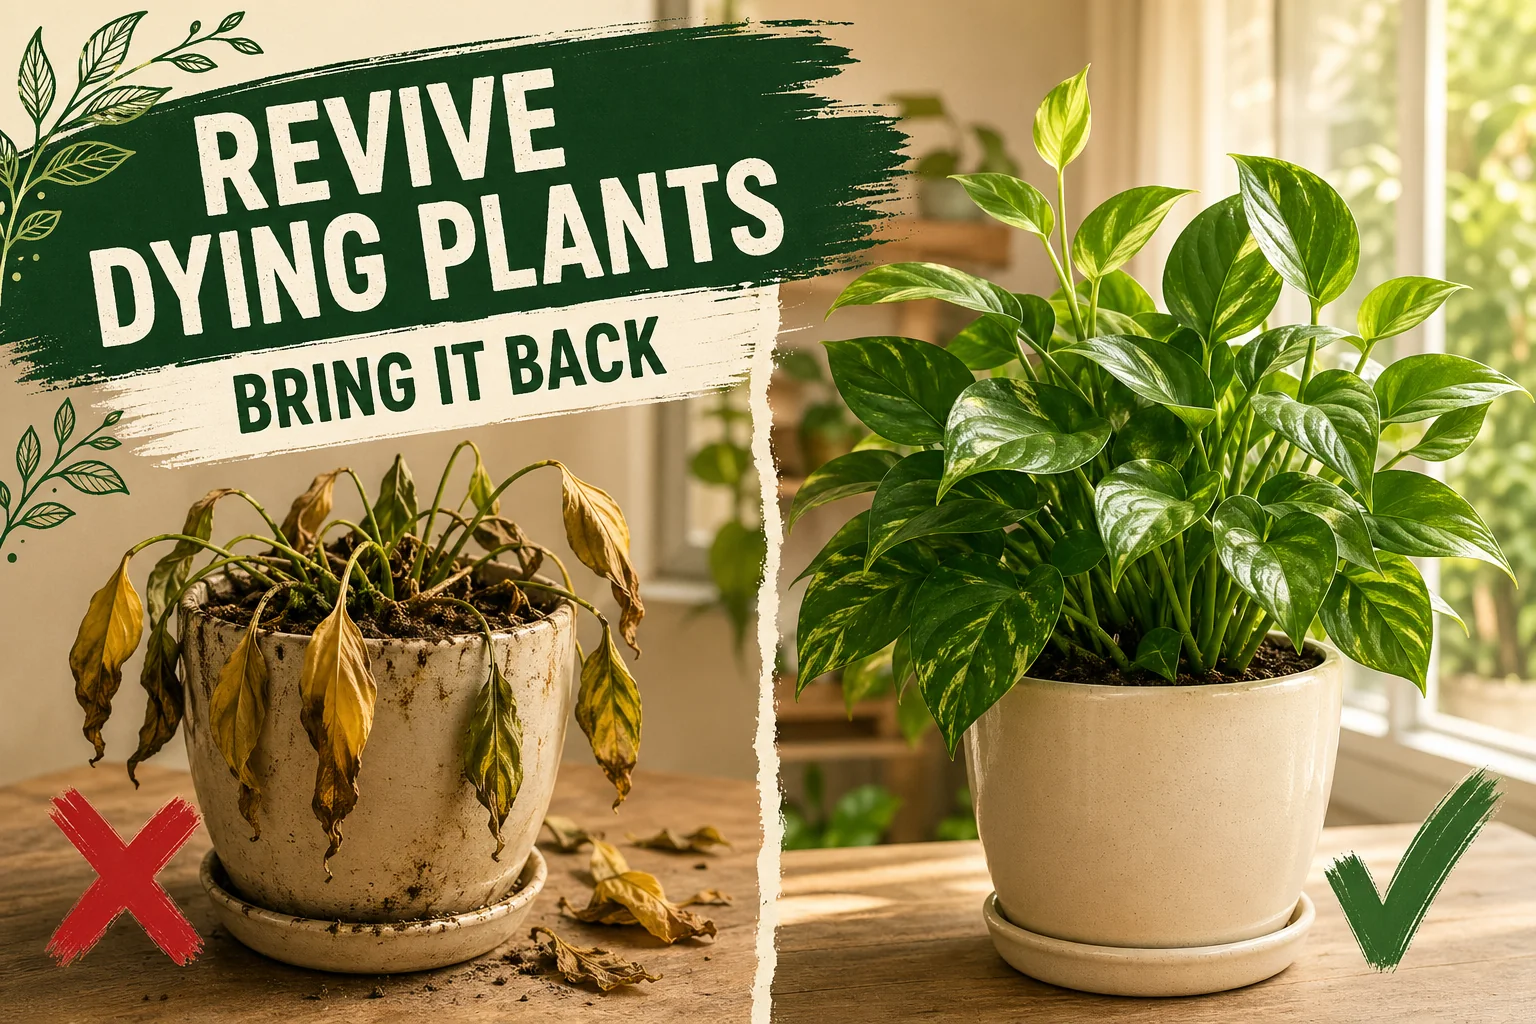
How to Revive a Dying Plant (Step-by-Step Guide)
Learn how to revive a dying plant with this 5-cause rescue guide. Diagnose overwatering, underwatering, light, pests, or nutrients — then fix it in 30 days.
On this page
Watch the visual walkthrough
How to Revive Any Dying Plant With This Simple Trick (Works Every Time!)🌳
Welcome to Wonder Garden! In today's video, discover a simple trick that works every time to revive any dying plant, including ...
A dying plant is almost never past saving — if you move fast and treat the right problem.
Most houseplants die slowly from a single fixable cause: too much water, too little water, the wrong light, a pest colony, or depleted soil. The catch is that the symptoms look similar across all five. Watering a root-rotted plant more kills it faster. Fertilizing a stressed plant burns the roots. The single most important step is diagnosing first and treating second.
This guide gives you a clear triage system, a symptom-to-cause table, and a step-by-step recovery plan for each major problem — plus the 30-day timeline you should expect and the common mistakes that turn a recoverable plant into a lost one.
Quick answer
Do the 24-hour assessment before treating anything. Match the symptom pattern to one of the five causes — overwatering/root rot, underwatering, light starvation, pests, or nutrient deficiency — then follow the specific recovery protocol for that cause. Most plants stabilize within 1 to 2 weeks and show new growth within 3 to 5 weeks.
Step 1: Is the plant actually alive?
Before spending time on a recovery, do the scratch test.
Take your fingernail and scratch a small area of bark or stem tissue on a main stem near the base. Look at what is underneath:
- Green, slightly moist tissue — the plant is alive. Proceed with the triage below.
- Dry, brown, brittle tissue — that stem is dead. Check several spots lower and lower on the plant. Some plants have a dead canopy but a living root crown that will regrow.
- Brown all the way to the soil level — the plant is almost certainly dead. Take a stem cutting from any still-green upper growth and try to root it before discarding the plant.
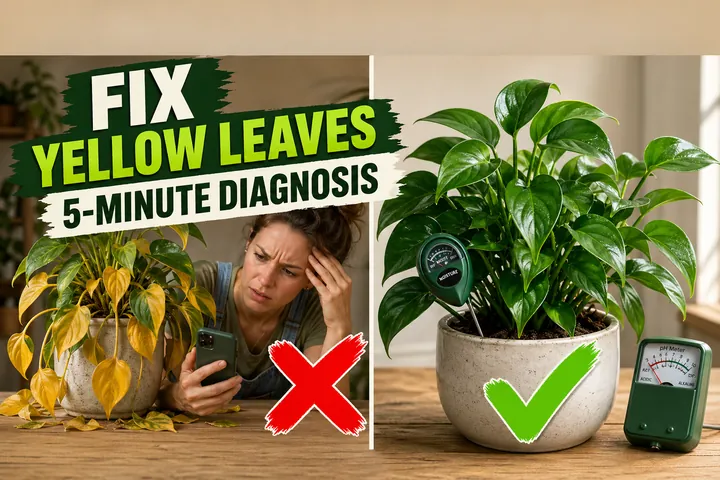
Step 2: The 24-hour assessment — diagnose before you treat
Do not water, fertilize, repot, or spray anything until you know the cause. Check all five areas before acting.
Symptom-to-cause triage table
| Symptom | Likely cause |
|---|---|
| Yellowing lower leaves, soil is wet, sour smell from pot | Overwatering / root rot |
| Wilting, dry crispy leaf edges, soil bone dry and pulling away from the pot | Underwatering |
| Pale washed-out leaves, long stretched stems, leaning toward window | Light starvation |
| Sticky residue on leaves, webbing under leaves, white cottony clusters, holes in leaves | Pest infestation |
| Yellow leaves with green veins, uniform pale colour, slow growth despite good watering and light | Nutrient deficiency |
| Yellowing upper leaves + drooping in wet soil | Root rot (advanced) |
| Sudden collapse, no obvious soil or leaf issue | Check roots immediately — likely root rot |
The root check
Whatever the symptoms, always lift the plant out of the pot and look at the roots. This one step tells you more than anything else:
- Firm, white or pale tan roots, earthy smell — roots are healthy; the problem is above ground (light, pests, nutrients, or watering schedule)
- Black, brown, or grey roots, mushy texture, sour or sewage smell — root rot, likely from overwatering or poor drainage
- Very sparse roots, thin and dry, soil completely desiccated — severe underwatering; the root system has contracted
Step 3: Recovery protocols by cause
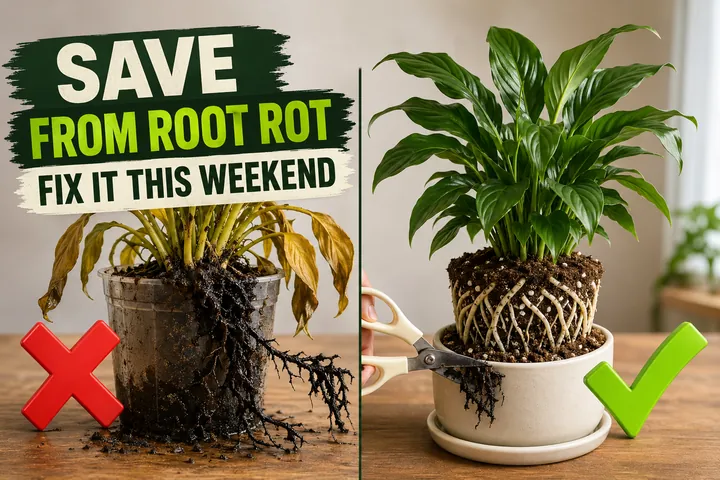
1. Root rot (overwatered plant)
Root rot is the most serious cause because it is invisible until it is advanced. The good news: most plants survive if you catch it before all the roots are gone.
How to fix root rot:
- Unpot the plant and rinse all soil off the roots under lukewarm water.
- Cut away every root that is black, brown, mushy, or smells bad using sterilized scissors (wipe with 70% isopropyl alcohol between cuts).
- Dip the cleaned root ball in a solution of one part 3% hydrogen peroxide to three parts water for 2 to 3 minutes.
- Let the root ball air dry on newspaper for 15 to 20 minutes.
- Repot in a clean pot with drainage holes — same size or one size smaller — using fresh dry potting mix. Add 20–30% perlite by volume to improve drainage.
- Do not water for 5 to 7 days. Damaged roots cannot absorb water and will rot again if you water immediately.
- After 7 days, water lightly and resume watering only when the top 2–3 cm (1 in) of soil is dry.
Trim about a third of the foliage to reduce the water demand on a reduced root system. This looks drastic but significantly improves survival odds.
For a detailed walkthrough, see the full root rot rescue guide.
2. Underwatered plant
An underwatered plant looks collapsed and crispy but is often easier to save than an overwatered one — the roots are intact, just very dry.
How to fix underwatering:
- Do not pour water from the top — dry compacted soil repels water and most of it runs straight down the sides of the pot without reaching the roots.
- Place the pot in a basin of room-temperature water to a depth of about 5 cm (2 in).
- Leave it to soak for 45 to 60 minutes, until the topsoil feels moist to the touch.
- Lift the pot out, let it drain fully, then return it to its spot.
- Within 2 to 4 hours, most underwatered plants lift their leaves and begin to look normal again — this rapid response confirms underwatering was the cause.
- Going forward, check soil moisture every 2 to 3 days instead of watering on a fixed schedule. Water when the top 3–5 cm (1–2 in) are dry for most tropical plants, or when the top half of the pot is dry for succulents and cacti.
3. Light-starved plant
Light starvation develops slowly — usually over several weeks of insufficient exposure. The plant will not bounce back overnight but will recover steadily once lighting is corrected.
Signs of light starvation:
- Pale, washed-out, or yellowish leaves across the whole plant (not just lower leaves)
- New leaves coming in smaller than older leaves
- Long gaps between leaves on the stem (etiolation)
- The plant noticeably leans toward the nearest window
How to fix light starvation:
- Move gradually, not suddenly. A plant used to low light will sunburn if moved directly into bright sun. Shift it 30–60 cm (12–24 in) closer to the window every 3 to 5 days.
- If no bright window is available, add a full-spectrum LED grow light. Position it 15–30 cm (6–12 in) above the canopy and run it for 12 to 14 hours per day.
- Rotate the pot a quarter turn each week so all sides get even exposure.
- New growth will appear more compact and darker green within 2 to 4 weeks of correct lighting.
Note: if etiolated stems have grown long and lanky, you can prune them back by a third — the plant will regrow more compactly from the new light level.
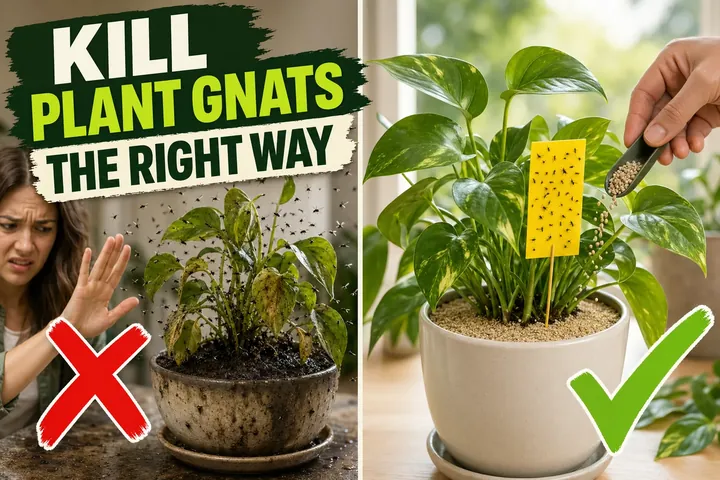
4. Pest-infested plant
A pest infestation left untreated will drain a plant’s energy until it collapses. Identifying the pest type matters because the treatment differs.
Common houseplant pests and identification:
| Pest | What you see | Where to look |
|---|---|---|
| Spider mites | Fine webbing, tiny speckled dots on leaves | Undersides of leaves, near new growth |
| Mealybugs | White cottony clusters, sticky residue | Leaf axils, stem joints, root crown |
| Aphids | Clusters of tiny green, black, or white insects | Tips of new growth, undersides of leaves |
| Fungus gnats | Tiny black flies around the soil surface, larvae in roots | Soil surface, especially when overwatered |
| Scale insects | Brown or tan waxy bumps stuck to stems | Main stems, along leaf midribs |
How to treat a pest infestation:
- Isolate the plant immediately — move it away from all other plants to prevent spread.
- Identify the pest before treating. Using the wrong product wastes time.
- Spider mites: rinse the plant under a firm shower of water, then apply diluted neem oil (2 tsp / 1 L water) to all leaf surfaces including undersides. Repeat every 7 days for 3 weeks.
- Mealybugs: dab individual bugs with a cotton swab dipped in 70% isopropyl alcohol, then spray the whole plant with diluted neem oil or insecticidal soap.
- Aphids: blast off with water, then apply insecticidal soap or neem oil. Repeat every 5 to 7 days until clear.
- Fungus gnats: let the soil dry out (larvae die without moisture), add yellow sticky traps to catch adults, and drench the soil once with a diluted BTI (Bacillus thuringiensis israelensis) solution to kill larvae. See the full guide on how to get rid of plant gnats.
- After three consecutive weeks of no pest activity, you can move the plant back near other plants.
5. Nutrient-deficient plant
Nutrient deficiency is the least urgent of the five causes but still causes visible decline over weeks and months.
How to identify nutrient deficiency:
The pattern of yellowing tells you which nutrient is missing:
| Yellowing pattern | Likely deficiency |
|---|---|
| Older lower leaves yellow, veins stay green | Magnesium |
| New upper leaves yellow, veins stay green | Iron or manganese |
| All leaves pale yellow-green uniformly | Nitrogen |
| Purple tint on leaf undersides | Phosphorus |
| Brown scorched leaf edges | Potassium |
How to treat nutrient deficiency:
- Confirm the plant is in appropriate light and has correct watering before feeding — nutrients cannot be absorbed efficiently in stress conditions.
- Use a balanced, water-soluble fertilizer (NPK ratio around 10-10-10 or 20-20-20) diluted to half the recommended dose.
- Apply once every 2 to 4 weeks during the growing season (spring and summer). Reduce to once every 6 to 8 weeks in autumn and stop entirely in winter.
- Never feed a plant that is wilting, has root rot, or has been recently repotted — the damaged roots will be burned rather than nourished.
If you suspect a specific deficiency, a targeted supplement (chelated iron, Epsom salt for magnesium) works faster than a general feed.
The 30-day recovery timeline
Knowing what to expect prevents panic and premature abandonment.
| Days | What to expect |
|---|---|
| Days 1–3 | Plant looks the same or slightly worse — this is normal. Do not change treatment. |
| Days 4–7 | Decline stops. No new yellowing or wilting. Existing damage stays but doesn’t worsen. |
| Days 7–14 | Slight improvement — leaves may lift slightly, colour may improve marginally. |
| Days 14–21 | First new growth appears — small, possibly pale at first, but a confirmed sign of recovery. |
| Days 21–30 | New growth expands, older damaged leaves fall off naturally. The plant is in recovery mode. |
| Days 30–90 | Gradual return to normal size and health. Full recovery timeline depends on species and damage severity. |
If the plant is still declining at day 14 with no change, revisit the diagnosis — you may have treated the wrong cause, or there may be a secondary problem.
Common mistakes during revival
These are the actions most likely to turn a recoverable plant into a dead one.
Watering a stressed plant more. The instinct when a plant looks bad is to water it. If the cause is overwatering or root rot, this is fatal. Always check the soil moisture before adding any water.
Fertilizing a dying plant. A plant in distress cannot absorb nutrients — it can only burn from them. Wait until recovery is confirmed before feeding.
Repotting unnecessarily. Repotting is only the right move for root rot or severe rootbound plants. For every other cause — underwatering, light, pests, nutrients — repotting adds transplant shock to an already struggling plant and usually makes things worse.
Moving a struggling plant to full sun. More light feels like a logical fix, but a stressed plant in direct sun loses water faster than its damaged roots can replace it. Move gradually.
Pruning everything at once. Removing damaged leaves is good, but cutting off more than a third of the foliage at once puts the plant into additional stress. Prune in stages.
Treating pests with one application. Most pest life cycles are 5 to 10 days. A single neem oil treatment kills adults but not eggs. Three applications, 7 days apart, are the minimum for a real result.
When a plant is truly dead
Some plants cannot be saved. Signs that recovery is unlikely:
- The scratch test shows brown, dry, brittle tissue all the way to soil level on every stem.
- Every root is black, mushy, and foul-smelling with no firm white roots remaining.
- The main stem is hollow or collapsed.
- The plant has been in severe decline for weeks with no green tissue remaining.
Even a fully dead plant may be worth propagating if any top growth is still green. Take a clean stem cutting with 2 to 3 nodes, strip the lower leaves, and place it in water or moist perlite. Many species root readily from cuttings even when the parent plant is beyond saving.
Track the recovery with Tazart
The hardest part of plant recovery is keeping the new watering schedule consistent. The Tazart plant care app tracks each plant individually, adjusts the schedule based on your local conditions, and sends reminders only when the soil is likely due — so you do not accidentally revert to the overwatering habit that caused the problem in the first place. Dr. Afrao, the in-app AI assistant, can also help you identify symptoms and confirm the diagnosis.
Related reading
- How to fix root rot on houseplants — the full step-by-step rescue protocol if root rot is confirmed, including exact hydrogen peroxide ratios and post-rescue watering resets.
- Why are my plant leaves turning yellow? — a deeper look at the full spectrum of causes behind yellowing, from mineral deficiencies to seasonal changes.
- How to get rid of plant gnats — fungus gnats almost always appear alongside an overwatered or recovering plant; clearing them is part of the full recovery.
A note on conditions
Recovery speed and success rate vary significantly depending on plant species, pot size, local humidity, season, and how early you caught the problem. Tropical foliage plants like pothos, monstera, and philodendron tend to bounce back faster than slower-growing species like fiddle-leaf figs or succulents. The protocols above are proven starting points — adjust based on what your plant shows you in week two.
Highly recommended
The supplies that make this guide work


Tazart is an Amazon Associate — we earn from qualifying purchases at no extra cost to you. Thank you for helping us keep these guides free.
Frequently asked questions
Can a dying plant be saved?
Yes — the vast majority of dying houseplants can be saved if you identify the correct cause and act within a few days. The key step is diagnosing first and treating second. The most common mistake is watering a plant that is already overwatered, which makes everything worse. Do the scratch test on the stem (green = alive, brown = dead), check the roots, and match your treatment to the actual problem.
How do I know if my plant is dead or alive?
Use the scratch test: take your fingernail and scratch a small patch on a main stem close to the base. If the tissue underneath is green and slightly moist, the plant is alive and worth saving. If it is dry, brown, and brittle all the way through, that stem is dead. Check several spots — a plant can have dead upper stems but a living base that will still regrow.
How long does it take a plant to recover?
Most plants that receive the correct treatment show stabilization — no more new yellow leaves, no more drooping — within 7 to 14 days. Visible new growth typically appears within 3 to 5 weeks. Full recovery to a healthy, full-sized plant takes 1 to 3 months depending on how much damage was done and how fast the species grows.
Should I fertilize a dying plant?
No. Fertilizing a stressed, dying plant is one of the most damaging things you can do. The roots are already compromised and cannot process nutrients — adding fertilizer burns the root tips, making recovery harder. Stabilize the plant first, wait until you see at least two or three healthy new leaves, then resume a diluted feeding schedule.
How do I revive an overwatered plant?
Stop watering immediately. Unpot the plant and check the roots — if they are black, mushy, or smell sour, you have root rot and need to trim the rotten roots, repot in fresh dry soil, and wait 5 to 7 days before watering lightly. If the roots are still white and firm, simply let the soil dry out completely before the next watering and improve drainage by adding perlite to the mix.
How do I revive an underwatered plant?
Place the pot in a basin of room-temperature water about 5 cm (2 in) deep and let it soak from the bottom for 45 to 60 minutes until the topsoil feels moist. This bottom-watering method rehydrates the root zone evenly without disturbing dry compacted soil. After soaking, let excess water drain, then set a regular watering schedule going forward — check soil moisture every few days rather than watering on a fixed calendar.
What are the signs a plant is getting too little light?
A light-starved plant stretches its stems toward the nearest light source, a process called etiolation. Leaves become pale green or yellowish, new leaves come in smaller than usual, and the spaces between leaves on the stem get longer. The plant may lean strongly to one side. These symptoms develop slowly over weeks, not overnight — if your plant declined quickly, light is usually not the sole cause.