Houseplants
How to Propagate Peperomia (Leaf and Stem Cutting Guide)
Propagate Peperomia from leaf or stem cuttings — let cuts callus 1-2 days, root in water or moist mix, and you'll see new growth in 4-8 weeks. Step-by-step guide.
On this page
- Quick answer
- Why Peperomia is one of the easiest plants to propagate
- What you’ll need
- Method 1: Leaf-petiole cuttings (best for high yield)
- Method 2: Stem-tip cuttings (fastest)
- Method 3: Watermelon Peperomia leaf-section trick
- Care after propagation
- When to pot up your new Peperomias
- Watch: Peperomia propagation video guide
- Common mistakes to avoid
- Troubleshooting
- Related reading
- A note on conditions
Watch the visual walkthrough
Peperomia Obtusifolia care and propagation in soil, water, and leca (with updates)
The peperomia obtusifolia is possible the most common and affordable peperomia worldwide, precisely because it looks like a ...
Peperomia are some of the easiest houseplants to multiply. Their semi-succulent leaves carry enough water and energy to grow a brand new plant from a single leaf-petiole cutting, and a stem tip will root almost as readily as a pothos in water. You don’t need rooting hormone, a heat mat, or any special equipment.
The genus covers more than a thousand species, but the three you’re most likely to have at home — baby rubber plant (Peperomia obtusifolia), watermelon Peperomia (Peperomia argyreia), and ripple Peperomia (Peperomia caperata) — all propagate from the same two methods: leaf-petiole cuttings and stem-tip cuttings. Get the basics right and one mature plant can give you a tray full of new ones in an afternoon.
Quick answer
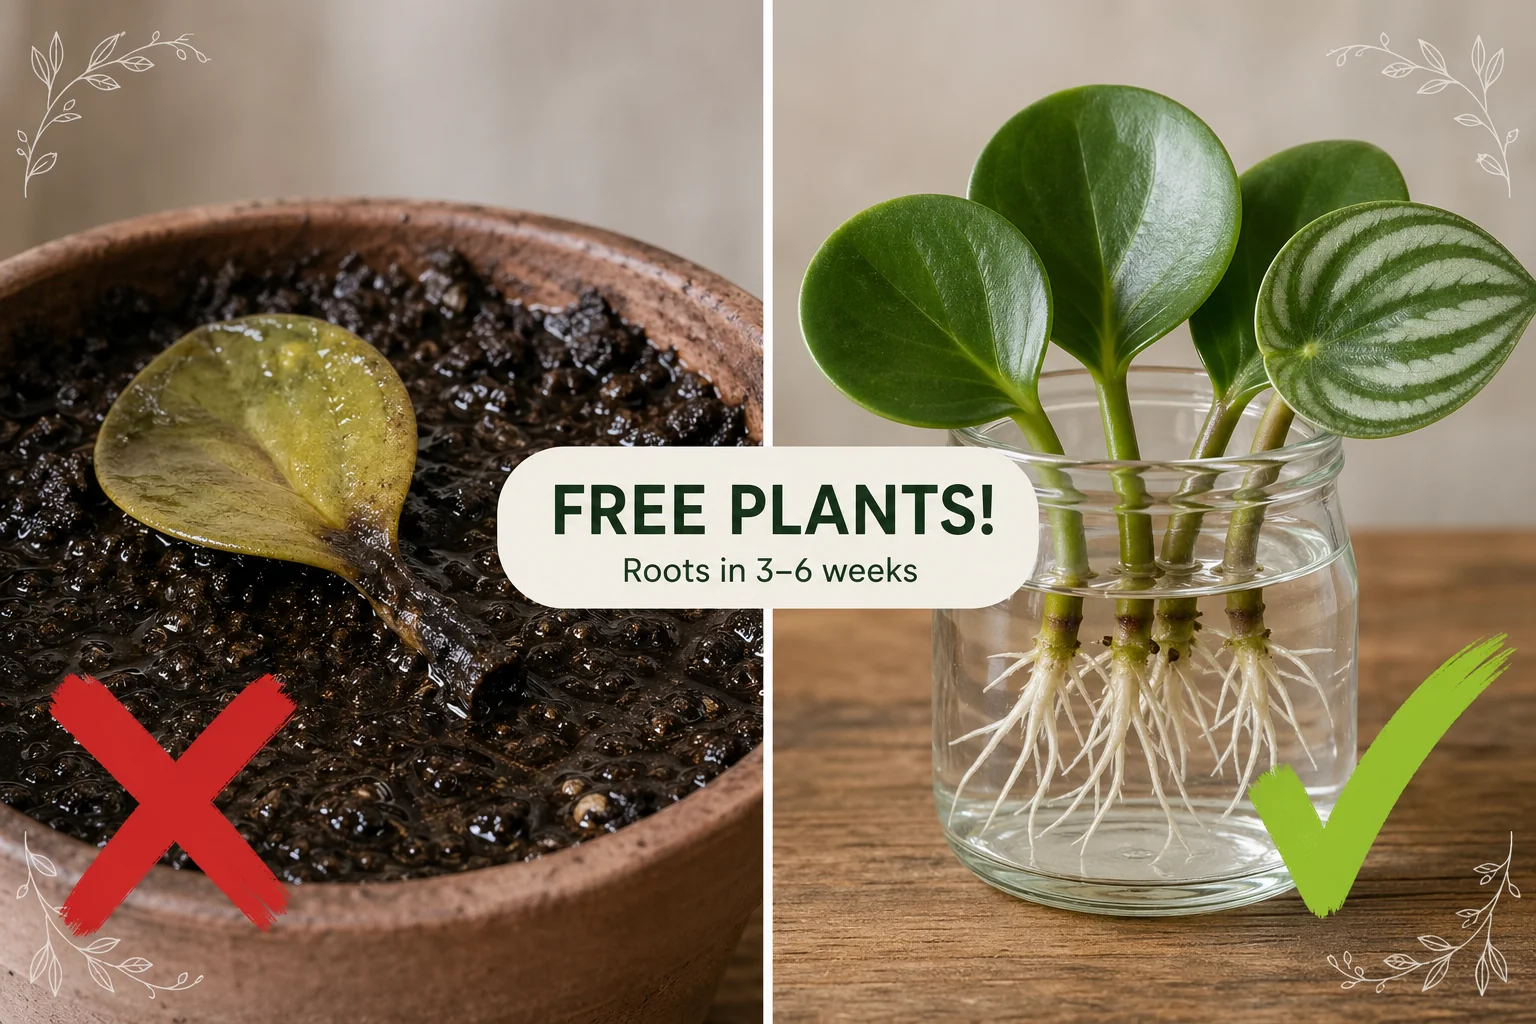
Take a healthy leaf with 2-3 cm (1 in) of petiole attached, or a 7-10 cm (3–4 in) stem-tip cutting with 2-4 leaves. Callus the cut for 1-2 days. Stand the cutting in a small jar of water with only the petiole submerged, or insert it 2 cm (0.75 in) deep into a barely-damp mix of equal parts perlite and peat-free potting mix. Keep at 20–24°C (68–75°F) in bright indirect light. Expect first white roots in 3-6 weeks and baby plants in 6-10 weeks.
Why Peperomia is one of the easiest plants to propagate
Peperomia leaves and stems are semi-succulent — they store water and energy the same way a jade leaf does, just on a smaller scale. Detached from the mother plant, a single leaf with its petiole intact can survive for weeks while it grows roots and a tiny new rosette.
That gives you two practical advantages:
- You don’t have to keep cuttings constantly hydrated. Soggy soil is the main thing that kills them; a barely-damp mix or a small jar of water is enough.
- One mature Peperomia can give you 8-12 new plants in a single session, with no real harm to the parent.
The only species that needs a slightly different approach is watermelon Peperomia — its big round leaves can also be sliced in half across the middle, and each half will sprout multiple plantlets along the cut edge. We’ll cover that variation below.
What you’ll need
- A healthy, mature Peperomia to take cuttings from
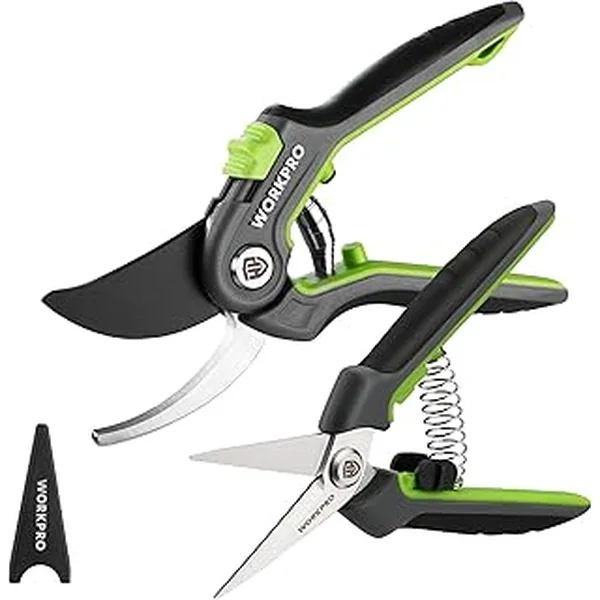
- A clean, sharp knife or pair of pruners (sterilise with alcohol)
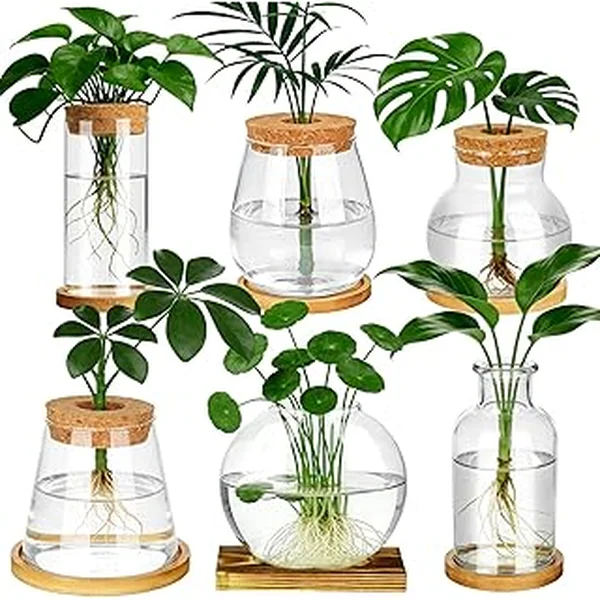
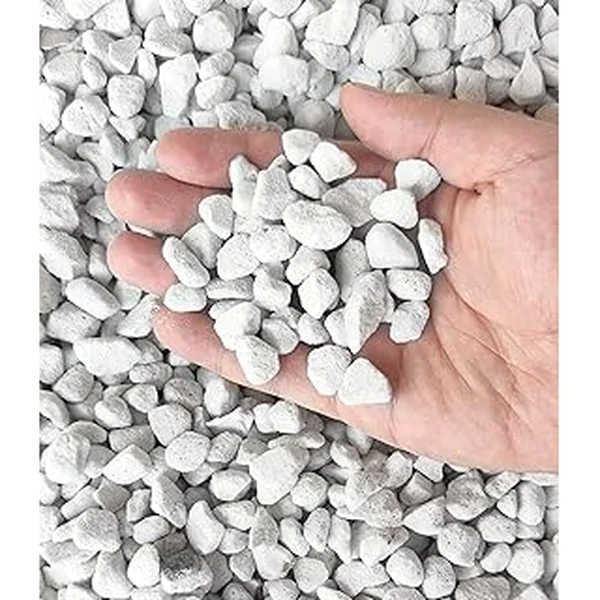
- A few small glass jars or a propagation station (for water rooting), or a shallow tray with drainage and a 1:1 mix of perlite and peat-free potting mix (for soil rooting)
- A spray bottle for misting the soil-rooting tray
- A spot with bright indirect light, ideally 20–24°C (68–75°F)
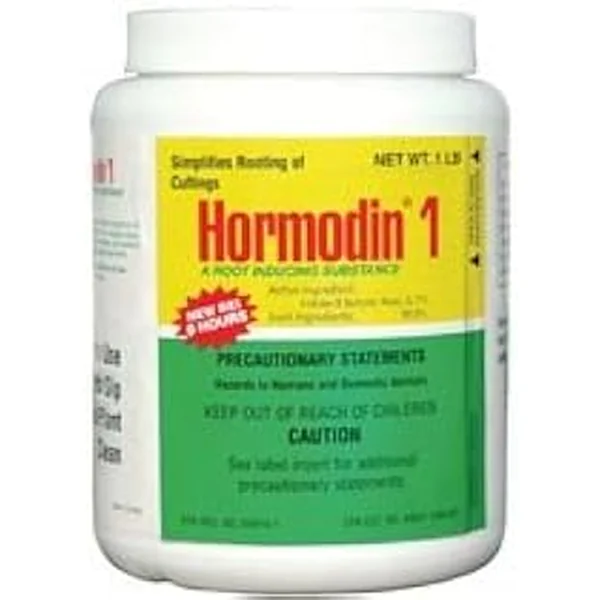
- Optional: rooting hormone powder for stubborn semi-woody stem cuttings
That’s the whole list. No plastic dome, no heat mat, no fancy substrate.
Method 1: Leaf-petiole cuttings (best for high yield)
Leaf-petiole propagation is the slowest method but the highest-yield — one parent plant can give you a dozen or more new plants from leaves you’d otherwise lose to pruning. It works on P. obtusifolia, P. caperata, P. argyreia, and most other common species.
1. Pick plump, healthy leaves
Choose leaves that are firm, fully grown, and a deep healthy green or well-coloured (red edges, watermelon stripes, or ripple texture all fine). Skip thin, wrinkly, or yellowing leaves — they don’t have the reserves to grow a new plant.
2. Cut the leaf with its petiole intact
Snip cleanly with sterilised scissors so you take the whole petiole — the short stalk between the leaf and the main stem. Leave 2-3 cm (1 in) of petiole on the leaf. That petiole is where the roots and the baby plant will form. A leaf with no petiole rarely produces a new plant.
3. Callus for 1-2 days
Lay the cuttings on a paper towel in a shaded, dry spot. The cut end will dry and harden slightly — a quick 1-2 day callus is plenty. Peperomia stems are succulent enough that you don’t want a long callus or the cutting starts to dehydrate.
4. Choose water or soil
- Water: stand each cutting in a small jar so only the cut end and lower 1-2 cm (0.5 in) of petiole is submerged. Don’t let the leaf itself touch the water.
- Soil: insert the petiole 1-2 cm (0.5 in) into a barely-damp 1:1 perlite-and-mix bed. The leaf should rest just above the surface.
Both work. Water is easier to monitor and slightly faster for first roots; soil avoids the transition stress when you eventually pot up.
5. Mist or refresh weekly
For soil cuttings, mist the surface lightly once a week — never soak it. For water cuttings, swap the water out once a week to prevent slime and replenish dissolved oxygen.
6. Wait for the baby rosette
After 4-8 weeks, you’ll see tiny white roots at the base of the petiole, and shortly after, a miniature rosette of new leaves will push up beside the original leaf. The original leaf gradually shrinks as it feeds the baby plant — that’s healthy and expected.
Method 2: Stem-tip cuttings (fastest)
Stem cuttings are faster than leaves and give you a recognisable plant from day one. Use this method when you want to reshape a leggy plant or fill a new pot quickly. Works especially well on P. obtusifolia (baby rubber plant), trailing Peperomias like P. rotundifolia, and P. scandens.
1. Cut a 7-10 cm (3–4 in) tip with 2-4 leaves
Pick a healthy stem tip and cut just below a node (the bump where a leaf meets the stem). A 7-10 cm (3–4 in) cutting is the sweet spot — long enough to anchor itself, short enough not to topple.
2. Strip the lower leaves
Pinch off the leaves on the bottom third of the cutting so the lower nodes are bare. Set those leaves aside — they can be used as leaf-petiole cuttings on their own.
3. Callus for 1-2 days
Lay the cutting on its side in a dry, shaded spot for one to two days until the cut end looks dry and slightly hardened.
4. Root in water or soil
- Water: stand the cutting in a glass so the bottom 2-3 cm (1 in) of bare stem is submerged but no leaves touch the water. Refresh weekly.
- Soil: insert 2 cm (0.75 in) deep into a barely-damp 1:1 perlite-and-mix bed and firm gently around the base.
Optional: dip the bare stem in rooting hormone powder before potting — useful for older semi-woody stems.
5. Steady warmth, steady light
Keep the cutting at 20–24°C (68–75°F) in bright indirect light. Roots usually anchor a stem cutting in 2-4 weeks. You’ll know it’s rooted when a gentle tug meets resistance.
Method 3: Watermelon Peperomia leaf-section trick
Watermelon Peperomia (P. argyreia) and ripple Peperomia (P. caperata) have one extra option: leaf-section cuttings. The big rounded leaves can be cut in half across the middle, and each half will sprout multiple plantlets along the cut edge.
- Pick a fully grown leaf and snip it off at the petiole.
- With a sterilised blade, cut the leaf in half across the widest point.
- Stand each half upright with the cut edge buried 0.5-1 cm (0.25 in) into a barely-damp perlite-and-mix bed.
- Mist lightly weekly. Cover loosely with a clear plastic bag for the first 2 weeks to hold humidity, but ventilate every other day.
Tiny plantlets emerge along the cut edge in 6-12 weeks. It’s slower than the petiole method but gives you 3-6 baby plants per leaf instead of one.
Care after propagation
Once your cuttings have rooted (water cuttings at 3-6 weeks, stem cuttings at 2-4 weeks), shift them onto a steadier care routine:
| Task | When |
|---|---|
| Light | Bright indirect light; no direct midday sun, which scorches the leaves |
| Water | Pot up water cuttings once roots are 2-3 cm (1 in) long; let mix dry to the top 2 cm (0.75 in) between drinks |
| Temperature | 20–24°C (68–75°F) is ideal for both rooting and early growth; never below 13°C (55°F) |
| Humidity | 40–60% is comfortable; an open tray of water nearby is plenty |
| Fertilizer | Wait until the baby plants have 4-6 leaves, then a half-strength balanced feed once a month in growing season |
A free plant care app like Tazart can keep the watering schedule for each pot of cuttings, adjust it to your room temperature and season, and remind you when each tray is ready to pot up.
When to pot up your new Peperomias
Pot up your new Peperomias when the rosette has 4-6 of its own leaves — usually 8-12 weeks after you started. By that point, the new plant has its own working root system and can handle being lifted.
Use a small pot, about 8-10 cm (3–4 in), with a drainage hole, and the same 1:1 perlite-and-mix substrate. Wait a week before the first proper watering so any disturbed roots can recover.
Watch: Peperomia propagation video guide
A short visual walkthrough pairs well with the steps above. If you’re a visual learner, watch a quick tutorial and then come back to follow the timing in this guide — Peperomia propagation is forgiving, but the timing of the callus and the moisture level around the petiole are the two things that decide success.
Common mistakes to avoid
- Skipping the callus. A wet wound on a fresh cutting rots within days when it touches damp mix. One to two days of callus is enough.
- Soggy potting soil. Use a 1:1 perlite-and-mix or pure perlite — regular potting mix straight from the bag holds too much water for Peperomia cuttings.
- Submerging the leaf in water propagation. Only the petiole or bottom of the stem should ever be in water. A submerged leaf rots fast.
- Direct sun. Bright indirect light is the maximum; cuttings cook in a south-facing window.
- Cuttings from a stressed mother plant. Don’t propagate from a Peperomia that’s already over-watered, sunburnt, or pest-affected — those leaves don’t have the reserves.
- Cutting a leaf without its petiole. Without that short stalk attached, most Peperomia leaves will not produce a new plant.
Troubleshooting
| Symptom | Likely cause | Fix |
|---|---|---|
| Black mushy base on a leaf | Skipped callus or soil too wet | Discard the leaf; restart with new cuttings calloused 2 days on barely-damp mix |
| Leaf wrinkles and shrivels with no roots | Light is too low or air too dry | Move to bright indirect light; mist soil weekly, not the leaf |
| Slimy white film in the water jar | Water sat too long | Refresh weekly, scrub the jar, and use room-temperature filtered or dechlorinated water |
| Stem cutting flops over in soil | Rotting at the soil line | Pull, recut above the rot to firm green tissue, callus 2 days, restart |
| Roots formed but no baby plant after 10 weeks | Cool room or weak parent leaf | Move to a spot at 22–24°C (72–75°F); be patient — late starters can still produce |
| Watermelon Peperomia leaf halves shrivel before sprouting | Air too dry around the cut edge | Cover loosely with a clear plastic bag for the first 2 weeks; ventilate every other day |
Related reading
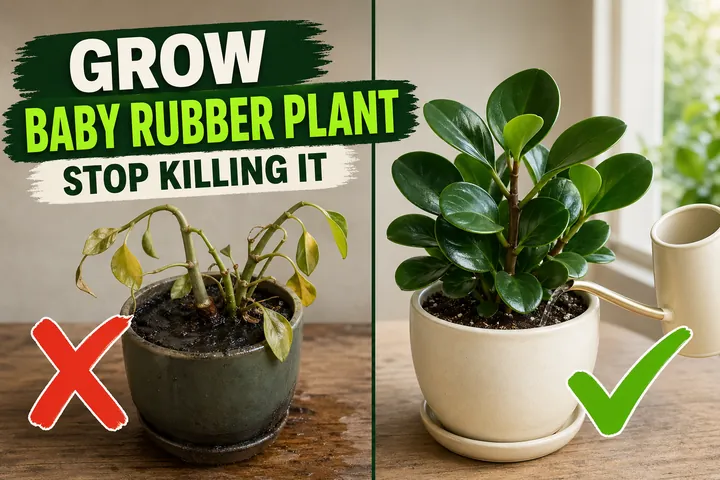
- Baby rubber plant care (Peperomia obtusifolia) — once your cuttings are potted up, this is the long-term care routine to follow.
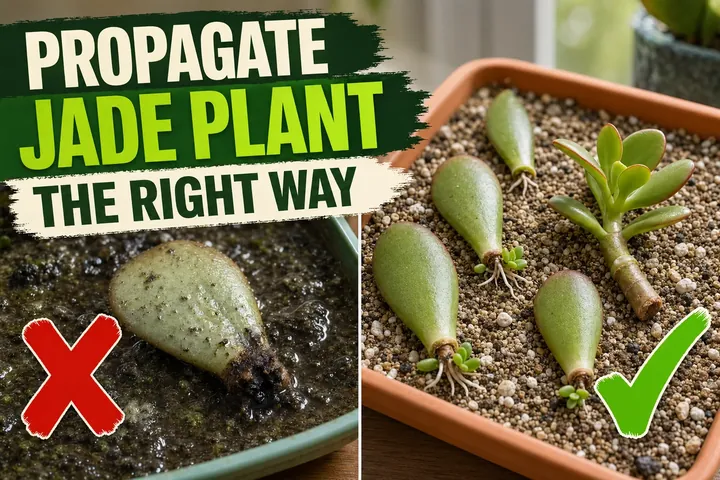
- How to propagate a jade plant — the same callus-and-root logic on a fully succulent leaf.
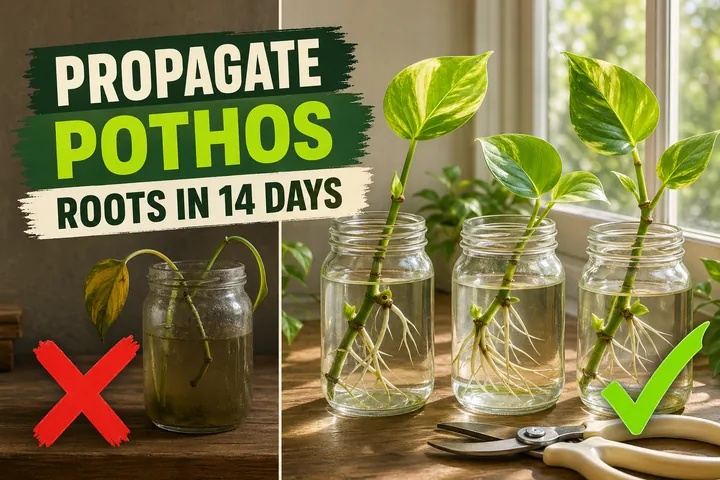
- How to propagate pothos — a different water-propagation rhythm worth comparing.
- Scan any new cutting or houseplant with the free Tazart plant identifier and let it set up the watering schedule for you.
A note on conditions
Every home is different. Light, room temperature, humidity, soil mix, and the season all change how fast Peperomia cuttings callus, root, and grow. Use the timings above (1-2 days callus, 3-6 weeks for first roots, 6-10 weeks for visible baby plants) as a guide and adjust based on what your cuttings actually do — a slightly cooler room or a darker corner will simply slow things down, not stop them.
Highly recommended
The supplies that make this guide work
Tazart is an Amazon Associate — we earn from qualifying purchases at no extra cost to you. Thank you for helping us keep these guides free.
Frequently asked questions
How do you propagate Peperomia?
Take a healthy leaf with about 2-3 cm (1 in) of petiole attached, or a 7-10 cm (3–4 in) stem-tip cutting with 2-4 leaves. Let the cut surface callus for 1-2 days in a shaded spot. Then either stand the cutting in a small jar of room-temperature water with the petiole submerged, or insert it 2 cm (0.75 in) deep into a barely-damp mix of equal parts perlite and peat-free potting mix. Keep at 20–24°C (68–75°F) in bright indirect light. Roots appear in 3-6 weeks; baby plants follow in 6-10 weeks.
Can you propagate Peperomia from a single leaf?
Yes — most Peperomia species (obtusifolia, argyreia/watermelon, caperata) propagate readily from a single leaf, but the leaf needs its petiole (the short stem connecting it to the main stem). Snip the leaf cleanly at the base of the petiole. A leaf with no petiole will sometimes root but rarely produces a baby plant. For watermelon Peperomia and ripple Peperomia, you can also halve the leaf across the middle and stand the cut edge in moist mix — both halves will sprout new plantlets.
How long does a Peperomia cutting take to root?
In bright indirect light at 20–24°C (68–75°F), Peperomia leaf-petiole cuttings show their first white roots in about 3-6 weeks, and visible baby plants in 6-10 weeks. Stem-tip cuttings are faster — they typically root in 2-4 weeks. Cooler rooms below 18°C (65°F) or low light can double those times, and water propagation tends to be slightly faster than soil for the first roots.
Can Peperomia root in water?
Yes, very reliably. Stand a calloused leaf-petiole cutting or stem cutting in a small jar so just the cut end and lower 1-2 cm (0.5 in) of stem is submerged. Use room-temperature filtered or tap water (left out overnight to dechlorinate), and refresh it once a week to prevent slime. Pot the cutting up into mix once roots are 2-3 cm (1 in) long — leaving water roots too long makes the transition to soil harder.
Should Peperomia cuttings be calloused before planting?
A short callus of 1-2 days is helpful for stem cuttings and for the cut petioles of leaf cuttings — long enough for the wound to dry and seal but not so long that the cutting dehydrates. Peperomia stems are semi-succulent, so they hold water well; a brief callus is the sweet spot. Skipping it entirely is the most common reason cuttings rot in moist mix.
Why are my Peperomia cuttings rotting?
Almost always one of three causes: skipping the brief callus, using soaking-wet potting soil instead of a barely-damp gritty mix, or letting the water level rise high enough to submerge the leaf in water propagation. Pull the cutting, recut above the rot to firm green tissue, callus for 2 days, and restart in fresh mix or clean water — only the petiole and bottom of the stem should ever sit in moisture.