Houseplants
How to Propagate Monstera Deliciosa (Node Cutting Guide)
Learn how to propagate Monstera deliciosa using node cuttings in water, sphagnum moss, or perlite. Roots form in 4–6 weeks. Step-by-step guide covering air-layering too.
On this page
- Quick answer
- Why nodes are non-negotiable
- What a Monstera node looks like — and how to find it
- What you need
- Method 1: Water propagation
- Method 2: Sphagnum moss or perlite
- Method 3: Air-layering for large mother plants
- Transplanting: when and how
- Common mistakes
- Watch: Monstera propagation video guide
- Tracking your propagation progress
- Related reading
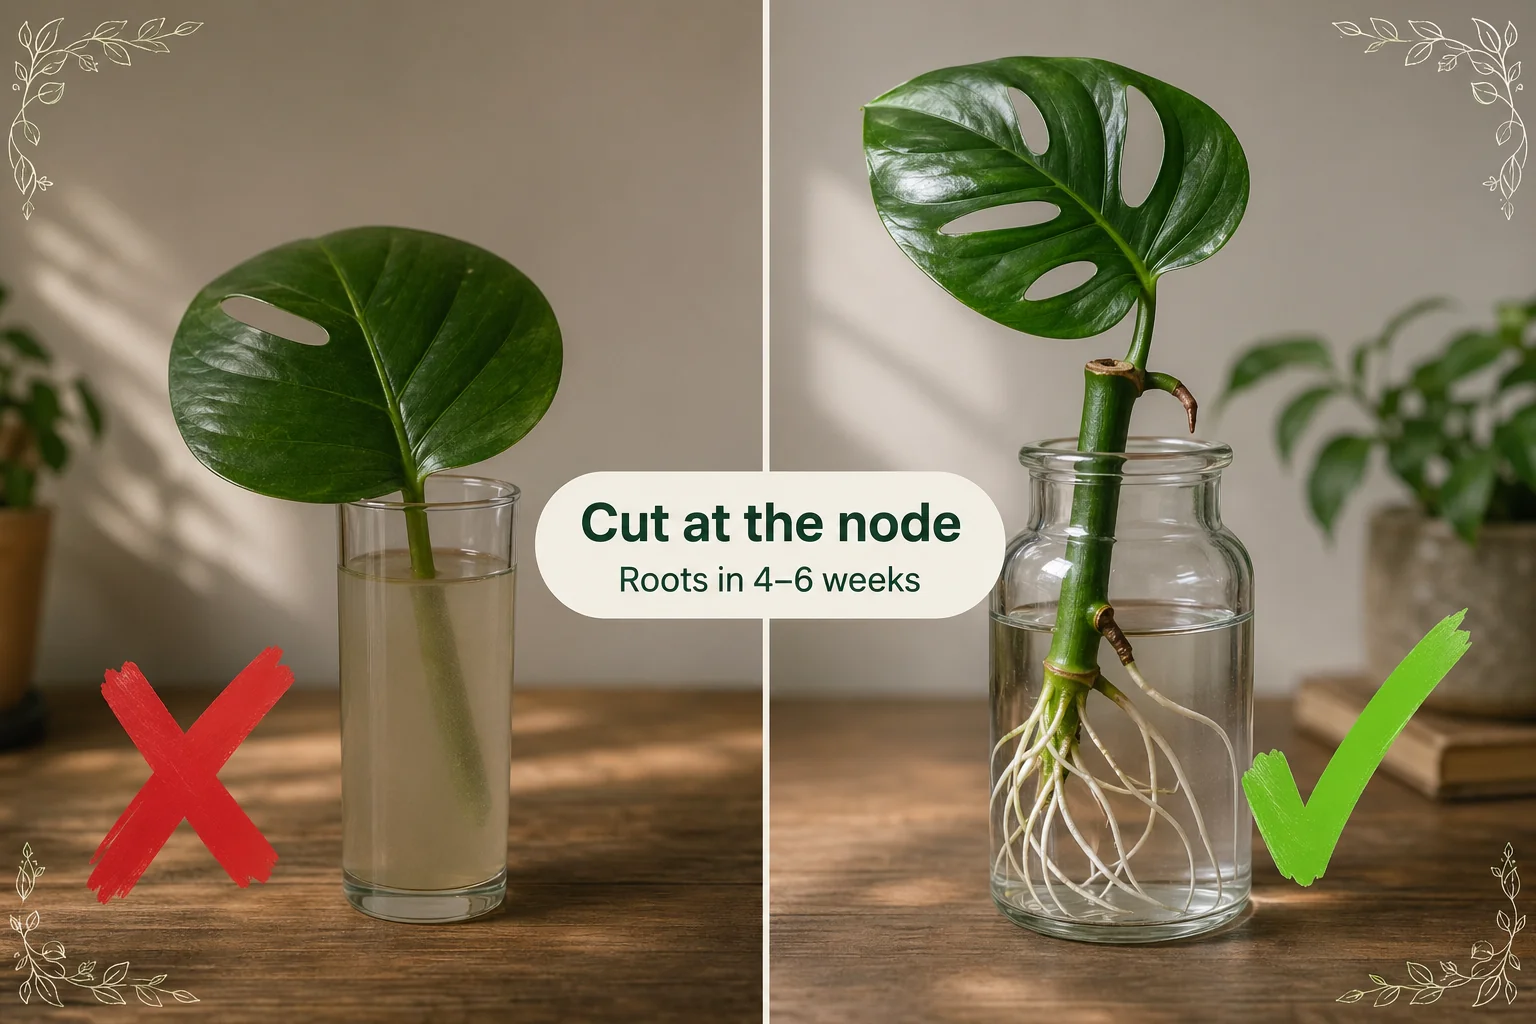
Monstera deliciosa is one of the most propagated houseplants on the internet — and also one of the most misunderstood. Countless cuttings fail because the grower took a beautiful leaf with no stem node attached, dropped it in water, and waited. It will never root. The node is everything.
This guide covers the exact anatomy you need to find, three rooting media that work, the air-layering method for huge mother plants, and every common mistake to avoid.
Quick answer
Take a stem cutting with at least one node and one leaf — cut 1–2 cm (0.5 in) below the node. Root in clean room-temperature water, damp sphagnum moss, or moist perlite at 21–24°C (70–75°F) in bright indirect light. First roots appear in 3–5 weeks. Transplant to soil when roots are 5–8 cm (2–3 in) long, around 4–6 weeks in.
Why nodes are non-negotiable
Monstera is a vining aroid. Like all aroids, it can only produce new roots from one anatomical structure: the node. Nodes contain meristematic tissue — the plant equivalent of stem cells — which is the only tissue capable of differentiating into roots.
A leaf, no matter how perfect or how long it sits in water, has no meristematic tissue in its petiole. It will stay green, look hopeful, and never produce a root. The moment you understand this, you stop wasting time on leaf-only cuttings.
The rule is absolute: no node = no new plant.
What a Monstera node looks like — and how to find it
On a mature Monstera deliciosa, the node is a thickened ring or band on the stem, usually slightly darker than the surrounding green. It sits at the point where each leaf petiole attaches to the vine.
The most reliable sign is the aerial root: a brown nub (on young stems) or a long woody tendril (on older stems) that emerges from the same point as the node. If you see an aerial root, a node is directly behind it.
Between two nodes is the internode — the smooth, lighter-colored section of stem. Cutting here gives you nothing propagable.
On a mature Monstera:
- Nodes are typically spaced 10–20 cm (4–8 in) apart
- Each node sits just below one leaf
- One node is enough for a viable cutting — two gives more rooting surface area
What you need
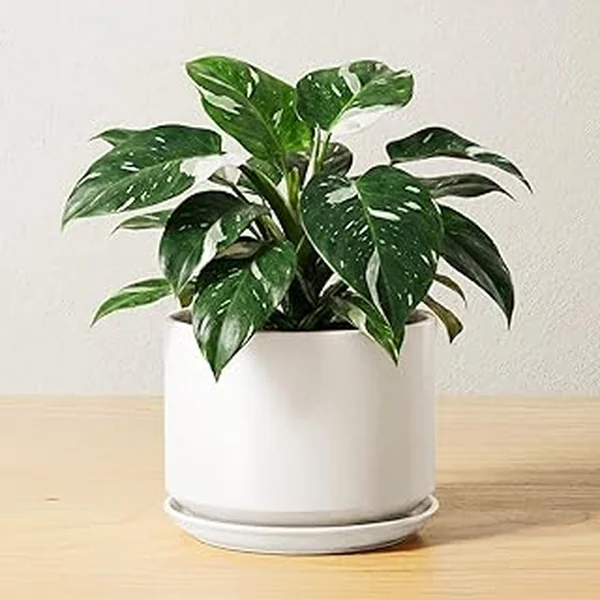
- A healthy Monstera mother plant with vines at least 25–30 cm (10–12 in) long
- Clean sharp scissors or bypass pruning shears (sterilized with alcohol)
- A clear glass jar or propagation tube (for water method)
- Long-fiber sphagnum moss (optional, for moss method)
- Coarse perlite (optional, for perlite method)
- Room-temperature filtered or dechlorinated tap water
- A spot with bright indirect light and warmth (21–24°C / 70–75°F)
Rooting hormone powder is optional but shortens the timeline by 5–10 days on stubborn cuttings.
Method 1: Water propagation
Water propagation is the most popular method because you can watch the roots develop in real time.
Step 1 — Identify your node and aerial root
Run your hand along the Monstera vine. Find a node with a visible aerial root nub — this already has the tissue primed to root and will give you the fastest result.
Step 2 — Make the cut
With sterilized scissors or shears, cut the stem 1–2 cm (0.5 in) below the node, leaving the node on your cutting. Aim for a single clean angled cut. Your cutting should be 10–15 cm (4–6 in) long with one or two nodes and one healthy leaf.
Remove any leaf that would sit below the waterline.
Step 3 — Submerge the node
Fill a clear glass jar with room-temperature water. Place the cutting so the node and aerial root nub are submerged 2–3 cm (1 in), with the petiole and leaf above the surface.
Use a glass you can see through — watching the roots develop tells you exactly when to transplant.
Step 4 — Position and maintain
Set the jar in bright indirect light at 21–24°C (70–75°F). Change the water every 7 days, or sooner if it turns cloudy. Cloudy water is low in oxygen and high in bacteria — it causes rot at the node before roots can form.
Timeline: First white root nubs appear in 3–5 weeks. Roots reach transplantable length (5–8 cm / 2–3 in) in 4–6 weeks.
Method 2: Sphagnum moss or perlite
Moss and perlite propagation produces roots that are already partly acclimated to solid media — they transition to soil with less shock than long, delicate water roots.
Sphagnum moss method
- Soak long-fiber sphagnum moss in water, then squeeze out the excess — you want it damp, not dripping.
- Wrap a generous handful around the node and aerial root on your cutting, pressing it firmly against the tissue.
- Place the wrapped cutting inside a clear propagation box or a zip-lock bag. The enclosed humidity triggers rooting.
- Check every 5–7 days. If the moss feels dry to the touch, mist lightly. Do not let it become waterlogged.
- Roots visible through the moss (or pressing against the bag wall) in 3–5 weeks means it is ready for soil.
Perlite method
Pack a small pot or clear cup with moist coarse perlite. Push the node section 2–3 cm (1 in) into the perlite. Cover loosely with a clear bag and keep the medium evenly moist. Roots form in 4–6 weeks and need no adjustment period before potting.
Method 3: Air-layering for large mother plants
Air-layering lets you root a cutting while it is still attached to the mother plant, drawing on her full resources during the process. It is the best method when the stem section you want is thick and woody, or when you cannot afford to stress the parent.
How to air-layer a Monstera:
- Choose a healthy stem section with a clear node and aerial root.
- Use a clean sharp blade to remove a ring of bark 2–3 cm (1 in) wide just below the node — cut only through the outer bark, not more than halfway into the stem.
- Dust the exposed wound with rooting hormone powder.
- Pack a handful of moist long-fiber sphagnum moss firmly around the wound, covering it completely.
- Wrap tightly with clear plastic film (cling film / plastic wrap), sealing both the top and bottom edges with tape or twist ties to hold in moisture.
- Wait 4–8 weeks. When you can see white roots pressing against the plastic all the way around, it is ready.
- Cut the stem below the root mass, unwrap the plastic carefully (leave the sphagnum attached), and pot directly into an aroid mix.
Air-layering has close to a 100% success rate on healthy plants because the cutting never experiences water stress.
Transplanting: when and how
Getting the transplant timing right is as important as the initial cut.
Transplant when roots are 5–8 cm (2–3 in) long with at least 2 or 3 visible side branches. At this length they are robust enough to anchor in soil but not so long they have fully adapted to water.
Too early (under 3 cm / 1.2 in): fragile roots snap or dry out in soil before establishing.
Too late (over 15 cm / 6 in): water roots are thick and adapted; they often struggle to absorb through soil for weeks, causing a visible stall in growth.
How to pot up
- Choose a pot 10–15 cm (4–6 in) wide with drainage holes.
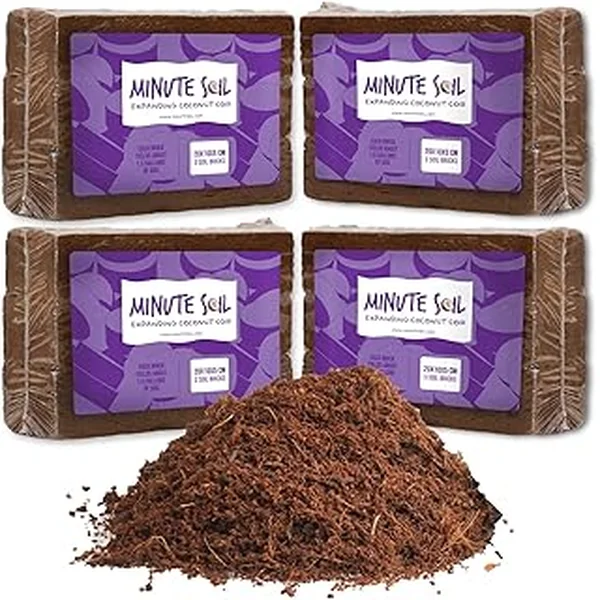
- Mix potting compost and coarse perlite in a 2:1 ratio for good drainage.
- Make a hole in the centre and gently lower the cutting in, letting the roots sit naturally — never force them.
- Backfill loosely, firm gently, and water until it drips from the drainage holes.
- Place in bright indirect light at 21–24°C (70–75°F) for the first 4 weeks. Hold off on fertilizer for a month.
New leaf growth (not just existing leaf staying green) is the signal that the cutting has rooted and established.
Common mistakes
Taking a leaf-only cutting. The single most common error. A leaf without a node cannot produce roots. Always confirm you have a section of stem with a visible node bump before cutting.
Not changing the water. Stagnant water loses oxygen within days. Low-oxygen conditions cause bacterial rot at the node before roots can form. Change water every 7 days minimum.
Room too cold. Monstera propagation slows sharply below 18°C (65°F). In a cool room, cuttings that should root in 4 weeks can take 10–12. Move the jar to the warmest bright spot you have.
Direct sun on the jar. Direct sunlight heats the water, stresses the cutting, and promotes algae growth on the glass. Bright indirect is the goal — filtered light through a sheer curtain, or a metre (3 ft) back from a south-facing window.
Using tap water with high chlorine. Leave tap water in an open container overnight before using, or use filtered water. High chlorine levels inhibit root development at the node.
Letting moss dry out. Sphagnum moss must stay consistently damp. A single dry week can kill the new root tips. Check every 5 days.
Skipping the aerial root. A node with a visible aerial root nub roots 1–2 weeks faster than an internodal node with no visible root initials. When possible, always choose a node that already has an aerial root showing.
Watch: Monstera propagation video guide
A visual walkthrough pairs well with the steps above. Search how to propagate Monstera deliciosa node cutting on YouTube for a step-by-step video showing the anatomy, cut, and root development — it makes identifying nodes much easier the first time.
Tracking your propagation progress
If you are managing multiple cuttings at different stages, a free plant care app like Tazart can log water-change reminders, track the date you took each cutting, and send a notification when the 6-week transplant window arrives. Useful when you have a shelf of jars going at once.
Related reading
- How to water a Monstera deliciosa — once your cutting roots and is potted, the watering rhythm for Monstera is the next thing to get right.
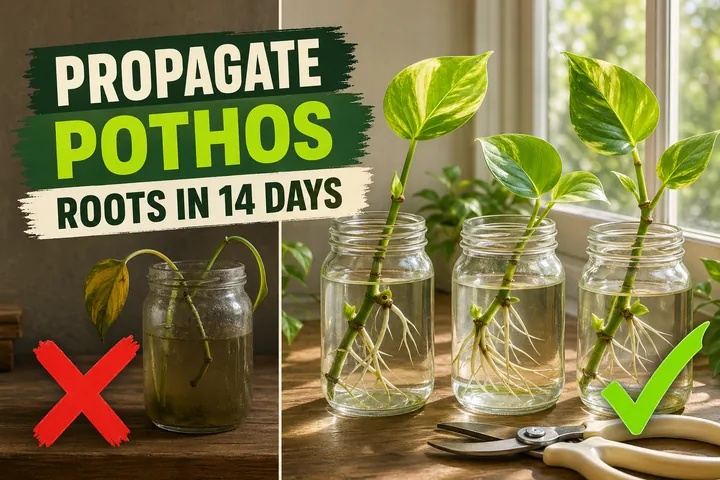
- How to propagate pothos — pothos roots much faster than Monstera (7–14 days) and is great practice for reading nodes and timing transplants.
- Why are my plant leaves turning yellow? — yellowing leaves on a new cutting usually means overwatering or root stress; this guide covers all the causes.
Every home is different. Light intensity, room temperature, water quality, and the age of your mother plant all affect how quickly a Monstera cutting roots. The timelines above are reliable averages — use what you observe week by week to adjust.
Highly recommended
The supplies that make this guide work

Tazart is an Amazon Associate — we earn from qualifying purchases at no extra cost to you. Thank you for helping us keep these guides free.
Frequently asked questions
Can you propagate Monstera without a node?
No. A Monstera leaf with no stem node attached will stay green in water for weeks but will never produce a single root. The node — the bump on the stem where a leaf petiole meets the vine — is the only place roots can emerge. Always include at least one node with a short stem section in your cutting.
How long does it take Monstera to root in water?
Most Monstera node cuttings show first white roots at the node within 3 to 5 weeks in water at 21–24°C (70–75°F) with bright indirect light. Full roots 5–8 cm (2–3 in) long, ready for transplanting, typically take 4 to 6 weeks. Cold rooms below 18°C (65°F) or dim light can stretch this to 8–10 weeks.
What does a Monstera node look like?
A Monstera node is a slightly thickened ring or bump on the stem, usually darker green or brownish, located just below where each leaf petiole joins the vine. Aerial roots — stubby brown nubs or longer brown tendrils — typically emerge from the same point. The internode is the smooth stem section between two nodes.
Can I propagate Monstera in sphagnum moss instead of water?
Yes, and many propagators prefer it. Sphagnum moss holds enough moisture to trigger rooting while keeping the node aerobic, which reduces rot. Pack damp (not soggy) sphagnum around the node and aerial root nub, enclose in a clear bag or propagation box to hold humidity, and check weekly. Roots form in 3–5 weeks and transition to soil far more easily than water-grown roots.
When should I transplant a Monstera cutting to soil?
Transplant once roots are 5–8 cm (2–3 in) long with a few visible side branches. Roots shorter than 5 cm (2 in) are fragile in soil; roots longer than 15 cm (6 in) have adapted to water and often struggle switching to soil, causing weeks of stall. Sphagnum-rooted cuttings can go into soil slightly earlier — at 3–5 cm (1.2–2 in) — because the roots are already soil-tolerant.
How do I air layer a Monstera deliciosa?
Choose a stem section with a healthy node and aerial root on the mother plant. Use a clean blade to make two shallow cuts 2–3 cm (1 in) apart just below the node, removing a ring of bark (not more than halfway through the stem). Dust with rooting hormone powder, pack moist sphagnum moss around the wound, and wrap tightly with clear plastic film, sealing both ends. Roots visible through the plastic in 4–8 weeks means it is ready to cut below and pot up.
Why is my Monstera cutting not rooting?
The four most common causes: (1) no node in the cutting — only a leaf was taken, (2) room temperature below 18°C (65°F) — Monstera roots slowly in the cold, (3) stagnant water not changed for 2+ weeks — low oxygen causes rot before roots, (4) deep shade — bright indirect light is required. Fix the specific problem and most cuttings respond within a week.