Flowers
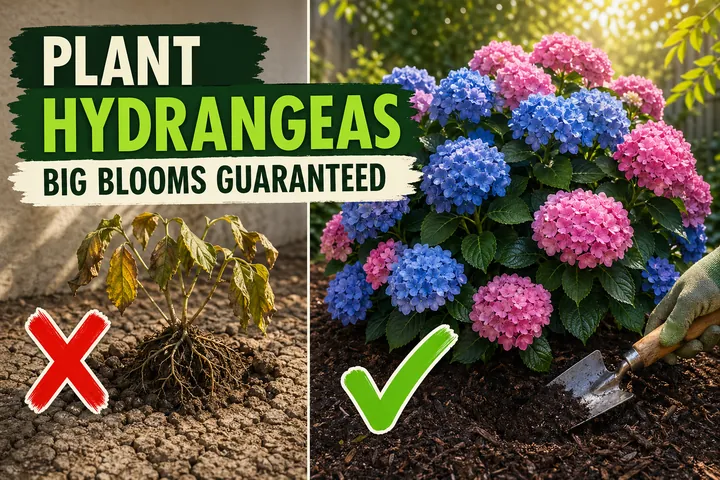
How to Propagate Hydrangeas (Cuttings & Layering)
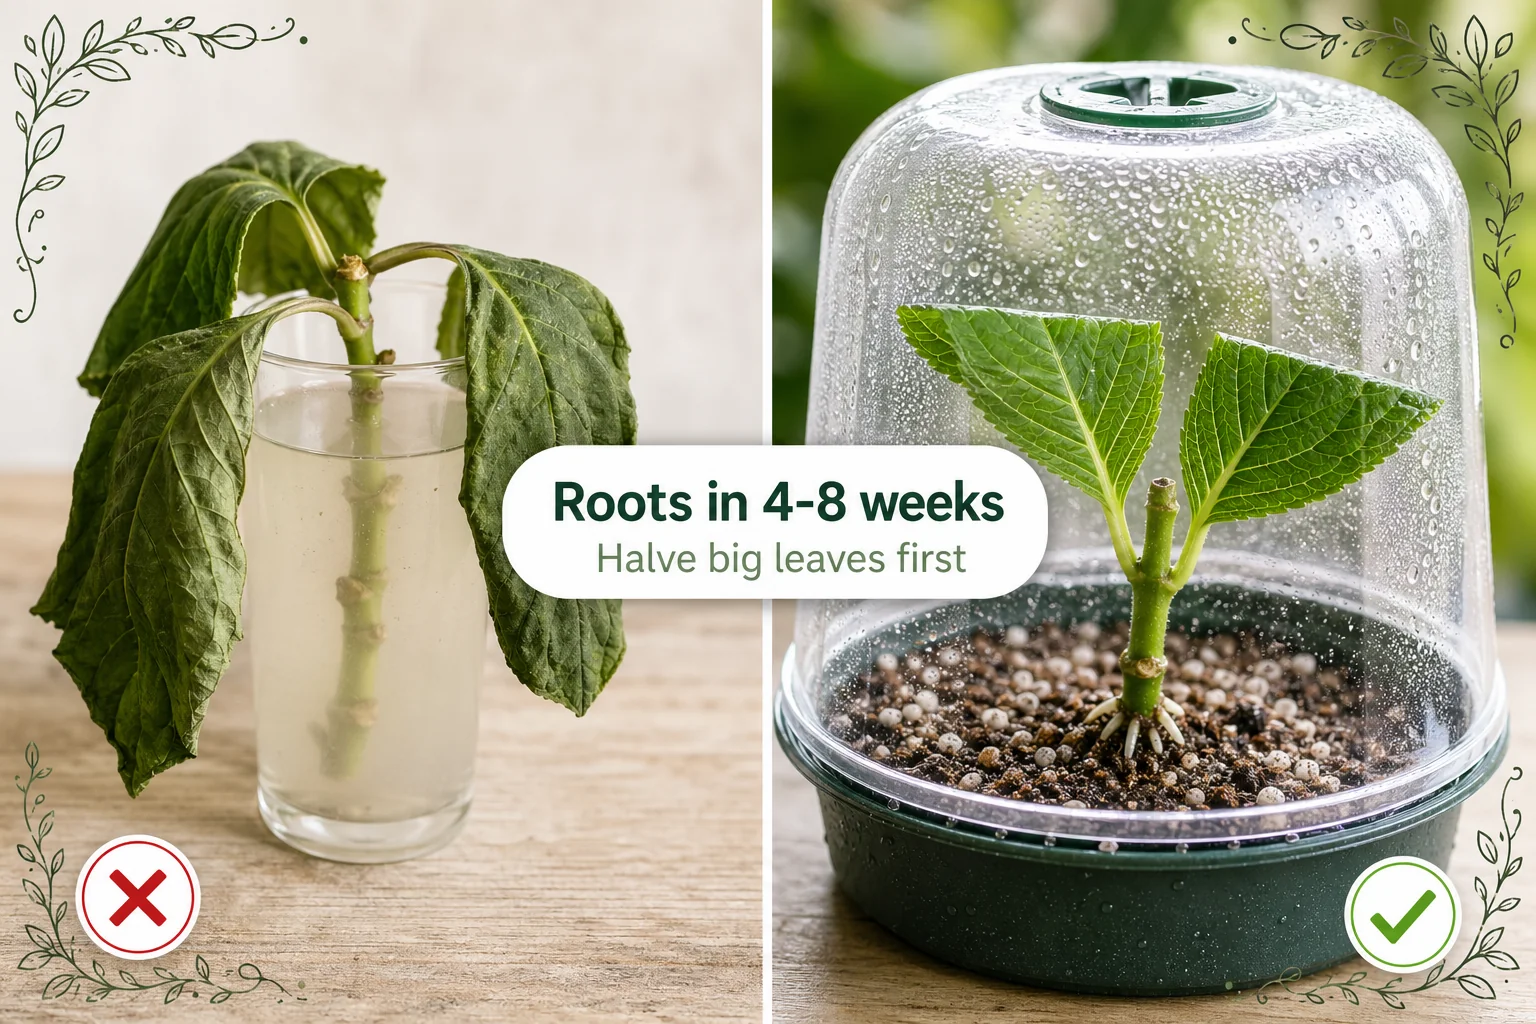
Propagate hydrangeas from softwood, semi-hardwood, or hardwood cuttings — or try layering. Halve large leaves, use rooting hormone, and roots appear in 4-8 weeks.
On this page
- Quick answer
- Softwood vs semi-hardwood vs hardwood: which to choose
- Why halving the leaves matters
- What you’ll need
- Step-by-step: softwood cutting method
- Rooting hormone: gel vs powder
- Layering: the most reliable method
- Transplant timing and first-year care
- Common mistakes
- Troubleshooting
- Related reading
- A note on conditions
Watch the visual walkthrough
How to Propagate Hydrangeas |Simple Way to Get Cuttings to Root Faster|
ATTENTION RAISED BED GARDENERS ** Are you tired of using nuts, bolts, screws, and significant others to assemble your ...
Growing a new hydrangea from scratch costs nothing if you already have one in your garden. A single healthy shrub can give you a dozen rooted cuttings in one season — and layering can produce even bigger plants with almost no failure rate.
This guide covers every method, exact timing, and the single most important step most people skip (halving the leaves) that determines whether a cutting roots or collapses.
Quick answer
Take a 10–15 cm (4–6 in) softwood cutting just below a leaf node in late spring or early summer. Remove the lower leaves, halve the remaining large leaves with scissors, dip in IBA rooting hormone gel, insert into a 50:50 perlite and potting mix, and cover with a humidity dome. Keep at 18–24°C (65–75°F) in bright indirect light. Roots form in 4 to 8 weeks.
Softwood vs semi-hardwood vs hardwood: which to choose
Hydrangeas can be propagated from cuttings taken at three different points in the year. Each has trade-offs.
| Method | Timing | Rooting speed | Difficulty |
|---|---|---|---|
| Softwood | Late spring – early summer | 3–4 weeks | Easiest |
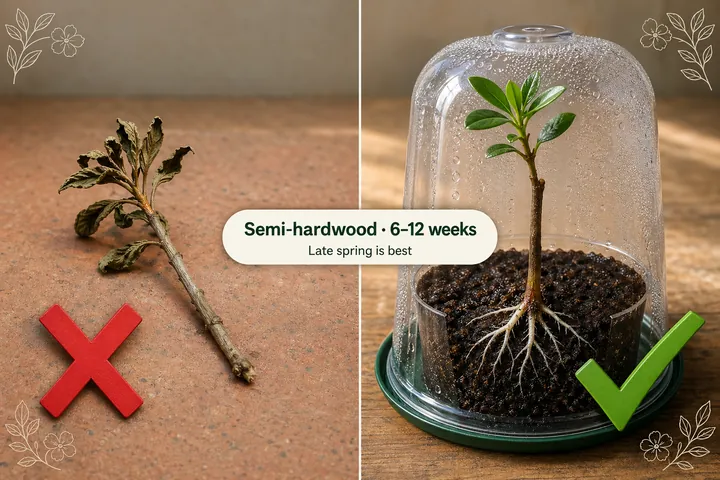
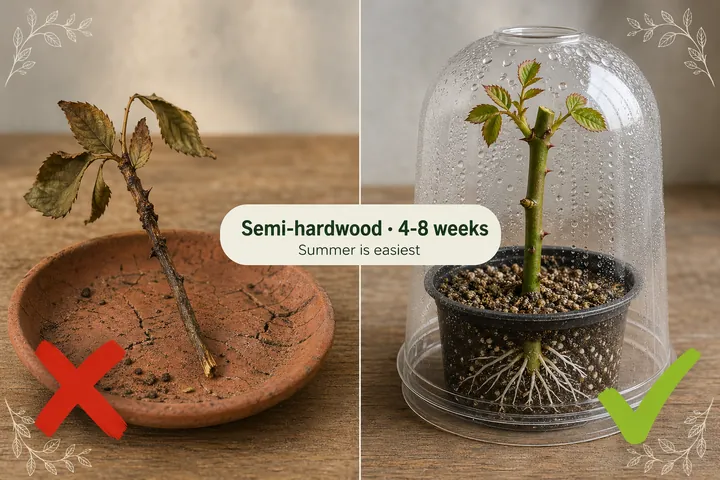
| Semi-hardwood | Midsummer – late summer | 6–8 weeks | Moderate |
| Hardwood | Late autumn – early winter | All winter (roots in spring) | Easiest to time, slowest |
Softwood cuttings are the fastest and most popular. The stem tips are actively growing, the tissue is soft and green, and uptake of rooting hormone is high. The trade-off is that soft tissue wilts fast — which is why the leaf-halving step matters most here.
Semi-hardwood cuttings are taken once the base of this year’s growth has started to firm up (mid-to-late summer). They are more resistant to wilting than softwood but slower to root. Good choice if you missed the spring window.
Hardwood cuttings are taken after the leaves have dropped in late autumn. The stem is fully ripened and dormant. Insert bundles of cuttings in a cold frame or unheated greenhouse and they root slowly through winter, emerging in spring. This method takes the longest but is very reliable for Hydrangea paniculata and H. arborescens.
Why halving the leaves matters
This is the step that separates successful propagators from frustrated ones.
A hydrangea leaf is large — sometimes the size of your hand. It loses water through transpiration constantly. A cutting with no roots cannot replace that water fast enough, so it wilts within hours and the cutting dies before it can root.
Cutting each leaf in half across its width removes roughly half the transpiring surface area without removing the leaf’s ability to photosynthesize. The result: the cutting stays turgid, the humidity dome does less work, and rooting hormone can do its job.
Rule: always halve leaves on softwood and semi-hardwood cuttings. On hardwood cuttings taken in autumn, the plant is leafless — so this step doesn’t apply.
What you’ll need
- Sharp, sterile bypass pruning shears
- Clean scissors for leaf trimming
- IBA rooting hormone gel or powder
- Propagation tray with a clear humidity dome (or a clear plastic bag and wire frame)
- Rooting medium: 50:50 perlite and potting mix, or pure coarse sand
- A heat mat (optional but speeds rooting significantly)
- Small 10 cm (4 in) pots for transplanting
Step-by-step: softwood cutting method
1. Take the cutting
In late spring or early summer, find a non-flowering shoot 10–15 cm (4–6 in) long with 2 to 3 leaf nodes. The stem should be green and slightly flexible — not woody at the base. Cut cleanly just below the lowest node with sterile bypass shears.
Take cuttings early in the morning when stems are fully hydrated.
2. Prepare the cutting
Remove the lowest pair of leaves — they would rot underground. Use clean scissors to cut each remaining leaf exactly in half across its width. Do not skip this. A full-leaf softwood cutting in a warm room will wilt before it roots.
3. Apply rooting hormone
Dip the bottom 2–3 cm (1 in) of the stem into IBA rooting hormone gel or powder. Gel adheres better to the moist cut surface. Make sure the lowest node is fully coated — that is the primary rooting site.
4. Insert into rooting medium
Fill a tray or pot with 50:50 perlite and potting mix, moistened until just damp (not soggy). Use a pencil or chopstick to make a hole — inserting the cutting directly can scrape off the rooting hormone. Lower the cutting in so the bottom node is 2–3 cm (1 in) below the surface. Firm gently.
Space multiple cuttings 5–8 cm (2–3 in) apart in the tray so leaves don’t overlap.
5. Build the humidity tent
Cover immediately with a propagation dome or clear plastic bag supported on stakes so plastic does not touch the leaves. The goal is 80–90% relative humidity inside the tent.
Place in bright indirect light — a spot that gets filtered light all day, no direct afternoon sun. Direct sun heats the tent rapidly and cooks the cuttings. Ideal temperature inside the tent: 18–24°C (65–75°F). A heat mat under the tray keeps the rooting zone warm even if the room is cool.
6. Monitor and check for roots
Vent the tent briefly once or twice a week to prevent fungal buildup. Keep the medium moist but never waterlogged.
After 4 weeks, tug gently on a cutting. Resistance means roots have formed. No resistance — re-insert and check again in a week.
Most softwood cuttings root in 4 weeks. Semi-hardwood takes 6 to 8 weeks.
7. Transplant and harden off
Once rooted, pot each cutting into a 10 cm (4 in) pot with standard potting mix. Do not move straight from dome to outdoors — harden off over 7 to 10 days by propping the dome open progressively further each day. Keep in dappled shade for 2 weeks post-transplant.
Rooting hormone: gel vs powder
Both work. The difference is adhesion.
| Form | How to use | Best for |
|---|---|---|
| IBA powder | Dip moist cut end, tap off excess | Softwood (absorbs fast) |
| IBA gel | Dip cut end, no excess to remove | Semi-hardwood and hardwood (better adhesion to firmer stems) |
| Liquid IBA | Diluted soak for 10–30 minutes | Large batches |
Concentration: most garden-centre products are 0.1–0.3% IBA, which is correct for hydrangeas. Higher concentrations (1%+) are for difficult-to-root woody species and can inhibit hydrangea rooting.
Layering: the most reliable method
Ground layering requires almost no skill and produces a well-rooted plant with almost no failure risk — the cutting stays attached to the parent until it has its own root system.
Best time: late spring to early summer, when stems are pliable.
How to do it:
- Choose a low-growing stem that reaches the ground without snapping. It should be flexible, not woody.
- About 30–40 cm (12–16 in) from the stem tip, make a shallow nick or scrape on the underside of the stem — about 3–4 cm (1–1.5 in) long, cutting just into the green layer below the bark.
- Dust the wound with IBA powder (optional but helpful).
- Press the wounded section into a shallow depression in moist, amended soil. Hold it down with a U-shaped wire staple or a stone.
- Cover with 5–8 cm (2–3 in) of soil and water well. Keep the tip of the stem pointing upward.
- Leave attached to the parent plant. Water the buried section during dry spells.
Roots form at the wound in 8 to 12 weeks. Check by gently lifting the covering soil with a finger — white roots at the wound mean success.
Sever the stem from the parent in early autumn. Leave the new plant in place for 2 to 4 more weeks while it adjusts, then lift and transplant to its final position.
Layering works best with Hydrangea macrophylla, H. arborescens, and H. quercifolia — any variety with long, flexible stems that reach the ground.
Transplant timing and first-year care
When to transplant rooted cuttings to the garden:
Do not rush outdoor planting. A freshly rooted cutting from a spring batch is best transplanted in early autumn of the same year, once it has been growing in its pot for at least 8 to 10 weeks and has visible new leaf growth. This gives it time to build a root system in the pot before it goes into the ground.
Cuttings that root in late summer can overwinter in their pots in a sheltered cold frame and be planted out the following spring.
First-year care in the ground:
| Task | When |
|---|---|
| Water | Every 2–3 days for the first month; weekly after that |
| Mulch | Apply 8 cm (3 in) shredded bark immediately after planting |
| Shade | Keep in dappled shade for 2 weeks post-transplant |
| Fertilize | No fertilizer in the first 4–6 weeks; light slow-release feed in spring of year 2 |
| Prune | Do not prune in year 1 — let all energy go to establishment |
First-year propagated plants rarely flower. Year 2 brings the first real blooms; year 3 onwards the plant hits its mature stride.
A free plant care app like Tazart can hold the watering schedule for each rooted cutting, remind you when to move from dome to pot to ground, and adjust reminders for local weather.
Common mistakes
- Not halving the leaves. Full leaves on a rootless cutting cause near-instant wilt. This is the single biggest reason hydrangea cuttings fail.
- Taking cuttings from flowering stems. Flowering energy blocks rooting. Always choose non-flowering shoots.
- Soggy rooting medium. Waterlogged perlite drives out oxygen — roots need air. Medium should feel like a wrung-out sponge.
- Too much direct sun on the tent. Temperatures above 30°C (86°F) inside the dome kill cuttings fast. Bright indirect light only.
- Transplanting before roots are established. Moving a cutting too early results in transplant collapse. Always tug-test before potting up.
- Skipping rooting hormone on hardwood cuttings. Hardwood is naturally harder to root — hormone is more important here, not less.
Troubleshooting
| Symptom | Likely cause | Fix |
|---|---|---|
| Cutting wilts within 24 hours | Leaves too large; dome not sealed | Halve the remaining leaves; re-seal the dome; mist lightly |
| Stem goes mushy at the base | Medium too wet or fungi | Remove cutting, cut off mushy section above rot, re-dip in hormone, re-insert in fresh dry medium |
| No roots after 8 weeks | Room too cold or cutting too woody | Move to heat mat; take a fresh softwood cutting in spring |
| Leaves yellow and drop | Normal on semi-hardwood and hardwood | Acceptable — check for root formation anyway before discarding |
| Roots form but cutting wilts after potting | Hardened off too fast | Tent loosely for another week; reduce humidity gradually over 10 days |
| Layered stem has no roots after 12 weeks | Wound not deep enough, or wound closed before rooting | Re-wound with a slightly deeper nick; keep a small stone wedged in the wound to prevent callus closure |
Related reading
- How to plant hydrangeas in the ground — once your propagated cuttings are big enough, this is the exact depth, spacing, and mulching guide for getting them into the garden.
- How to propagate azaleas — azaleas share the acid-loving, semi-hardwood cutting technique with hydrangeas; timing and leaf-halving rules are almost identical.
- How to propagate roses from cuttings — roses use the same IBA hormone dip and humidity dome method, but prefer hardwood cuttings over softwood for reliability.
- Track every batch of cuttings — which tray, which date, which method — with the free Tazart plant care app. It sends a reminder when your 4-week rooting check is due.
A note on conditions
Every garden and home is different. Room temperature, humidity, light levels, the age and vigour of the parent plant, and the hydrangea variety all affect how fast and reliably your cuttings root. Use the 4-to-8-week window as a guide, not a deadline — a slightly slower batch is not a failed batch. Check for roots, give it another week if needed, and adjust your conditions based on what you observe.
Highly recommended
The supplies that make this guide work

Tazart is an Amazon Associate — we earn from qualifying purchases at no extra cost to you. Thank you for helping us keep these guides free.
Frequently asked questions
How long do hydrangea cuttings take to root?
Most hydrangea cuttings root in 4 to 8 weeks. Softwood cuttings taken in late spring or early summer root fastest — often 3 to 4 weeks in warm conditions (21°C / 70°F). Semi-hardwood cuttings taken in midsummer take 6 to 8 weeks. Hardwood cuttings taken in late autumn can take all winter, rooting by early spring. A heat mat speeds up all three windows.
When is the best time to take hydrangea cuttings?
Late spring to early summer is the easiest window — the stem tips (softwood) are actively growing, hormone uptake is high, and ambient temperatures help rooting. If you miss that window, midsummer semi-hardwood cuttings work nearly as well. Hardwood cuttings in late autumn are the most forgiving in terms of timing but the slowest to root.
Should I use rooting hormone on hydrangea cuttings?
Yes. Hydrangeas can root without it, but rooting hormone (IBA gel or powder) consistently produces roots 1 to 2 weeks faster and gives a higher success rate — especially on semi-hardwood and hardwood cuttings, which are naturally more resistant to rooting than soft spring growth. Gel formulas cling better than powder on a moist cut surface.
Why are my hydrangea cuttings wilting?
Wilting is almost always caused by leaf surface area being too large. Hydrangea leaves are enormous and lose water fast through transpiration — much faster than a rootless cutting can absorb from the medium. Fix: halve every large leaf with clean scissors before inserting the cutting, seal the tray with a clear humidity dome, and keep it out of direct sun. If the cutting wilts after all that, mist lightly and re-seal.
Can you propagate hydrangeas by layering?
Yes — ground layering is actually the most reliable method for hydrangeas and requires no cutting tools or rooting hormone. In spring or early summer, bend a low-growing stem to the ground, wound the underside with a shallow nick, pin it into moist soil with a U-shaped stake, and leave it attached to the parent plant. Roots form at the wound in 8 to 12 weeks. Sever and transplant in autumn.
How big should hydrangea cuttings be?
Take cuttings 10–15 cm (4–6 in) long with 2 to 3 leaf nodes. Remove the lower set of leaves entirely (they would rot in the medium). Halve any remaining large leaves with scissors to reduce transpiration. The bottom node should sit 2–3 cm (1 in) below the surface of the rooting medium after insertion.
Can you root hydrangea cuttings in water?
It's possible but not the most reliable method for hydrangeas. Water-rooted hydrangea cuttings develop fragile, poorly branched roots that struggle when transferred to soil. A well-draining medium — perlite, coarse sand, or a 50:50 perlite and potting mix blend — produces stronger roots that transplant with much less shock.