Flowers
How to Propagate Geraniums (Roots in 3–4 Weeks)
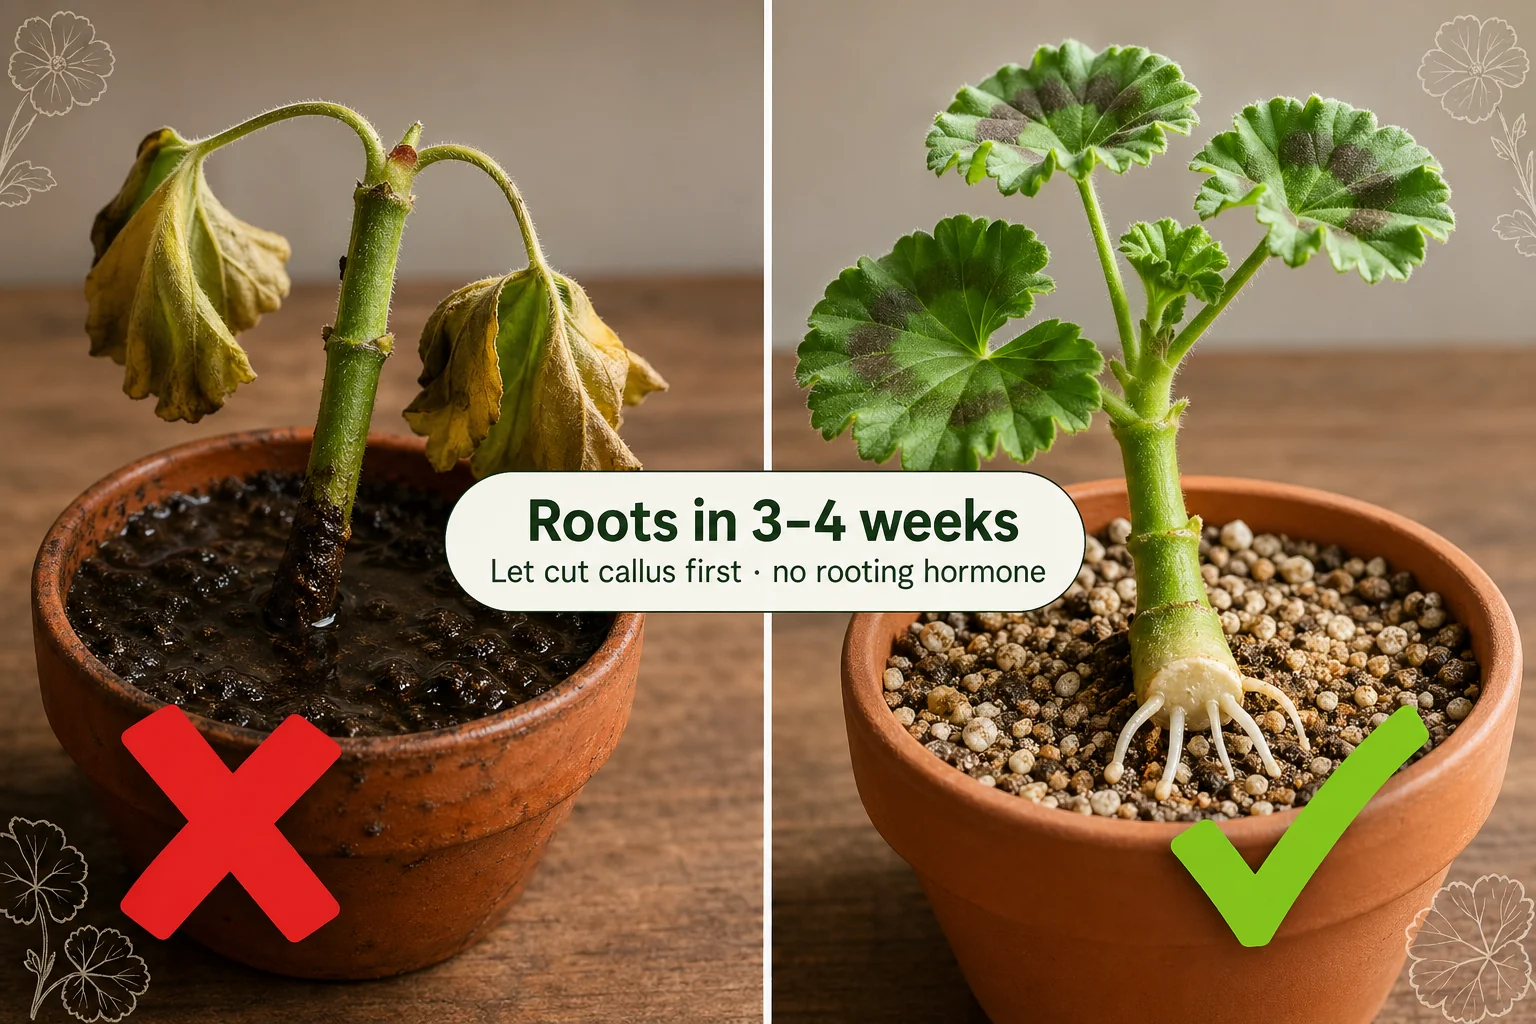
Propagate geraniums from stem cuttings in late summer or early fall. Let the cut callus, skip the rooting hormone, and plant in gritty mix — roots in 3–4 weeks.
On this page
- Quick answer
- Best timing: late summer and early fall
- Choosing the right stem
- Making the cut
- Why the callus step matters
- Why you don’t need rooting hormone
- The right soil mix
- Planting the callused cutting
- Light and watering while roots form
- Overwintering your rooted cuttings
- Common failures and fixes
- Watch: geranium propagation walkthrough
- Related reading
- A note on conditions
Watch the visual walkthrough
How to Grow Geraniums from Cuttings (Complete Process)
In this video I show How to Grow Geraniums (Pelargonium x hortorum) from Cuttings and show the Complete Process from how to ...
Geraniums (Pelargonium) are one of the most rewarding plants to propagate — a single healthy plant can give you a dozen new ones before the first autumn frost, and they root reliably without any fuss or special chemistry.
The key is two things most guides skip: taking cuttings at the right time of year, and letting the cut end callus before it ever touches soil. Get those right and geraniums practically root themselves.
Quick answer
Take a 10–15 cm (4–6 in) non-flowering green shoot tip in late summer or early fall. Strip the lower leaves and any flowers. Lay the cutting in a warm spot indoors for 1–2 hours to let the cut end callus. Plant into a moist gritty mix (no rooting hormone needed). Place in bright indirect light at 18–21°C (65–70°F). First roots appear in 3–4 weeks.
Best timing: late summer and early fall
The single biggest factor in propagation success is timing. For geraniums, the sweet spot is late summer through early fall — roughly August to October in the northern hemisphere.
At this point the plant is still in active growth, the stems are firm and non-woody, and the cooling temperatures and shortening days naturally redirect the plant’s energy downward toward root development rather than upward into new flower production.
Late-summer cuttings also give you a practical bonus: the rooted plants are compact and easy to overwinter on a cool windowsill, ready to become full-sized flowering plants the following spring.
Spring propagation works too, but late summer is the classic professional grower’s method — and for good reason.
Choosing the right stem
Not every shoot makes a good cutting. Look for:
- Green, non-flowering shoot tips — soft to firm, not hard or woody
- 10–15 cm (4–6 in) in length — long enough for a decent root zone, short enough to support itself
- No open flowers or buds — flowers and buds divert energy away from root initiation
- No signs of disease — avoid stems with spots, lesions, or soft patches
Avoid the old, thick, slightly corky stems at the base of the plant. Those are fine for the parent plant but root slowly and erratically as cuttings.
A single mature geranium in late summer can comfortably give you 6 to 10 good cuttings without stressing the parent plant.
Making the cut
Use clean, sharp bypass pruning shears — not scissors, which tend to crush rather than cut. A crushed stem creates bruised tissue that is far more vulnerable to rot.
Cut at a 45-degree angle just below a leaf node (the slight swelling on the stem where a leaf or leaf pair attaches). The node is where root primordia — the cells that become roots — are concentrated.
Once the cutting is taken:
- Strip all leaves from the lower half of the stem
- Pinch off any flower buds or open blooms at the top
- Leave 2–3 healthy leaves at the tip
Submerged or buried leaves rot quickly and can introduce pathogens to the stem before roots form. Flowers burn energy the cutting cannot spare.
Why the callus step matters
This is the step most first-time propagators skip — and the main reason their cuttings go black at the base.
After cutting, lay the stem on a dry surface in a warm, shaded spot indoors for 1–2 hours. The cut surface will dry out and form a thin, papery seal over the wound. That sealed layer is the cutting’s primary defence against soil-borne fungi and bacteria.
It takes less than two hours. You can take your cuttings in the morning and plant them after lunch.
Do not put the cutting in water while it calluses — water prevents the seal from forming. Just let it lie on a tray or a clean dry surface.
Why you don’t need rooting hormone
Pelargonium stems naturally contain auxins — the plant hormones that trigger root initiation. These are present at the cut end in sufficient concentrations to drive healthy rooting without any additional powder, gel, or liquid hormone product.
Professional geranium growers have propagated millions of plants without rooting hormone for precisely this reason. Adding a commercial product is not only unnecessary — it can actually encourage fungal colonisation on the moist hormone-coated cut surface before the callus forms properly.
Skip it. The plant has everything it needs.
The right soil mix
Soil choice matters enormously for geranium cuttings. They will rot rapidly in a standard moisture-retaining houseplant mix.
What you want is a gritty, free-draining medium that holds just enough moisture to support the emerging roots without staying wet. A reliable recipe:
- 50% peat-free potting compost (or coconut coir)
- 50% horticultural grit or coarse perlite
Fill a small terracotta pot — 8–10 cm (3–4 in) diameter — with this mix. Terracotta is ideal because it wicks excess moisture away from the root zone, keeping conditions consistently on the dry side of damp.
Moisten the mix lightly before planting — it should just clump when squeezed hard and then break apart easily. If water drips freely from it, it is too wet. Let it dry slightly before inserting the cutting.
Planting the callused cutting
- Use a pencil or thin dibber to make a hole 3–4 cm (1.5 in) deep in the centre of the pot
- Insert the callused cutting and firm the mix gently around the stem — do not pack it hard
- Water very lightly from below (stand the pot in a shallow dish of water for 10 minutes, then remove) or water at the base, not overhead
- Label the pot with the variety name and the date
Do not cover the pot with a plastic bag or humidity dome. Unlike many cuttings, geraniums prefer open air and lower humidity. Enclosing them raises the risk of botrytis (grey mould) before the roots have formed.
Light and watering while roots form
Place the pot in bright indirect light — an east- or west-facing windowsill is ideal. A grow light positioned 30 cm (12 in) above the cutting also works well, especially for overwintering batches taken indoors in autumn.
Avoid direct midday sun, which can desiccate the cutting before the roots arrive.
Watering: keep the mix just barely moist. Check by pressing a finger 2 cm (0.75 in) into the mix — if it feels damp at all, wait. If it feels fully dry, water lightly. Geranium cuttings in the rooting phase need far less water than rooted plants.
Temperature: aim for 18–21°C (65–70°F). Below 16°C (60°F) rooting slows significantly. Keep cuttings away from cold draughts near exterior windows in autumn.
Roots typically form in 3–4 weeks. You will know they have arrived when you see a tiny tug of resistance if you gently pull on the stem — roots gripping the mix. New leaf growth at the tip is another good indicator.
Overwintering your rooted cuttings
One of the main reasons to take late-summer geranium cuttings is to carry the plant through winter in a compact, manageable form.
Once roots have formed and the cutting has settled for another 2–3 weeks, move it to a cool, frost-free, bright spot — a cool windowsill, a heated greenhouse, or a light-filled porch. The ideal overwintering temperature range is 7–10°C (45–50°F): cold enough to slow growth and keep the plant compact, warm enough to prevent frost damage.
Through winter:
- Water sparingly — just enough to prevent the leaves from wilting. The mix should almost fully dry between waterings.
- Do not fertilize until growth resumes actively in spring
- Pinch out any leggy growth in late winter to encourage bushy new shoots
In spring, move the plant to a brighter, warmer spot, begin normal watering, and start a half-strength balanced feed every two weeks. By early summer you will have a full-sized blooming plant ready for containers, beds, or borders.
Common failures and fixes
| Problem | Likely cause | Fix |
|---|---|---|
| Black, mushy stem base within days of planting | Cut end not callused before planting; mix too wet | Re-cut above the rot, re-callus 2 hours, replant in drier gritty mix |
| Cutting wilts and collapses | Mix waterlogged or direct sun desiccating leaves | Check drainage, move out of direct sun, water only when mix is almost dry |
| No roots after 6+ weeks | Woody cutting, room too cold, or mix too wet | Take a fresh cutting from a green shoot tip; move to a warmer spot above 18°C (65°F) |
| Leaves yellow and drop | Natural — lower leaves often drop as energy redirects to rooting | Remove dropped leaves promptly; not a failure unless the stem also rots |
| Grey fluffy mould on stem | Botrytis from high humidity or overcrowding | Remove affected cutting immediately; improve airflow; never use a humidity tent |
| Rooted cutting leggy in winter | Not enough light | Move to brighter spot or supplement with a grow light 30 cm (12 in) above the plant |
Watch: geranium propagation walkthrough
A visual walkthrough pairs well with the steps above. Search how to propagate geraniums from cuttings on YouTube and look for a practical tutorial from a gardening channel — watching someone handle the callusing and planting steps makes the process click immediately.
Related reading
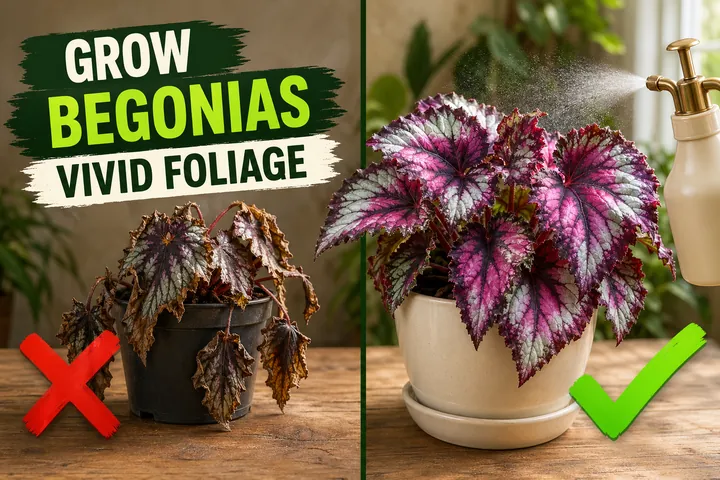
- Begonia care: wax, rex, and tuberous types — another classic garden plant with overlapping propagation timing and gritty-mix preferences.
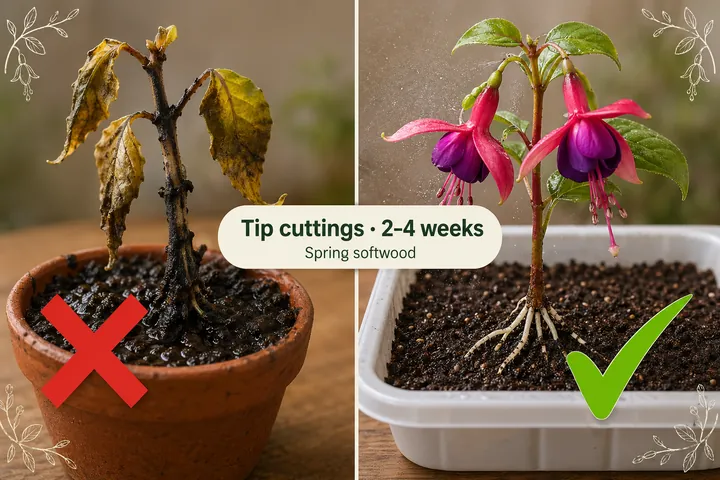
- How to propagate fuchsia — softwood tip cuttings that follow the same callus-then-plant logic as geraniums.
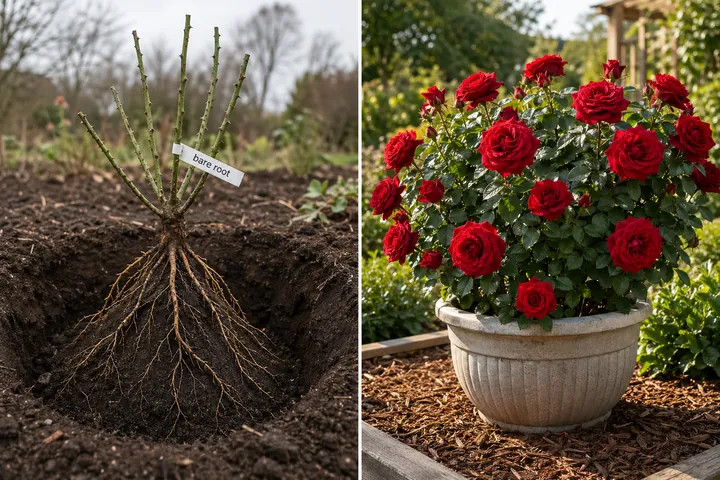
- How to plant a rose bush — if you are filling a bed with long-lived flowering plants, this is the natural companion guide.
- Need a reminder when your cuttings are due for their first post-root watering? The free Tazart plant care app sends one straight to your phone.
A note on conditions
Every garden and home is different. Light, pot size, room temperature, humidity, and the exact geranium variety you are propagating all influence how quickly roots appear. Use the 3–4 week timeline as a guide and adjust based on what you see — that is how every reliable propagator improves with each batch.
Highly recommended
The supplies that make this guide work


Tazart is an Amazon Associate — we earn from qualifying purchases at no extra cost to you. Thank you for helping us keep these guides free.
Frequently asked questions
How long do geranium cuttings take to root?
Geranium cuttings planted in a moist gritty mix after callusing for 1–2 hours typically develop their first roots within 3–4 weeks at 18–21°C (65–70°F). Bright indirect light and a consistently slightly moist (never soggy) growing medium speed the process. Cuttings taken in late summer tend to root faster than those taken in midwinter because the plant's growth hormones are still active.
Do geraniums need rooting hormone to propagate?
No. Pelargoniums contain natural auxins — internal rooting compounds in the stem tissue — that drive root initiation without any added hormone powder or gel. Adding commercial rooting hormone is unnecessary and can sometimes encourage fungal growth on the cut surface. Simply letting the cut end callus for 1–2 hours and planting in a clean gritty mix is all the chemistry the cutting needs.
When is the best time to take geranium cuttings?
Late summer to early fall (August–October in the northern hemisphere) is the ideal window. The plant is still in active growth, the stems are firm and non-woody, and the shorter days signal the plant to redirect energy downward — exactly when root initiation is easiest. You can propagate in spring too, but late-summer cuttings produce rooted plants you can overwinter compactly indoors.
Should I let geranium cuttings callus before planting?
Yes — this is the single most important step. Laying the freshly cut stem in open air for 1–2 hours allows the cut surface to dry and seal over. That sealed layer prevents soil-borne pathogens from entering the stem before roots form. Skipping callusing is the leading cause of black stem rot in geranium cuttings.
Why are my geranium cuttings not rooting?
The four most common reasons: (1) the cutting was planted straight from the knife without callusing, leading to rot; (2) the mix stays too wet — geraniums need a gritty, free-draining medium; (3) the room is too cool, below 16°C (60°F); or (4) the cutting was taken from old woody growth instead of a green, non-flowering shoot tip. Re-cut from a healthy green stem, callus it, and plant in a gritty mix in a warm bright spot.
Can you propagate geraniums in water?
Technically yes, but it is not recommended. Pelargonium stems are prone to rot in standing water, and water-rooted geraniums often struggle to adapt to soil. Soil or a gritty peat-free mix gives far better results and is the method used by professional growers. Stick to the callus-then-plant approach.
How do you overwinter rooted geranium cuttings?
Once your cuttings are rooted and potted on, move them into a bright frost-free space (a cool windowsill or unheated greenhouse at 7–10°C / 45–50°F works well). Water sparingly — just enough to stop the leaves from wilting — and do not fertilize until spring. Compact rooted cuttings overwinter much more reliably than large mature plants.