Edible
How to Propagate Garlic (Cloves and Bulbils Explained)
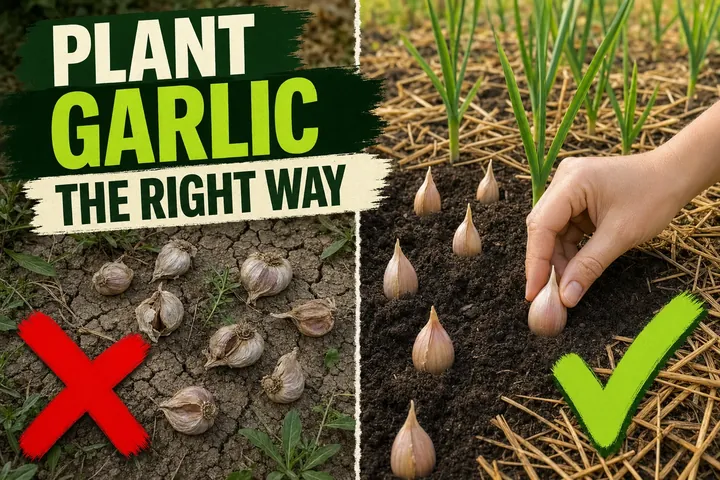
Learn how to propagate garlic from individual cloves or hardneck bulbils. Plant cloves 5 cm (2 in) deep, pointed end up, 4–6 weeks before ground freeze.
On this page
Watch the visual walkthrough
How To Plant Garlic For BIG Harvests
In this video will teach you how to plant garlic the easy way from start to finish for big garlic harvests. Garlic planting is easy: it is ...
Garlic is one of the easiest crops to propagate at home — and one of the most misunderstood. Every clove you push into the ground in fall becomes a full new bulb by summer. No cuttings, no grafting, no complicated technique. Just the right timing, depth, and orientation.
This guide covers the two practical methods: clove planting (the standard approach every gardener should know) and bulbil propagation from hardneck scapes (a slower method for multiplying rare varieties). It also explains why you will never grow garlic from seed in a home garden, and how to keep your garlic stock going year after year.
Quick answer
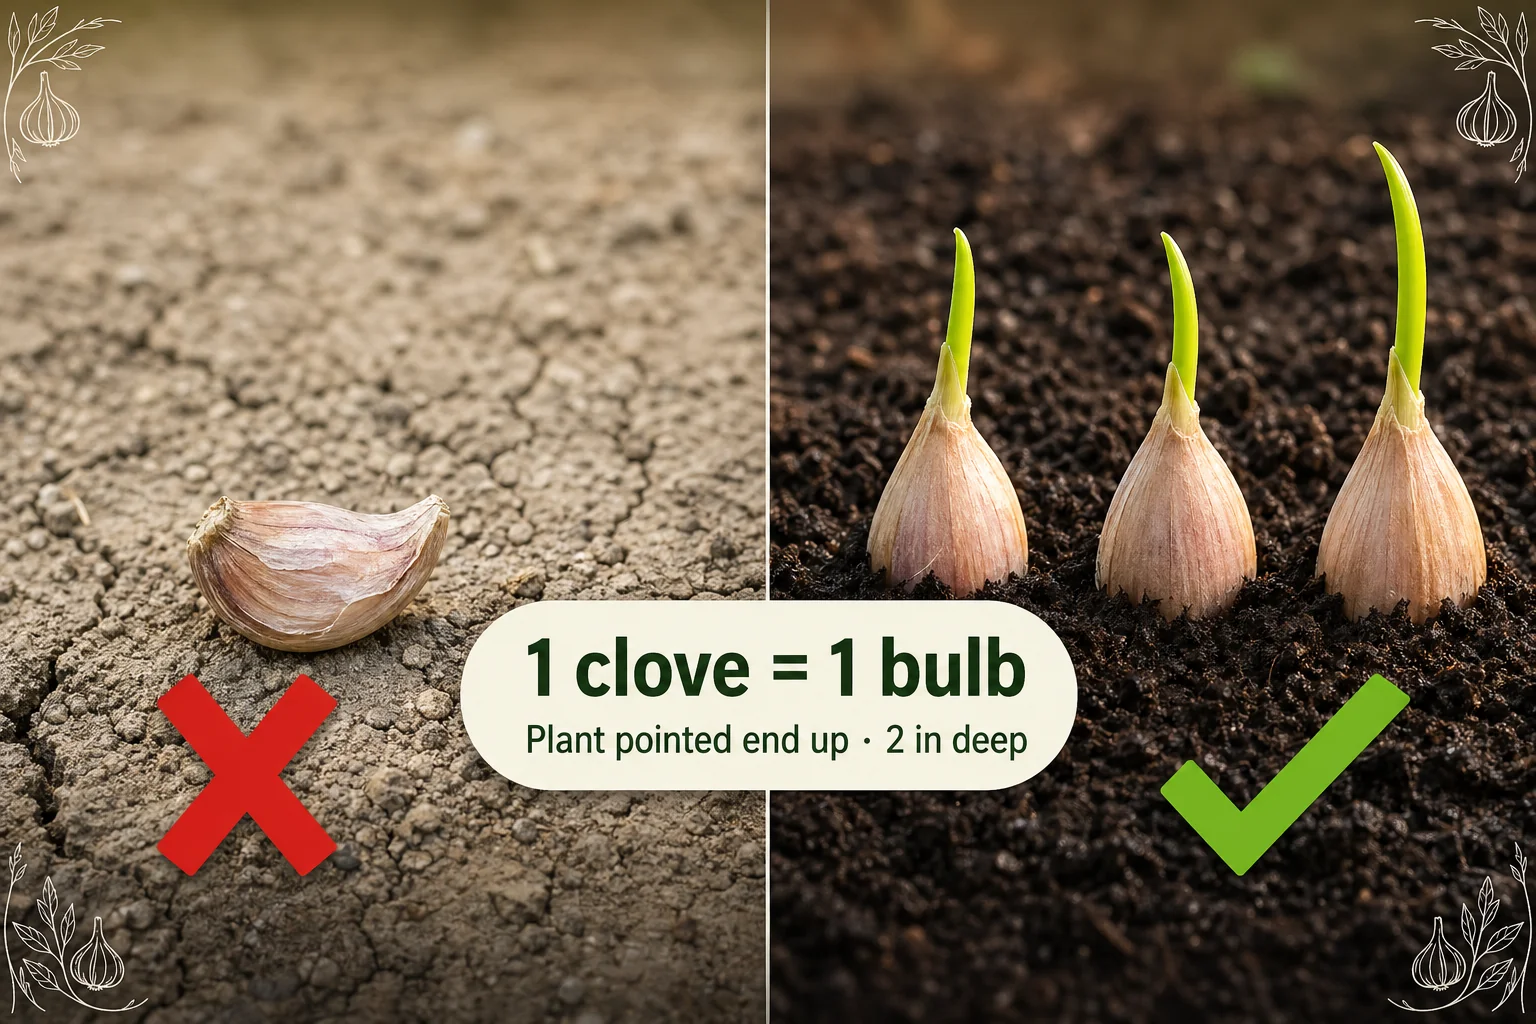
Propagate garlic by planting individual cloves in fall, 4–6 weeks before the ground freezes. Place each clove pointed end up, 5 cm (2 in) deep and 15 cm (6 in) apart. Each clove becomes one new bulb, ready to harvest 8–9 months later. Hardneck varieties also produce aerial bulbils on their scapes — a slower 2–3 season method for multiplying specific cultivars.
Why cloves, not seeds
Garlic almost never produces viable seed under normal garden conditions. Most cultivated varieties are sterile or near-sterile: the plant flowers, but the seeds either don’t form or aren’t worth collecting. Home gardeners cannot practically grow garlic from true seed — and there’s no reason to try.
All garlic propagation at home is vegetative: you plant a piece of the parent plant and it grows into a genetically identical new plant. This is actually an advantage. You are guaranteed the same variety, same flavour, same storage characteristics — every season.
The clove is the natural propagation unit garlic evolved to use. Each outer clove on a bulb is a compressed lateral shoot. Plant it, expose it to cold, and it expands into a new multi-clove bulb over the next growing season.
Hardneck vs softneck for propagation
Both types propagate from cloves the same way. The difference matters when you want to use bulbils.
| Type | Propagation from cloves | Propagation from bulbils | Best for |
|---|---|---|---|
| Hardneck | Yes — standard method | Yes — from scape bulbils | Cold climates, zones 3–6 |
| Softneck | Yes — standard method | No — produces no scapes | Mild climates, zones 7–10 |
Hardneck garlic (Rocambole, Porcelain, Purple Stripe) grows a curling flower stalk called a scape in late spring. If you leave the scape on the plant instead of snapping it off, it develops a head of small aerial bulbils at the tip. These bulbils can be planted — but it takes 2–3 seasons to reach full bulb size.
Softneck garlic (Artichoke, Silverskin) never throws a scape, so clove propagation is the only option. For most home gardeners, this is not a limitation — the clove method is faster and simpler in every case.
Quick rule: if you just want garlic to cook, plant cloves. If you want to multiply a specific rare hardneck cultivar without buying more seed garlic, bulbils let you scale up a single bulb over a few seasons.
Selecting seed garlic
The quality of your seed garlic determines the quality of your harvest — more than any other variable.
Buy certified seed garlic, not supermarket bulbs. Supermarket garlic is:
- Often treated with a sprout inhibitor
- Grown for long-distance shipping, not for your climate
- Frequently imported from regions with different disease pressures
Certified seed garlic from a nursery, farm store, or seed catalogue is:
- Disease-screened and pathogen-tested
- Selected for your region’s climate
- Sold with the variety clearly labelled
Choose 2–3 varieties to start: one hardneck if you have cold winters, one softneck if your winters are mild, or one of each.
Within each bulb, select only the largest outer cloves for planting. The size of the clove you plant directly predicts the size of the bulb you harvest. This is the single most impactful selection decision you can make.
Step-by-step: propagating garlic from cloves
1. Time your planting correctly
Plant 4–6 weeks before your ground freezes in fall — typically mid-September to late October depending on your climate zone. This window lets cloves grow roots before winter dormancy. During winter, the cold period (vernalization — sustained temperatures below 10°C / 50°F for 6–8 weeks) signals the plant to form a full multi-clove bulb the following summer.
Plant too late and the cloves won’t have time to root before freeze. Plant too early and warm soil can trigger excessive top growth before winter. The 4–6 week window is the sweet spot.
2. Break and select cloves
On planting day, pull the bulb apart into individual cloves with your fingers. Don’t peel them — the papery skin is a barrier against soil pathogens. Do this the day you plant, not weeks ahead.
Sort the cloves by size. Set aside the large outer cloves for planting. Use the small inner cloves in the kitchen — they will only produce small bulbs and are not worth bed space.
3. Prepare the bed
Garlic needs:
- Full sun — at least 6 hours of direct sun daily
- Well-drained soil — compacted or waterlogged ground rots cloves over winter
- Soil pH 6.0–7.0 — check with a soil pH meter before planting
- Loose, fertile structure — fork in a generous layer of compost or well-rotted manure
Avoid any bed where you grew onions, leeks, or garlic in the last 3 years to reduce white rot risk.
4. Plant at the correct depth
Make holes 5 cm (2 in) deep — measured from the tip of the clove to the soil surface. In cold USDA zones 3–5 where the ground freezes hard, increase depth to 10 cm (4 in) and add extra mulch on top.
Drop each clove into its hole with the pointed tip facing straight up and the flat root plate at the bottom. Cloves planted upside-down still grow, but they waste weeks curling underground and produce smaller, misshapen bulbs.
5. Space for maximum yield
Space cloves 15 cm (6 in) apart within each row, with rows 25–30 cm (10–12 in) apart. Crowded garlic competes for nutrients and water — the result is noticeably smaller bulbs at harvest. In a 30 cm (12 in) wide raised bed you can fit two staggered rows.
6. Backfill and mulch
Cover each clove with loose soil and firm gently. Water once to settle the bed. Immediately spread 10–15 cm (4–6 in) of straw, shredded leaves, or grass clippings across the whole bed.
Mulch does three jobs: it insulates against freeze-thaw heaving, suppresses winter weeds, and locks in moisture. In cold zones this step is not optional — it is part of the depth strategy.
A plant care app like Tazart can log your planting date and send reminders for the key milestones: spring fertilizing, scape removal, and harvest timing — useful when you’re growing multiple varieties on different schedules.
Bulbils method (long-term propagation)
Bulbil propagation is a way to multiply a specific hardneck variety without splitting your main bulb stock. It’s slow but useful for scaling up a variety you want more of.
How to collect bulbils:
- In late spring, when hardneck scapes form and curl, leave a few scapes on the plant rather than snapping them all off.
- The scape tip will develop a small capsule (the umbel) containing 5–30 tiny aerial bulbils.
- Leave them until the scape begins to dry and the umbel starts to crack open — usually mid-summer.
- Cut the whole scape and let the umbel finish drying in a warm, airy place for 1–2 weeks.
- Separate the bulbils and store in a cool, dry spot until fall planting.
Planting bulbils:
- Plant bulbils the same way as cloves — pointed end up, 2–3 cm (1 in) deep, 5–7 cm (2–3 in) apart.
- Year 1: each bulbil produces a small “round” — a single unsegmented bulb about the size of a marble.
- Year 2: plant the rounds like cloves. They produce proper segmented bulbs, though smaller than cloves from a full-size bulb.
- Year 3: plant the year-2 bulbs. By now they typically perform like standard seed garlic.
The trade-off: you get a large number of new plants from a single bulb’s scape, but you wait 2–3 seasons for full-size harvests. Most home gardeners stick to clove propagation. Bulbils make sense if you want to build a large stock of a particular heritage variety, or if you’ve run short of planting stock and need to stretch what you have.
Spacing for maximum yield
The relationship between spacing and bulb size is one of the most consistent findings in garlic growing. Here are the key numbers:
| Measurement | Recommendation |
|---|---|
| Clove to clove (in-row) | 15 cm (6 in) |
| Row to row | 25–30 cm (10–12 in) |
| Planting depth (zones 6–10) | 5 cm (2 in) |
| Planting depth (zones 3–5) | 10 cm (4 in) |
| Mulch depth | 10–15 cm (4–6 in) |
Tighter spacing — 10 cm (4 in) or less — consistently produces smaller bulbs because each plant competes for nutrients. Wider spacing than 15 cm (6 in) wastes bed space without a meaningful yield increase. The 15 cm (6 in) figure is the practical optimum for home gardens.
Saving cloves year to year
Once you’ve planted seed garlic, you never need to buy it again — as long as you select carefully at harvest time.
At harvest (mid- to late summer):
- Lift bulbs gently with a fork when the bottom 3–4 leaves have yellowed.
- Brush off soil — do not wash.
- Cure in a dry, well-ventilated, shaded spot for 2–3 weeks. A covered porch or open garage works well.
- Once the necks are fully dry and papery, select your seed stock: choose the largest, most symmetrical bulbs with tight wrappers and no signs of disease.
- Store seed bulbs in a mesh bag or basket at room temperature (not in the fridge — cold storage before planting can affect sprouting).
At planting time: Break open the saved bulbs, sort the cloves by size, plant the biggest outer cloves, and eat the rest. You’ll maintain or improve your stock each season by consistently selecting the best bulbs.
One caution: if you see signs of disease — stunted plants, mouldy bulbs, dark streaking in cloves — do not save those for seed. Discard the affected bulbs and source fresh certified seed garlic to avoid carrying disease forward.
Related reading
- How to plant garlic cloves — full step-by-step guide covering timing, mulch, care after planting, and harvest.
- How deep to plant garlic — exact depth by USDA zone with cold-zone adjustments.
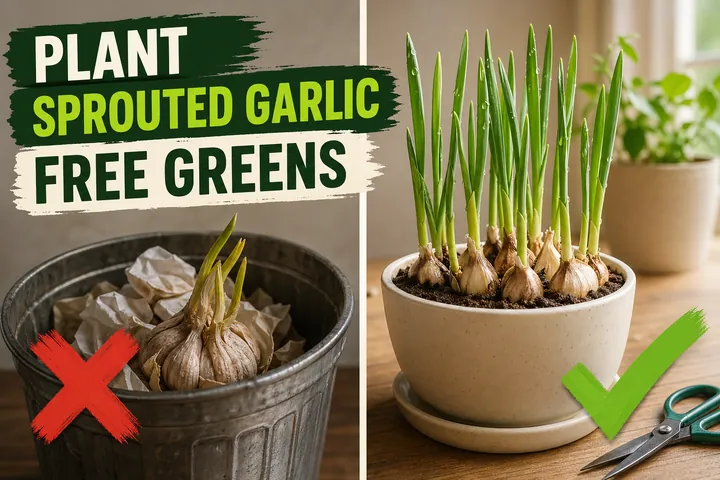
- How to plant sprouted garlic — what to do when your seed garlic has already started sprouting before planting day.
- Track planting dates, scape removal, and harvest timing with the free Tazart plant care app — it adjusts reminders for your local climate automatically.
A note on conditions
Every garden is different. Soil structure, drainage, your specific frost date, and the variety you’ve chosen all affect how garlic develops over its long growing season. Use the depths, spacings, and timing above as a strong starting point, and adjust based on what your beds actually do in year one — that’s how every experienced garlic grower dials in their patch.
Highly recommended
The supplies that make this guide work


Tazart is an Amazon Associate — we earn from qualifying purchases at no extra cost to you. Thank you for helping us keep these guides free.
Frequently asked questions
Can you grow garlic from a single clove?
Yes — that is exactly how garlic propagation works. Each individual clove planted in fall develops into a full multi-clove bulb by the following summer. Plant the largest, firmest outer cloves for the biggest return: one large clove reliably produces one large bulb.
What is the best way to propagate garlic at home?
Planting individual cloves is the fastest and most reliable method. Break a seed garlic bulb into separate cloves on planting day, orient each one pointed end up, set them 5 cm (2 in) deep and 15 cm (6 in) apart, and mulch. You will have a full harvest in 8–9 months.
Can you propagate garlic from bulbils?
Yes, but it takes 2–3 seasons. Hardneck garlic produces small aerial bulbils on its flower stalk (scape). If left to mature rather than being snapped off, these bulbils can be harvested, dried, and planted to grow rounds in year one, then full bulbs in year two or three. It is a slower method but useful for multiplying rare varieties.
When should you plant garlic cloves for propagation?
Plant in fall, 4–6 weeks before your ground freezes — typically mid-September to late October in most temperate climates. This window lets roots establish before winter dormancy. The cold period (vernalization) that follows triggers the clove to form a full multi-clove bulb the next summer.
Can you save garlic cloves to replant every year?
Yes. Select the largest, healthiest bulbs at harvest, hang them to cure for 2–3 weeks, then store in a cool dry spot. At planting time, break out the biggest outer cloves and replant them. You can perpetuate the same garlic stock indefinitely this way — many gardeners never buy seed garlic again after the first year.
Why is garlic not grown from seed at home?
Garlic very rarely produces viable true seed under normal garden conditions. Most cultivated garlic is sterile or near-sterile and does not set seed even when it flowers. All practical home propagation is vegetative — from cloves or bulbils. Seed propagation is only used by plant breeders developing new varieties.
Can you propagate softneck garlic the same way as hardneck?
Yes for clove propagation — the method is identical. The difference is that softneck garlic does not produce a scape or bulbils, so bulbil propagation is only an option with hardneck varieties. For everyday home gardening, clove planting works equally well for both types.