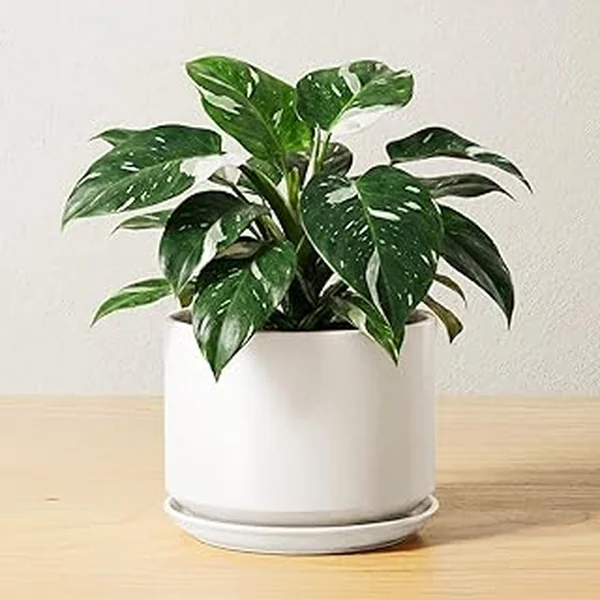
Houseplants
How to Propagate a Fiddle Leaf Fig (Water, Soil, and Air-Layering)
Three reliable ways to propagate a Ficus lyrata at home — stem cuttings in water, soil cuttings, and air-layering for tall leggy plants. Step-by-step timings.
On this page
- Quick answer
- Safety: fiddle leaf fig latex sap
- What you’ll need
- Method 1: Stem cutting in water
- Method 2: Soil cutting (low-mess option)
- Method 3: Air-layering (best for legginess)
- Care after roots form
- When to pot up
- Common mistakes to avoid
- Troubleshooting
- Watch: propagating fiddle leaf fig
- Related reading
- A note on conditions
Watch the visual walkthrough
Fiddle Leaf Fig Care Guide! 🌿 // Garden Answer
Affiliate/Sponsored Links Espoma Potting Soil Mix - http://bit.ly/2SXFAL0 Indoor! Liquid Fertilizer - http://bit.ly/36DNY6r Leaf ...
Fiddle leaf figs (Ficus lyrata) have a reputation for being moody, but propagating one is surprisingly forgiving. A single healthy mother plant can give you years of free cuttings, and the three reliable methods — stem cuttings in water, soil cuttings, and air-layering — all work for a complete beginner with the right setup.
Before you start, one safety note: fiddle leaf figs ooze a milky white latex sap when cut. It’s a skin and eye irritant for humans and is toxic to cats and dogs if chewed. Wear gloves, keep the cutting away from your face, and put trimmings somewhere pets can’t reach.
Quick answer
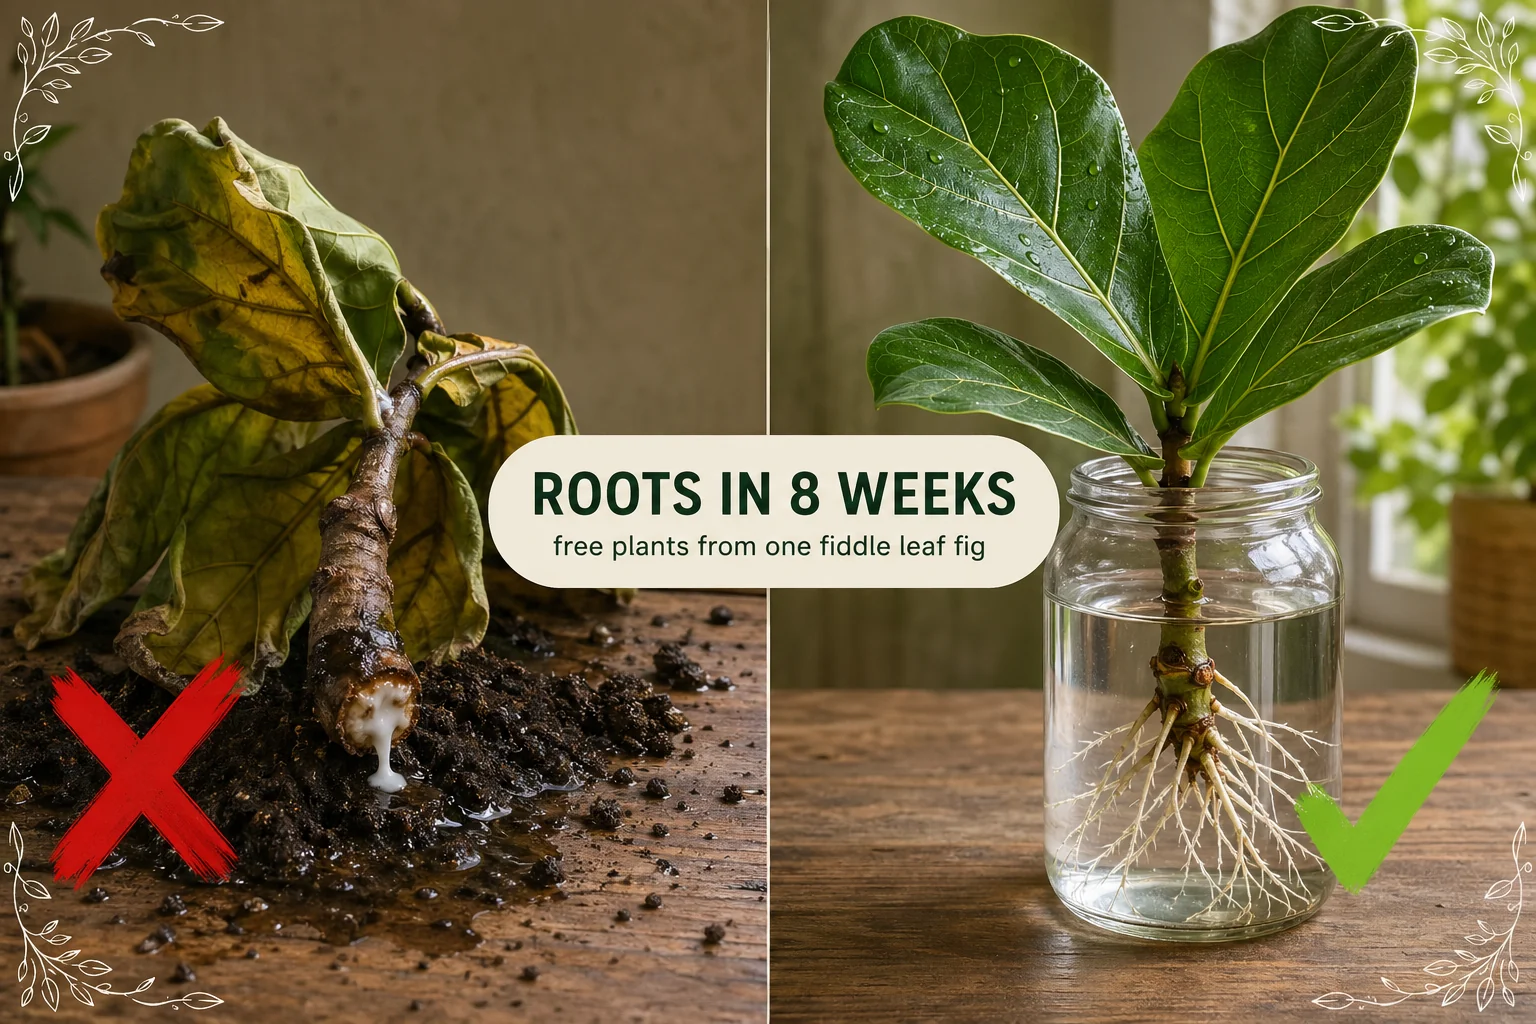
Stem cutting in water: take a 15–20 cm (6–8 in) tip cutting with 2–3 leaves, blot the white latex from the cut end with a paper towel, optionally dip it in rooting hormone, and place it in a glass of room-temperature water (21–27°C (70–80°F)) in bright indirect light. Change the water every 5 to 7 days. Roots appear in 6 to 10 weeks.
Air-layering (best for tall leggy plants): wound a 60–120 cm (24–48 in)-tall stem, dust the wound with rooting hormone, wrap a baseball-sized handful of damp sphagnum moss around it, cover with clear plastic taped at both ends, and mist weekly. Sever the stem just below the moss when roots fill the bundle — usually 8 to 12 weeks.
Safety: fiddle leaf fig latex sap
Every cut you make on a fiddle leaf fig releases a sticky white latex. Take it seriously:
- Wear gloves — nitrile or rubber kitchen gloves are fine.
- Don’t touch your eyes while working with cuttings.
- Keep cuttings, leaves, and the knife away from pets and children. Cats and dogs can be poisoned by chewing fiddle leaf fig material.
- Blot the latex from each cut end with a paper towel for 30 seconds before going further. Water cuttings root much better when the cut isn’t still oozing sap.
- Wash tools with warm soapy water afterward — dried latex is a pain to remove.
If sap touches your skin, wash with soap and water. If it touches your eye, rinse with cool water for several minutes and call a doctor.
What you’ll need
- A healthy mother fiddle leaf fig with at least one semi-woody stem
- Sharp, clean pruning shears or a craft knife (wipe with rubbing alcohol)
- Nitrile gloves and paper towels
- For water cuttings: a clear glass jar of room-temperature filtered or tap water
- For air-layering: a handful of damp long-fiber sphagnum moss, clear plastic wrap, twist ties or plant tape
- Rooting hormone powder (optional for water, recommended for soil and air-layering)
- Bright indirect light — a few feet back from a north-, east-, or filtered south-facing window
Method 1: Stem cutting in water
This is the easiest method and works on any fiddle leaf fig with at least one tip you can spare. The clear jar lets you watch roots form, which makes it the best method if you’ve never propagated anything before.
1. Choose a healthy stem
Pick a semi-woody stem with 2 to 3 healthy leaves. The stem should bend slightly without snapping — fully green soft growth roots slowly, fully woody old stems often stall completely. Tip growth from the past year is the sweet spot.
2. Cut just below a node
A node is the small bump on the stem where a leaf meets it. Roots grow from nodes, not from random points along a smooth stem. Cut just below a node at a slight angle so the cutting has more surface area to root from.
Aim for a finished cutting 15 to 20 cm (6–8 in) long. Fiddle leaf fig leaves are huge, so to reduce water loss while it roots, you can roll one leaf into a loose cone and tape it gently — or remove the lowest leaf entirely if your cutting has three.
3. Blot the latex
Press a paper towel firmly against the cut end. Hold it for 20–30 seconds, then swap to a fresh corner and repeat until the white sap stops oozing. A still-bleeding cut won’t root well in water and tends to cloud the jar within days.
4. Optional: dip in rooting hormone
Dip the bottom 1 cm (0.5 in) of the cut into rooting hormone powder, tap off the excess. Skip this if you don’t have any — it just speeds things up; it’s not strictly required for water propagation.
5. Place in water
Fill a clear jar with room-temperature water (21–27°C (70–80°F) is the sweet spot). Drop the cutting in so the node sits below the water line and the leaves stay above it. Set the jar in bright indirect light — never direct sun on a glass of water, which cooks the cutting and grows algae fast.
6. Change the water every 5–7 days
Tip out the old water and refill with fresh room-temperature water every 5 to 7 days. Cloudy water = bacteria = rotted stem. Fiddle leaf fig cuttings are slower than pothos, so consistent fresh water across the full 6–10 week window matters more.
7. Wait 6–10 weeks
Roots show up first as little white bumps at the node, then grow into thick white strands. Wait until the longest root is about 5–8 cm (2–3 in) before potting up — shorter roots transition badly to soil, longer roots tangle and snap.
Method 2: Soil cutting (low-mess option)
If you don’t want a glass of water sitting on your shelf for two months, you can root fiddle leaf fig cuttings directly in soil. The trade-off: you can’t see what’s happening, so the timing is more guesswork.
1. Take the cutting
Take the cutting exactly as in Method 1 — 15–20 cm (6–8 in), semi-woody, just below a node. Blot the latex.
2. Dip in rooting hormone
Strongly recommended for soil propagation — without the hormone, soil cuttings of fiddle leaf fig root unreliably. Dip the bottom 1 cm (0.5 in), tap off excess.
3. Pot up immediately
Push the cut end 5–7 cm (2–3 in) into a small pot of pre-moistened chunky mix — about 50% potting soil, 30% perlite, 20% orchid bark. Firm the mix gently around the stem so the cutting stands on its own.
4. Tent with clear plastic
Cover the whole pot with a clear plastic bag held off the leaves with a couple of stakes or skewers. Leave one corner open for a little airflow. The bag holds humidity around the leaves while the cutting can’t yet support itself.
5. Place in bright indirect light
Bright indirect light is non-negotiable. Direct hot sun inside a plastic bag will cook the cutting in an afternoon.
6. Mist and wait
Mist inside the bag every few days if it dries out. After 8 to 12 weeks, tug the cutting gently. Resistance = roots. Once it resists firmly, remove the plastic bag over a week (gradually opening it more each day to harden the cutting off).
Soil cuttings root a little slower than water cuttings on fiddle leaf fig, but the transition shock at potting-up time is zero — the roots that grow are already adapted to soil.
Method 3: Air-layering (best for legginess)
Air-layering is the right answer when your fiddle leaf fig has gotten tall and bare on the bottom. Instead of cutting first and hoping it roots, you root the stem while it’s still attached to the mother plant — so the new plant is already a robust, leafy specimen the day you sever it. This is also the most reliable way to clone a thick mature stem that wouldn’t take as a cutting.
1. Pick the spot
Find a stem 60 to 120 cm (24–48 in) above the pot, ideally just below a healthy leafy section so the new plant inherits its top crown. The stem should be at least pencil-thick, ideally pencil-and-a-half.
2. Wound the stem
Using a sharp clean blade, scrape away a 2–4 cm (0.75–1.5 in) long strip of bark on one side of the stem, going down to the green tissue underneath. Don’t cut all the way through — you want the wound, not amputation. The plant will push roots from this wound. North Carolina State Extension’s air-layering guide is a good visual reference if you want to double-check the cut depth before you commit.
3. Dust with rooting hormone
Dab the wound with a damp finger or wet brush, then dust generously with rooting hormone powder. This step matters more here than for water cuttings — air-layering takes 2–3 months, and the hormone meaningfully improves success rates on slow-rooting Ficus species.
4. Wrap with damp sphagnum
Soak a baseball-sized handful of long-fiber sphagnum moss in water, then squeeze it out so it’s damp, not dripping. Press it firmly around the wounded section so the moss makes full contact with the wound. The moss should always feel damp like a wrung-out sponge — never soggy.
5. Seal with plastic
Wrap clear plastic wrap around the moss bundle and tape both ends so no moss is exposed. The bundle should look like a transparent egg around the stem. Keeping it clear lets you see roots when they appear.
6. Maintain and watch
Mist the bundle through the plastic once a week, or unwrap one end and trickle a little water in if the moss looks dry. The slow timeline (8 to 12 weeks) means it’s easy to forget — a recurring weekly check works best.
After 8 to 12 weeks, you’ll see white roots spreading through the moss against the plastic. Once roots fill most of the bundle, you’re ready to pot up.
7. Sever and pot
Cut the stem just below the moss bundle. Gently unwrap the plastic but leave the moss in place — disturbing the new roots is the easiest way to kill an air-layered plant. Pot the whole thing, moss and all, into a pot of chunky aroid mix.
Care after roots form
Once your cutting has roots roughly 5–8 cm (2–3 in) long, it’s ready for soil.
- Soil: chunky aroid mix — about 50% potting soil, 30% perlite or pumice, 20% orchid bark. Avoid heavy peat-only mixes that stay wet — fiddle leaf fig roots hate soggy feet.
- Pot: a small pot just 2–3 cm (0.75–1 in) wider than the root ball, with drainage holes. Bigger is worse — extra unused soil stays wet and rots the new roots.
- Transition: for water cuttings, the first 2 weeks in soil are the riskiest period. Keep the soil consistently damp (not soggy) so the water-grown roots can adapt to soil’s drier rhythm.
- Light: bright indirect light. Direct hot sun bleaches new leaves; deep shade stalls growth and drops lower leaves.
- Watering: wait until the top 3–5 cm (1–2 in) of soil is dry, then water deeply until it drains out the bottom. Empty the saucer.
- Fertilizer: wait at least a month after potting up before fertilizing. Then a balanced liquid feed at half strength every 4–6 weeks during spring and summer.
A free plant care app like Tazart can hold the watering schedule for your new fiddle leaf fig, factor in your local weather, and remind you when it’s time — useful when you’re rooting several cuttings at once and each pot dries down at a different rate.
When to pot up
The clearest signal is root length. Wait until the longest root on a water cutting is roughly 5–8 cm (2–3 in) — long enough to anchor in soil but not so long the roots tangle and snap.
For air-layering, pot up when roots have spread visibly through most of the moss bundle. If roots are barely poking through, give it another 2–3 weeks of damp moss.
Don’t pot up during a heatwave or in a chilly room (under 18°C (64°F)). Stable warm temperatures help the cutting establish.
Common mistakes to avoid
- Not letting the latex stop oozing. A wet, leaking cut end clouds the jar within days and won’t take rooting hormone properly.
- Skipping rooting hormone on semi-woody stems. Younger soft growth on fiddle leaf fig roots fine without it; thicker semi-woody stems often stall without a boost.
- Dim light. A cutting in a dark corner will sit for months without roots. Bright indirect light is non-negotiable.
- Cold water. Water below 18°C (64°F) dramatically slows rooting and invites rot. Always use room-temperature water.
- Taking cuttings in winter dormancy. Late spring to mid-summer is the right season; winter cuttings often just sit and rot.
- Disturbing roots when potting up. Once water roots hit ~5–8 cm (2–3 in), pot gently and don’t wash off the moss on air-layered cuttings.
- Over-leafing the cutting. Three or four big fiddle leaf fig leaves on a single cutting demand more water than the bare stem can supply. Two leaves is the sweet spot.
Troubleshooting
| Symptom | Likely cause | Fix |
|---|---|---|
| Cutting rotted in water | Old stagnant water or unblotted latex | Recut above the rotted section, blot latex thoroughly, fresh water, change every 5 days |
| No roots after 10 weeks in water | Too cold, too dim, or fully woody stem | Move to a warmer (21–27°C (70–80°F)) brighter spot; try a fresh semi-woody cutting with rooting hormone |
| Leaves yellowing on water cutting | Stagnant water or roots not forming fast enough | Change water immediately; trim one yellow leaf to reduce demand on the cutting |
| Mushy stem at the node | Bacteria from dirty water or contaminated tools | Bin the cutting; sterilise the jar and shears; start over with a clean cut |
| Mother plant looks stressed after cutting | Lost too much foliage at once | Don’t take more than ~30% of foliage at a time; resume normal watering, hold off on fertiliser |
| Air-layering moss going dry | Plastic wrap leaks at the seams | Re-tape both ends; trickle 1–2 tablespoons of water into the bundle and reseal |
| Brown crispy edges on rooted cutting | Humidity dropped too fast after potting up | Tent with a clear plastic bag for a week, opening more each day until the cutting hardens off |
Watch: propagating fiddle leaf fig
A short visual walkthrough pairs well with the steps above. If you’re a visual learner, watch a quick tutorial on YouTube and then come back to follow the timing here — the order of operations (blot latex → optional hormone → water → bright indirect light) matters more than any single step.
Related reading
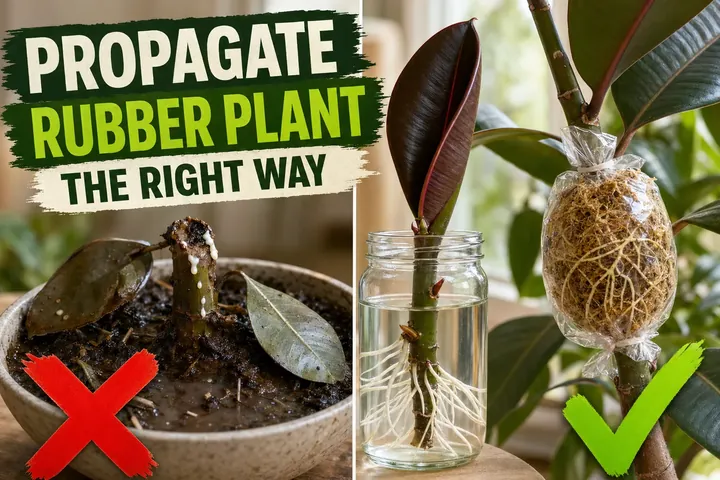
- How to propagate a rubber plant — same Ficus genus, same latex precautions, slightly faster rooting.
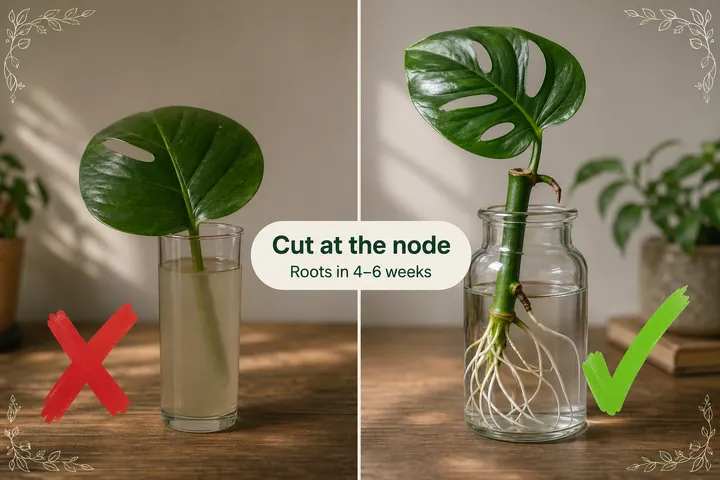
- How to propagate Monstera deliciosa — the classic node-and-water propagation that’s perfect practice before tackling a fiddle leaf fig.
- Fiddle leaf fig care — full care guide for the parent plant, so your mother stays vigorous enough to keep giving cuttings.
- Snap a photo of the next mystery cutting with the free Tazart plant identifier and let it set the watering schedule for you.
A note on conditions
Every home is different. Light, ambient humidity, water temperature, season, and how vigorous your mother plant is all change how fast a fiddle leaf fig cutting roots and whether air-layering takes. Use the timings above as a starting point and adjust based on what you actually see in week three — that’s how every good propagator learns.
Highly recommended
The supplies that make this guide work


Tazart is an Amazon Associate — we earn from qualifying purchases at no extra cost to you. Thank you for helping us keep these guides free.
Frequently asked questions
Can you propagate a fiddle leaf fig in water?
Yes. A 15–20 cm (6–8 in) tip cutting with 2–3 leaves roots reliably in a glass of room-temperature water. Blot the milky latex from the cut end, optionally dip it in rooting hormone, and place the jar in bright indirect light. Change the water every 5 to 7 days. Expect white roots in 6 to 10 weeks.
How long does a fiddle leaf fig cutting take to root?
Stem cuttings in water typically root in 6 to 10 weeks at 21–27°C (70–80°F) with bright indirect light. Air-layering is slower but more reliable on thick woody stems — it takes 8 to 12 weeks for the moss bundle to fill with roots before you sever it from the mother plant.
Is fiddle leaf fig sap toxic?
The white latex that oozes from a cut fiddle leaf fig is a skin and eye irritant for humans and is toxic to cats and dogs if chewed. Wear gloves when taking cuttings, avoid touching your eyes, and keep all cuttings, sap-stained tools, and trimmings away from pets and small children.
Can you propagate a fiddle leaf fig from a single leaf?
A leaf with a short stub of stem and no node will sometimes root in water, but it almost never grows into a new plant — it just sits there as a rooted leaf. For a real new plant, take a stem cutting that includes at least one node (the bump where a leaf meets the stem).
When is the best time to propagate a fiddle leaf fig?
Late spring through mid-summer is ideal — warm temperatures and longer days speed up rooting. Avoid taking cuttings in winter when the plant is dormant; rooting is much slower, rot risk goes up, and the mother plant takes longer to push new growth from the cut point.
Do fiddle leaf fig cuttings need rooting hormone?
Not strictly required for water propagation, but rooting hormone noticeably speeds things up on semi-woody fiddle leaf fig stems and improves success on stubborn cuttings. For air-layering and soil cuttings, dusting the wound or cut end with rooting hormone is strongly recommended.