Houseplants
How to Propagate African Violet (Leaf Cuttings That Root)
Propagate African violet from a single healthy leaf in water or moist soil. Roots in 3–4 weeks, baby plantlets in 8–12 weeks. Step-by-step guide.

On this page
- Quick answer
- About the African violet
- When to take leaf cuttings
- Choosing the right leaf
- Step-by-step: rooting in water
- Step-by-step: rooting in vermiculite
- Why petiole length is the make-or-break detail
- The chimera exception
- Watch: leaf cutting walkthrough
- Common propagation failures — and how to fix them
- Care summary after potting plantlets
- A propagation timeline at a glance
- Related reading
- A note on conditions
Watch the visual walkthrough
Repotting African Violets + Care/Propagation Tips! 🪴😍 // Garden Answer
Violet! Plant Food by Espoma - https://bit.ly/3Ths4zo African Violet Potting Mix - https://bit.ly/3VduLVq BRANDS WE PARTNER ...
African violet (Saintpaulia ionantha) is the gateway houseplant for leaf-cutting propagation. A single healthy leaf, snipped from the parent plant and stood in water or pressed into damp vermiculite, will produce 3 to 6 fully formed baby plants in about 8 to 12 weeks. No greenhouse, no special tools — a glass jar, a windowsill, and patience.
This guide covers exactly which leaf to choose, the two reliable rooting methods, why petiole length is the make-or-break detail, and how to separate the cluster of plantlets at the right moment to give each new plant the best start.
Quick answer
Cut a healthy mid-row leaf with a 2–3 cm (1 in) angled petiole. Stand the petiole in water through a foil cover, OR push it 1.5–2 cm (¾ in) into damp vermiculite at a 45° angle. Cover with a humidity dome, place in bright indirect light at 21–24°C (70–75°F), and white roots will appear in 3 to 4 weeks. Baby plantlets emerge at the soil line in 8 to 12 weeks. Separate and pot up each plantlet once it has 3 to 4 leaves of its own.
About the African violet
Saintpaulia ionantha is a small flowering houseplant in the Gesneriaceae family — the same family as goldfish plant and gloxinia. It hails from the cloud forests of Tanzania, where it grows in deep shade with constant humidity and stable temperatures around 21°C (70°F). That habitat tells you almost everything you need to know about propagating it: it likes warmth, indirect light, gentle airflow, and never fully drying out.
African violets propagate freely from leaf cuttings because the leaf petiole contains both meristematic cells (which form roots) and a cluster of dormant cells at the leaf base that can differentiate into new plantlets. One leaf, one stem, multiple new plants — a botanically generous arrangement.
There are thousands of named cultivars in pink, purple, white, blue, magenta, and ruffled variegated forms. Most propagate identically from leaf. The one notable exception is chimera African violets (covered below).
When to take leaf cuttings
Spring and early summer are the best windows. Days are lengthening, the parent plant is actively growing, and humidity in most homes is moderate enough to root a leaf without immediate stress.
You can take leaf cuttings any time of year if the plant is healthy and the room is warm — autumn and winter cuttings simply root more slowly (sometimes 6 to 8 weeks instead of 3 to 4) and need extra humidity discipline because heating dries indoor air.
Avoid cutting from a flowering plant if you can — energy directed at blooms is energy not directed at root formation. If the plant is mid-bloom, cut a leaf from the non-flowering side or wait until the bloom finishes.
Choosing the right leaf
Not every leaf roots equally. The position of the leaf on the parent plant matters:
- Centre crown leaves (newest): too young, soft, and underdeveloped — root slowly and produce weak plantlets. Skip.
- Second or third row in from the outer edge: mature, firm, fully developed — the propagator’s gold standard. Pick from here.
- Outermost leaves: old, often slightly woody at the petiole, may have dust damage or pest scarring — root unevenly. Use only if no better leaf is available.
Select a leaf that is:
- Coin-sized to slightly larger — roughly 4–6 cm (1.5–2.5 in) across
- Deep, even green colour with no yellowing
- Firm, not floppy or limp
- Free of mealybugs, thrip damage, mildew, or pale patches
A mature healthy African violet can spare 4 to 6 leaves at once without setback. Cut from different sides to keep the rosette balanced.
Step-by-step: rooting in water
Water rooting is the easiest method to start with — you can watch root development in real time, which is reassuring on your first try.
- Fill a small glass jar (a baby food jar or shot glass works well) with room-temperature filtered water. Tap water is fine if left to sit overnight to off-gas chlorine.
- Cut a piece of aluminium foil to cover the jar opening, then poke a 2–3 mm slit in the centre with a clean needle.
- With a sterile blade, trim the leaf petiole to 2–3 cm (1 in) at a 45° angle. Use a fresh cut on the same day you set up the jar — old cuts seal and root poorly.
- Slide the trimmed petiole down through the slit so only the cut end touches the water. The leaf blade must rest on the foil, completely above the waterline. Submerged leaf tissue rots within days.
- Place in bright indirect light at 21–24°C (70–75°F). An east-facing window or a grow light shelf is ideal.
- Cover loosely with a clear plastic bag or upturned glass cloche to hold humidity at 60–70%. Vent for 10 minutes daily.
- Top up the water as it evaporates. Replace the water entirely every 10 to 14 days — stagnant water grows bacteria and causes the petiole to rot.
- White roots appear at the cut end in 3 to 4 weeks. Tiny green plantlets push up alongside the petiole 4 to 6 weeks after that.
Once visible roots reach 2–3 cm (1 in), you have two choices: leave the leaf in water until plantlets are large enough to separate, or transplant the rooted leaf carefully into vermiculite to grow on. Most propagators choose the second option — water-grown roots adapt poorly to soil if left in water too long.
Step-by-step: rooting in vermiculite
Vermiculite (or a 50/50 vermiculite and perlite mix) is the method serious African violet growers use. The plantlets that emerge are already adapted to a soil-like medium and transition without root shock.
- Moisten the vermiculite thoroughly — squeeze a handful and it should clump but release no drips. Fill a 6–8 cm (2.5–3 in) plastic pot or a 100 ml plastic cup with drainage holes punched in the base.
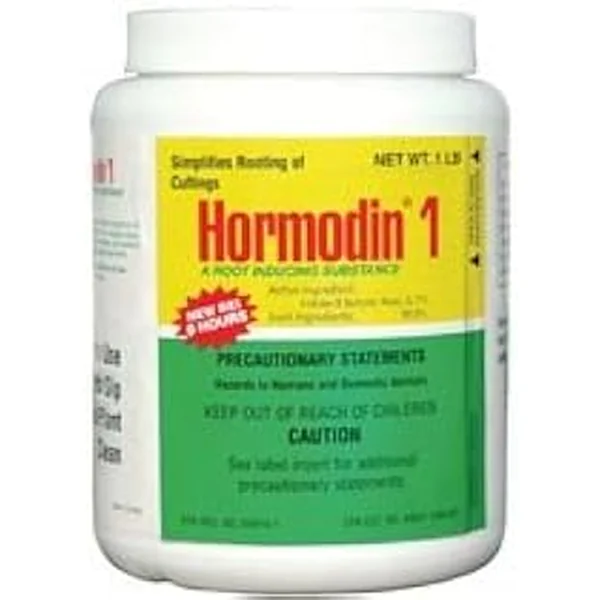
- Trim the petiole to 2–3 cm (1 in) at a 45° angle. Optional — dip the cut end in rooting hormone powder, tap off the excess.
- Make a hole in the damp vermiculite with a pencil and insert the petiole 1.5–2 cm (¾ in) deep at a 45° angle so the leaf leans slightly forward over the pot rim. The angle gives the new plantlets room to push up beside the petiole rather than under the mother leaf.
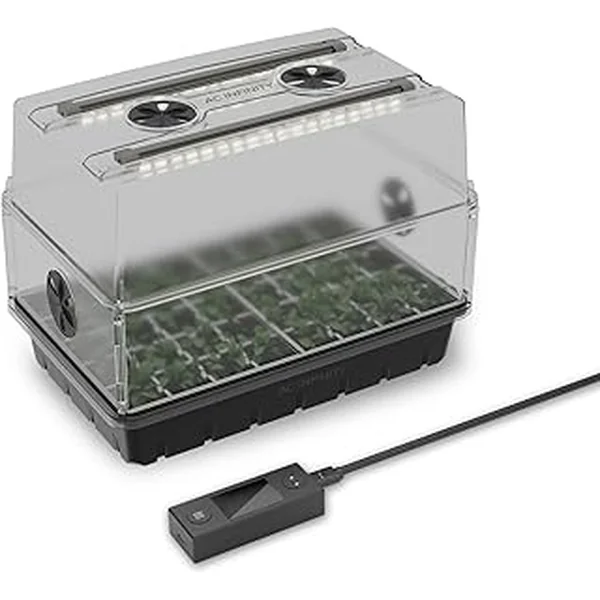
- Firm the vermiculite gently around the petiole, mist the surface lightly, and cover the pot with a clear plastic bag, propagation dome, or upturned takeaway container.
- Set in bright indirect light at 21–24°C (70–75°F). Vent the cover for 10 minutes daily. Lift the cover once a week to check moisture — the vermiculite should stay barely damp, never wet.
- New plantlets emerge at the soil line 8 to 12 weeks later as a tiny cluster of fresh light-green leaves nestled at the base of the mother leaf petiole.
Why petiole length is the make-or-break detail
The single most common reason African violet leaf cuttings fail is a petiole cut too long. The leaf petiole has a soft, hollow pith at its core. When the cut is longer than 3 cm (1.2 in):
- The exposed pith absorbs water like a sponge.
- Bacteria and fungi enter the absorbed water.
- The petiole turns slimy, mushy, and dark within 5 to 10 days.
- Even if some roots have formed, the rot ascends and kills the cutting.
A 2–3 cm (1 in) petiole heals fast, has minimal exposed pith, and roots within 3 to 4 weeks. If you accidentally cut too long, simply trim the bottom back to 2–3 cm (1 in) at a fresh 45° angle before placing it in water or vermiculite.
The chimera exception
Most African violets propagate true from leaf — the new plantlets flower in exactly the same colour and pattern as the mother. The exception is the chimera African violet, prized for striped flowers with a contrasting colour radiating outward from the centre of each petal.
Chimeras do not come true from leaf. The plantlets emerge as plain solid-colour reversion plants. To preserve a chimera’s striping, you must propagate by either:
- Suckers: small offset crowns that occasionally form alongside the main rosette. Cut and pot the sucker as a small division.
- Flower stalks: snip a spent flower stalk with two opposing leaflets near the base, place it in vermiculite the same way you would a leaf, and the dormant tissue at the leaflet axil produces a chimera-true plantlet.
If you don’t know whether your African violet is a chimera, look at the flower: a striking starburst pattern radiating from the centre is the giveaway. When in doubt, propagate one leaf and one flower stalk and compare the results — it’s the only sure test.
Watch: leaf cutting walkthrough
This short visual guide pairs well with the steps above and shows how the petiole is trimmed, dipped, and inserted into vermiculite in real time.
Common propagation failures — and how to fix them
Petiole turns soft, brown, and slimy: The petiole was cut too long, the water was stagnant, or the medium was waterlogged. Re-cut to 2–3 cm (1 in) above the rot line, refresh the water, or move to barely-damp vermiculite. Drop the room temperature is below 18°C (65°F)? Move to a warmer spot — slow healing is what allows pathogens to take over.
Leaf blade browns or curls: Direct sun exposure or low humidity. Move to bright indirect light only, and replace the humidity tent. African violet leaves never tolerate direct afternoon sun.
No roots after 6 weeks: Room is too cool, or the petiole has callused over without forming roots. Re-cut a fresh 2–3 cm (1 in) angled section, dip in rooting hormone, and warm the propagation area to 22–24°C (72–75°F).
Roots form but no plantlets after 12 weeks: The petiole was buried too shallow or the humidity dropped too soon. Plantlets need 60–70% humidity at the soil line to push through. Replace the dome, mist lightly, and wait another 4 weeks — late plantlets are common, especially in cooler rooms.
Leaf rots after potting up the plantlets: The mother leaf had finished its job. This is normal. Once plantlets are separated, the mother leaf is consumable — discard it.
Care summary after potting plantlets
| Task | Timing |
|---|---|
| Water | Bottom-water once the top 1 cm (½ in) is dry — roughly every 7 to 10 days |
| Light | Bright indirect, 12 to 14 hours per day; east window or full-spectrum LED |
| Temperature | 18–24°C (65–75°F); minimum 16°C (60°F) |
| Humidity | 50–60%; pebble tray or small humidifier in dry rooms |
| Fertilize | Quarter-strength balanced liquid feed every 2 weeks once plantlets have 6+ leaves |
| First flowers | 8 to 12 months from leaf cutting |
A propagation timeline at a glance
| Time from leaf cut | What’s happening |
|---|---|
| Day 0 | Leaf inserted in water or vermiculite; humidity tent on |
| Week 1–2 | Petiole calluses; cell division begins at cut surface |
| Week 3–4 | First white roots visible |
| Week 6–8 | Root system established; first plantlet bumps form |
| Week 8–12 | Plantlets emerge at soil line as a tiny cluster |
| Week 16–24 | Plantlets grow 3 to 4 leaves each, ready to separate |
| Month 8–12 | First flower buds on independent plantlets |
A free plant care app like Tazart makes the timeline easy to track — log the leaf cutting date, set reminders for humidity-dome venting and water changes, and get a nudge when the plantlets are ready to separate.
Related reading
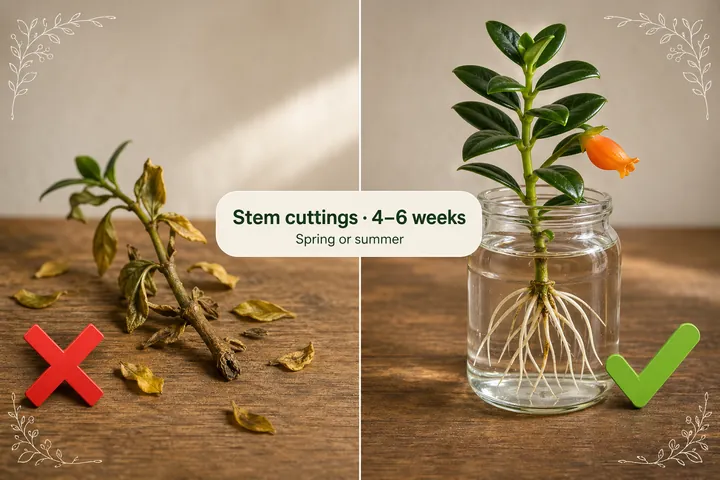
- How to propagate goldfish plant — another Gesneriaceae cousin that propagates from stem cuttings rather than leaves; useful for understanding the full family’s propagation range.
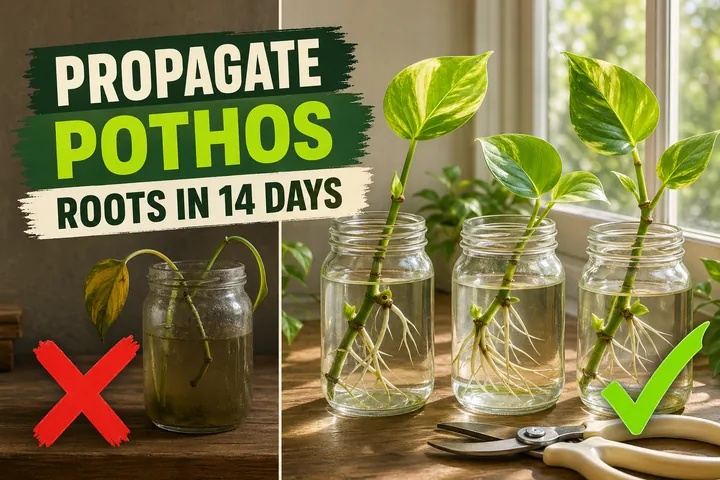
- How to propagate pothos — the easiest beginner stem-cutting propagation; a good confidence builder before tackling African violet leaves.
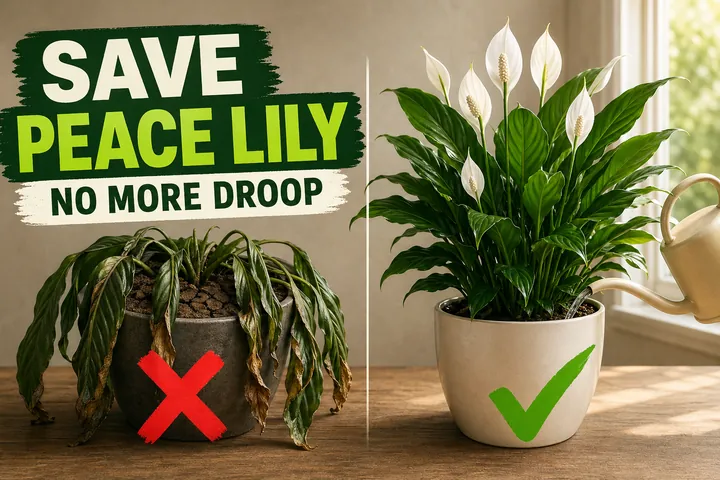
- Peace lily care: drooping, watering, and blooms — another humidity-loving tropical that pairs beautifully with African violets on the same shelf.
- Track propagation progress automatically with the free Tazart plant care app.
A note on conditions
Every home is different. Light intensity, room temperature, humidity, water hardness, and the specific African violet cultivar all shift the timeline. Use the milestones above as a baseline — if your leaf is healthy, the petiole is 2–3 cm (1 in), the room is 21–24°C (70–75°F), and humidity is 60–70%, it will root. Patience is the most underrated propagation tool — three to four months from leaf to a separated potted plantlet is normal, not slow.
Highly recommended
The supplies that make this guide work

Tazart is an Amazon Associate — we earn from qualifying purchases at no extra cost to you. Thank you for helping us keep these guides free.
Frequently asked questions
How long does it take to propagate an African violet?
First white roots appear in 3 to 4 weeks. Tiny baby plantlets push up from the leaf petiole at the soil line in 8 to 12 weeks. The mother leaf can stay attached for another 2 to 3 months while the plantlets grow large enough to separate, so plan on 4 to 6 months from leaf cutting to a small independent African violet plant.
Can you propagate African violets in water?
Yes. Suspend a healthy leaf with a 2–3 cm (1 in) trimmed petiole through a slot in foil or a propagation lid so only the cut end touches room-temperature water. Roots form in 3 to 4 weeks. Water rooting is reliable for tracking progress, but soil-rooted plantlets transition more easily and grow stronger long-term — many serious growers root in vermiculite from the start.
Why is my African violet leaf cutting rotting?
Three common causes — (1) the petiole was cut too long, leaving exposed pith that absorbs water and rots, (2) the leaf is sitting in stagnant water that has lost oxygen, or (3) ambient temperature is below 18°C (65°F) and the cutting cannot heal the cut surface fast enough. Re-cut the petiole to 2–3 cm (1 in) at a fresh angle, refresh the water or move to barely-moist vermiculite, and warm the room to 21–24°C (70–75°F).
When should I separate African violet plantlets from the mother leaf?
Wait until each plantlet has at least 3 to 4 leaves of its own and the leaves are roughly the size of a small coin — about 1.5–2 cm (½–¾ in) across. This usually happens 4 to 6 months after the original leaf cutting. Tip the clump out, gently tease the plantlets apart at the roots, and pot each one in its own 6–8 cm (2.5–3 in) pot.
Do African violet leaves grow true to the parent?
Most standard African violet cultivars come true from leaf cuttings — same flower colour, same leaf shape. The exception is chimera African violets (variegated stripes radiating from the centre of each flower). Chimeras do NOT come true from leaf — the plantlets revert to plain solid colour. Chimeras must be propagated by suckers or flower stalks instead.
What soil mix is best for rooting African violet leaves?
Pure vermiculite or a 50/50 vermiculite and perlite mix is the gold standard — light, sterile, holds humidity without waterlogging, and lets the new plantlet roots breathe. Avoid garden soil, peat-heavy potting compost, and dense seed-starting mixes. African violet roots are tiny and rot quickly in soggy or compacted media.
How many leaves can I propagate from one African violet at a time?
A healthy mature African violet can give 4 to 6 leaf cuttings without weakening — always take from the second or third row in from the outer edge, never the centre crown. Each leaf produces 3 to 6 plantlets, so a single propagation session can yield 12 to 36 new African violet plants over the next 6 months.