Houseplants
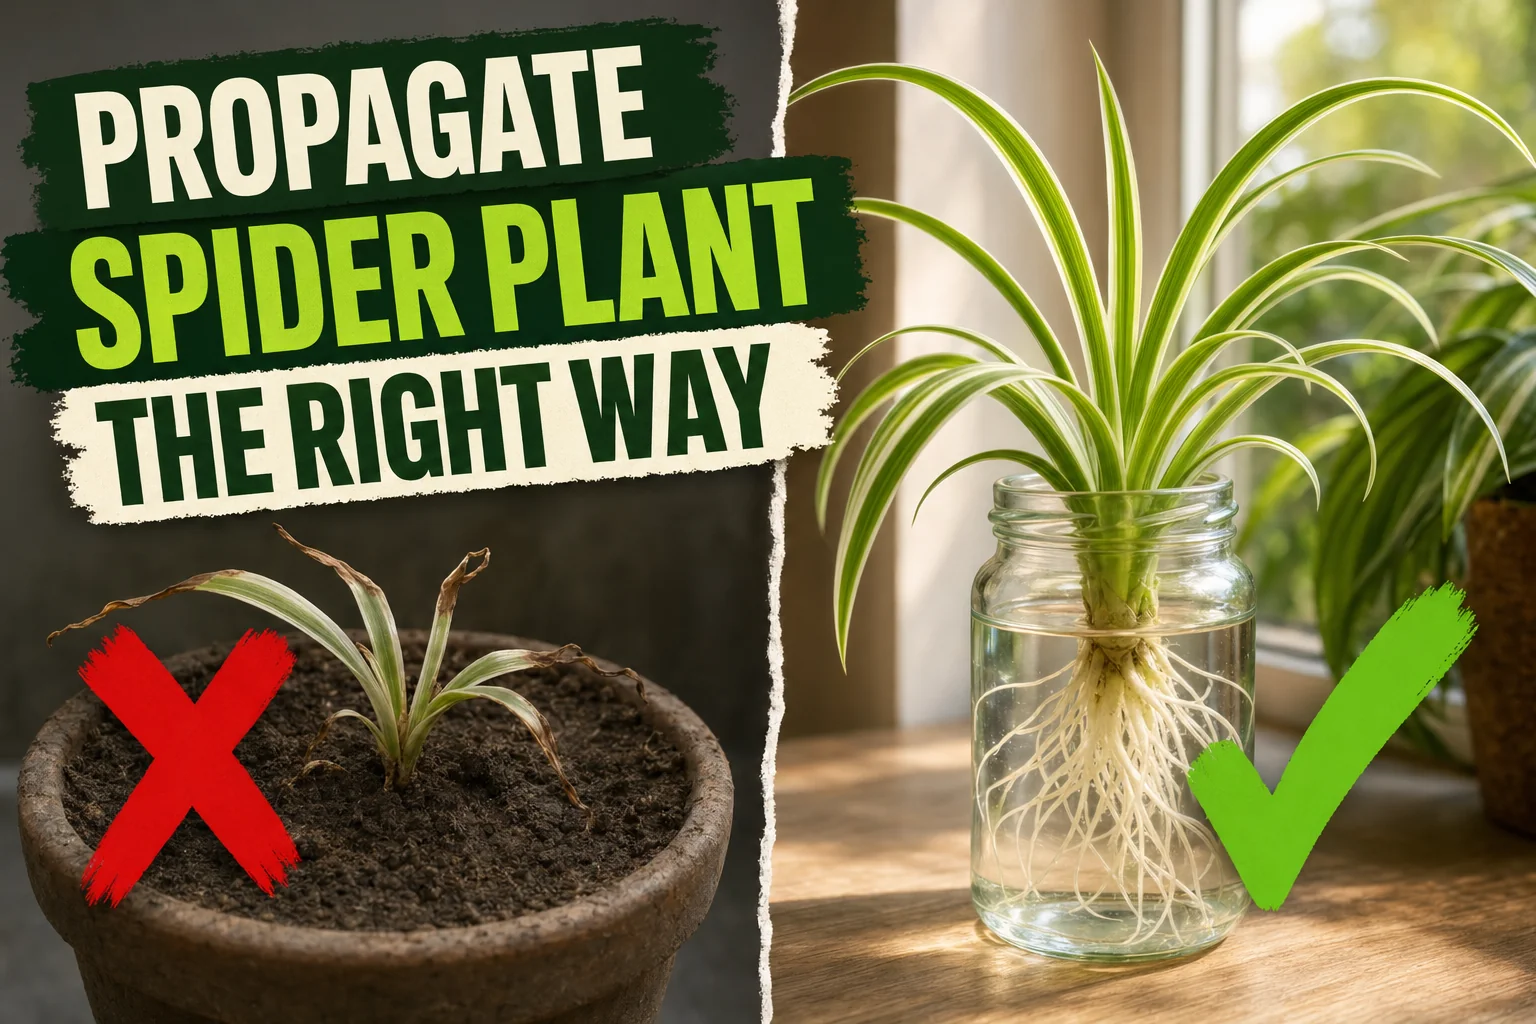
How to Propagate a Spider Plant (3 Easy Methods That Work)
Propagate a spider plant the right way. Step-by-step water, soil, and division methods — with timing, jar size, and root length so every pup roots cleanly.
On this page
- Quick answer
- Why propagate spider plants?
- What you’ll need
- Method 1: Water propagation (most reliable)
- Method 2: Soil propagation (while still attached to mother)
- Method 3: Division (for mature root masses)
- Care after propagation
- When to pot up
- Common mistakes to avoid
- Troubleshooting
- Watch: propagating a spider plant
- Related reading
- A note on conditions
Watch the visual walkthrough
How To Propagate Spider Plants the Correct way from Start to Finish COMPLETE PROCESS
A short visual walkthrough that pairs with the steps above.
If your spider plant is sending out long arching runners with mini plants dangling off them, congratulations — your plant is asking to be propagated. Spider plants (Chlorophytum comosum) are one of the most generous houseplants you can own: a healthy mother can produce a dozen pups a year, and each one roots into a full plant within a month.
The fastest, most reliable method for beginners is water propagation. This guide walks you through that, plus two other methods (soil and division), with exact timing and the small details that decide whether your pup roots cleanly or rots in the jar.
Quick answer
Snip a healthy spiderette (pup) off the runner, sit its base in 3–5 cm (1–2 in) of room-temperature water in a clear glass jar, and place it on a bright windowsill out of direct afternoon sun. You’ll see white roots in 10–14 days. Pot up into well-draining soil once the roots reach about 5 cm (2 in).
Why propagate spider plants?
A mature spider plant is built to clone itself. The runners (technically stolons) it sends out are the plant’s natural propagation system, and almost every pup roots successfully if you treat it right. A few reasons it’s worth doing:
- High yield rate. With water propagation, expect roughly 9 out of 10 pups to root. Few houseplants are this forgiving.
- Healthier mother plant. Removing pups every few months redirects energy back into the parent’s leaves, which grow longer and more variegated.
- Free plants. One mother can fill a windowsill, restock a friend’s apartment, and still have pups left over.
- Easy to monitor. In a clear glass jar you can literally watch roots grow, which makes it a great first propagation project.
What you’ll need
- A mother spider plant with at least one mature spiderette — the pup should already show small white root nubs (aerial roots) at its base
- Clean scissors or pruning snips
- A clear glass jar about 8–10 cm (3–4 in) tall (a small mason jar, votive, or recycled jam jar)
- Room-temperature filtered or rainwater (tap water is fine if it sits out for 24 hours so chlorine dissipates)
- A small pot (9–10 cm (3.5–4 in) wide) with drainage holes — for potting up later
- Well-draining houseplant potting mix
- A bright spot with indirect light — no harsh afternoon sun
That’s it. No rooting hormone needed.
Method 1: Water propagation (most reliable)
This is the method to start with. It works almost every time and lets you see exactly what’s happening.
1. Pick the right pup
Look at the runners hanging off the mother plant and find a spiderette that is at least 5 cm (2 in) across with visible aerial root nubs at the base — they look like tiny pale bumps or stubby white points. Pups that are too small (no nubs yet) take much longer to root and sometimes fail.
2. Snip the pup off the runner
Cut the runner about 2 cm (0.75 in) above the pup. Don’t worry about leaving a stub on the mother — the runner will dry up and can be trimmed off later. Use clean scissors so you don’t introduce bacteria to the cut.
3. Fill the jar
Add 3–5 cm (1–2 in) of room-temperature water to a clear glass jar. The water level should reach the base of the pup — the chunky little crown where leaves meet roots — but should not submerge any leaves. Leaves under water will rot and cloud the jar.
Filtered or distilled water is best. Tap water works if you let it sit out uncovered for 24 hours so the chlorine evaporates.
4. Set the pup in the jar
Place the pup so its base just kisses the water and the leaves rest on the rim. If the pup falls in, prop it up with a small skewer or use a jar with a narrower neck. Only the bottom 1–2 cm (0.5–0.75 in) of the pup should be wet.
5. Place on a bright windowsill
Put the jar on an east- or north-facing windowsill, or a few feet back from a south/west window. Spider plants love bright indirect light — direct afternoon sun through glass cooks the pup and turns the water green with algae.
6. Change the water every 5–7 days
Tip the old water out, rinse the jar, and refill with fresh room-temperature water. This is the single most important step in water propagation. Stagnant water runs out of oxygen and roots start to brown and slime up. Fresh water = white, crisp, healthy roots.
7. Wait 10–14 days
You’ll see the first tiny roots within a week. By day 10–14 you should have 4–6 roots about 4–6 cm (1.5–2.5 in) long. That’s the signal to pot up.
Method 2: Soil propagation (while still attached to mother)
This method skips the water-to-soil transition shock, but takes a little longer and is harder to monitor.
1. Set a small pot next to the mother
Fill a 9–10 cm (3.5–4 in) pot with lightly moistened, well-draining potting mix. Place it right next to the mother plant so a runner can reach it.
2. Pin the pup onto the soil
Without cutting the runner, lay the pup on top of the soil so its base is in contact. Use a bent paperclip or a small bobby pin to hold the pup down — like pinning a strawberry runner. The aerial root nubs need to touch damp soil to root.
3. Keep the soil lightly moist
Mist the surface or water gently every 3–4 days for the first 2 weeks. The soil should feel like a wrung-out sponge — never wet, never bone dry. The mother plant continues to feed the pup the entire time, so it can’t dry out and die the way a detached cutting might.
4. Test for roots after 3 weeks
Tug the pup very gently after 3 weeks. If you feel resistance, it has rooted into the soil. Snip the runner about 2 cm (0.75 in) from the pup. Done — your new plant is already in its forever pot.
Method 3: Division (for mature root masses)
Use this when the mother plant is pot-bound, has thick white tuberous roots crowding out of the drainage holes, and hasn’t pushed pups recently. Division also works as a quick way to make 2–3 medium plants out of one large one.
1. Unpot the mother plant
Tip the pot on its side and slide the entire root ball out. If it’s stuck, run a butter knife around the edge of the pot. Spider plant roots are thick, fleshy, and white — almost like little sweet potatoes. That’s normal.
2. Tease the root ball apart
Use your fingers to find natural seams in the root mass and pull gently. For very dense root balls, a clean serrated knife works — slice the root ball into 2 or 3 equal sections, each with leaves on top and a healthy chunk of roots below.
3. Trim damaged roots
Snip off any brown, mushy, or hollow roots. Leave the firm white tubers — they store water and nutrients and help each division settle in fast.
4. Repot each section
Pot each division into its own pot with fresh, well-draining mix. The crown (where leaves meet roots) should sit at soil level, never buried. Water in lightly and place out of direct sun for the first week while the divisions recover.
Care after propagation
The first 4 weeks decide whether your propagation sticks. Three things matter:
| Task | When |
|---|---|
| Light | Bright indirect — east window or filtered south/west light |
| Water (newly potted) | When the top 2 cm (0.75 in) of soil is just dry to the touch |
| Water (water-rooted pup) | First soil watering should be deeper to settle the soil |
The trickiest moment is moving a water-rooted pup into soil. Water roots are softer and more brittle than soil roots, so they need a little help adapting:
- Pot up as soon as roots hit 5 cm (2 in) — don’t wait until they’re 10 cm (4 in) long
- Use a light, airy potting mix (regular houseplant mix + a handful of perlite)
- Water thoroughly the first time, then let the top 2 cm (0.75 in) dry before watering again
- Keep the pup out of direct sun for the first 7–10 days so the leaves don’t pull more water than the new roots can supply
A free plant care app like Tazart can hold the watering schedule for each new pup, adjust for season and humidity, and ping you when each one is ready for its next drink — useful when you’re rooting half a dozen at once.
When to pot up
Use this as your checklist:
- Roots are at least 5 cm (2 in) long — measure against your finger if you don’t have a ruler
- You can count 4–6 roots minimum — single-rooted pups struggle in soil
- Roots are bright white, not brown or slimy
- The pup itself is firm, not wilted or pale
If all four are true, pot it up. Bury the base just deep enough that the crown sits at soil level. Water in. Done.
Common mistakes to avoid
- Submerging the leaves in water. Only the base of the pup should touch water. Submerged leaves rot and contaminate the jar.
- Forgetting to change the water. Stagnant water suffocates new roots. Change it every 5–7 days, no exceptions.
- Using cold tap water straight from the faucet. Cold water shocks the pup and chlorine slows root growth. Let tap water sit out 24 hours, or use filtered.
- Picking a pup that’s too small. No aerial root nubs = not ready. Wait until the pup shows little white bumps at its base.
- Leaving the pup in water for months. Water roots aren’t built for long-term life — pot up at 5 cm (2 in), not 15 cm (6 in).
- Direct afternoon sun. Through glass, it cooks the pup and turns the jar into a greenhouse for algae.
Troubleshooting
| Symptom | Cause | Fix |
|---|---|---|
| No roots after 3 weeks | Pup too small or spot too cold/dark | Move to a warmer (18–24°C (64–75°F)) spot with bright indirect light; check for aerial root nubs |
| Brown, slimy roots | Water not changed often enough | Snip off damaged roots, rinse the jar, refill with fresh filtered water; change every 5 days |
| Cloudy or green water | Algae from sun exposure | Switch to a darker glass or move out of direct sun; refresh water immediately |
| Yellow leaves on the pup in water | Leaves submerged or pup starved of light | Lift the pup so only the base is wet; move to a brighter spot |
| Pup wilts after potting up | Transition shock from water to soil | Water thoroughly once, then keep out of direct sun 7–10 days; mist leaves daily |
| Brown leaf tips on rooted pup | Tap water minerals or low humidity | Switch to filtered water; group with other plants to raise local humidity |
Watch: propagating a spider plant
A 3-minute visual walkthrough pairs well with the steps above. Search for How to Propagate a Spider Plant on YouTube for a clip that shows the pup-snipping and water-jar setup in real time, then come back to follow the timing in this guide.
Related reading
- How to propagate a ZZ plant the slow, steady way — different method, same principle: stable water, bright indirect light, patience.
- How to repot a snake plant without breaking the roots — what to do once your spider plant divisions outgrow their starter pots.
- How to water a Monstera the right way — the “let the top 2 cm (0.75 in) dry” rule applies to a freshly potted spider pup too.
- Scan your spider plant with the free Tazart plant identifier and let it set up the propagation and watering schedule for you.
A note on conditions
Every home is different. Light, jar size, water mineral content, room temperature, and season all change how fast a spider plant pup roots and when it’s ready for soil. Use the steps above as a starting point and adjust based on what your pup actually does in week two — that’s how every good plant grower learns.
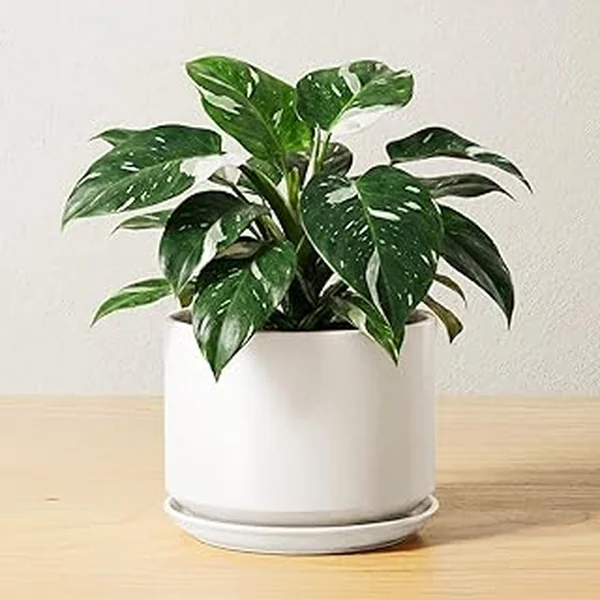
Highly recommended
The supplies that make this guide work

Tazart is an Amazon Associate — we earn from qualifying purchases at no extra cost to you. Thank you for helping us keep these guides free.
Frequently asked questions
How do you propagate a spider plant?
The easiest way is water propagation. Snip a healthy spiderette (baby pup) from the runner, place its base in a clear glass jar with 3–5 cm (1–2 in) of room-temperature filtered water, and put it on a bright windowsill out of direct afternoon sun. White roots appear in 10–14 days, and the pup is ready to pot up once roots reach about 5 cm (2 in). Soil propagation and division also work — water is just the most reliable for beginners.
Is it better to root spider plant babies in water or soil?
Water roots faster and lets you see progress, which is why most growers start there. Soil propagation skips the water-to-soil transition shock and produces slightly sturdier roots, but it's slower and harder to monitor. If this is your first time, root in water. If you already have a confident watering routine, soil works just as well.
How long does it take a spider plant to root in water?
You'll usually see the first tiny white roots within 7 days, and a usable root system of 4–6 cm (1.5–2.5 in) in 10 to 14 days. Cool rooms, low light, or a pup that wasn't yet showing aerial root nubs can stretch this to 3–4 weeks. Change the water every 5–7 days to keep oxygen levels high and prevent rot.
When can I pot up a rooted spider plant pup?
Pot it up once the roots are about 5 cm (2 in) long and you can count 4–6 of them. Smaller than that and the pup struggles to take up water from soil; much longer and the water roots get fragile and break during transplant. Use a small pot — 9–10 cm (3.5–4 in) wide — with well-draining potting mix.
Do you cut spider plant babies off the mother plant?
Eventually, yes — but you don't have to do it first. Many growers leave the spiderette attached to the mother and root it directly in a small pot of soil placed next to the parent. Once roots are established (about 3 weeks), snip the runner. This is the gentlest method because the pup gets nutrients from the mother the entire time.
Why are my spider plant cuttings not rooting?
Three common reasons: the pup was too small (no aerial root nubs visible at the base), the water is too cold or too deep (only the base should be submerged), or the spot is too dark. Move it somewhere warmer and brighter, refresh the water, and check that only the bottom 1–2 cm (0.5–0.75 in) of the pup sits in water. New roots usually appear within a week of fixing these.