Houseplants
How to Propagate a Snake Plant (Water, Soil, Division)
Propagate a snake plant the right way. Water and soil leaf cuttings plus rhizome division — exact timing, depth, and why variegated cultivars revert.
On this page
- Quick answer
- Why propagate snake plants?
- What you’ll need
- Method 1: Water propagation (easiest to monitor)
- Method 2: Soil propagation (sturdier roots, less drama)
- Method 3: Rhizome division (only way to keep variegation)
- Care after propagation
- When to pot up
- The variegation problem (read this before you slice)
- Common mistakes to avoid
- Troubleshooting
- Watch: propagating a snake plant
- Related reading
- A note on conditions
Watch the visual walkthrough
Snake Plant Propagation (Sansevieria): 3 Ways to Propagate
A short visual walkthrough that pairs with the steps above.
Snake plants (Dracaena trifasciata, formerly Sansevieria trifasciata) are one of the easiest houseplants to multiply. A single healthy leaf can become four or five new plants, and a mature pot full of rhizomes can be split into three or four full-size plants in an afternoon.
This guide covers all three reliable methods: water leaf cuttings, soil leaf cuttings, and rhizome division. It also explains why variegated cultivars like ‘Laurentii’ lose their yellow stripes when leaf-propagated — and what to do instead if you want to keep them.
Quick answer
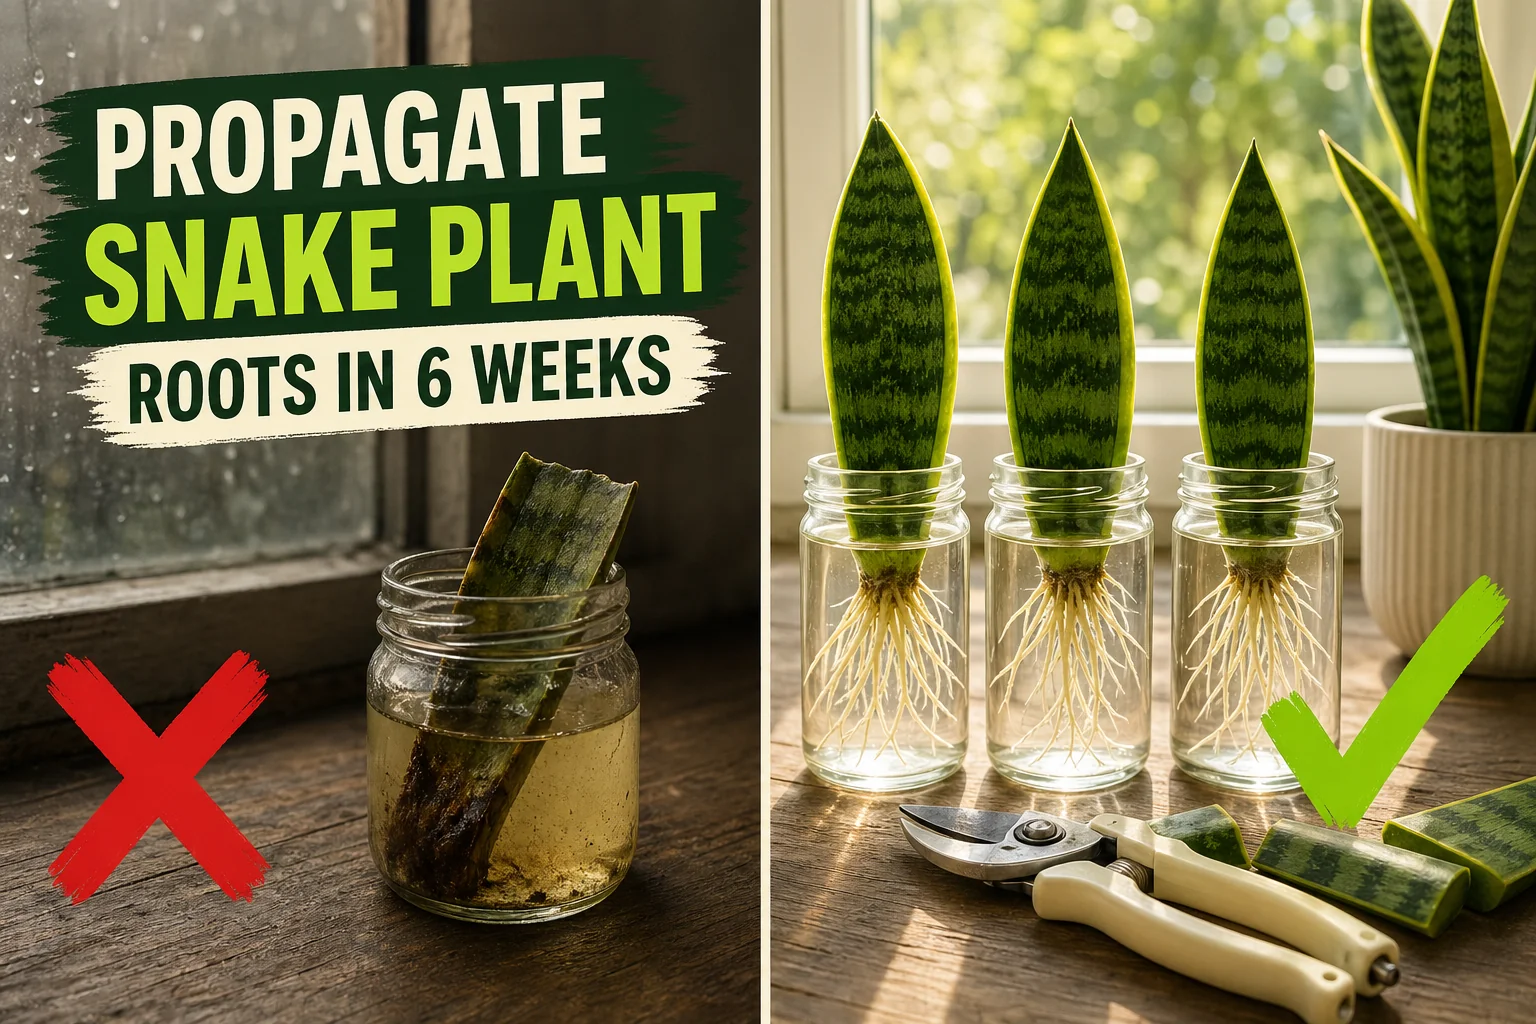
Slice a healthy snake plant leaf into 8–10 cm (3–4 in) segments. For water: sit each segment base-down in 3 cm (1 in) of clean water in a clear glass jar. For soil: stick segments base-down 3 cm (1 in) deep into gritty cactus mix and keep barely moist. White roots appear in 3–4 weeks; a full root system in about 6 weeks. To keep variegation, divide the rhizome instead — leaf cuttings revert to plain green.
Why propagate snake plants?
Snake plants are slow growers, but they propagate generously. A few reasons it’s worth doing:
- One leaf, many plants. A single 30 cm (12 in) leaf can be sliced into 3–5 segments. Each segment becomes its own plant.
- No special equipment. A glass jar, a sharp knife, and a windowsill is the entire setup. No rooting hormone needed.
- Forgiving timing. Snake plants store water in their leaves, so a cutting can sit on the counter for a day or two while it heals over before you stick it in soil. They don’t wilt the way most cuttings do.
- Restock the rhizome. Mature plants push up new pups from underground rhizomes. Dividing them every 3–4 years keeps the parent plant healthy and gives you free spares.
The main catch: snake plants are slower than spider plants or pothos. Plan in months, not weeks.
What you’ll need
- A mother snake plant with at least one firm, healthy, full-length leaf — no soft spots, brown patches, or splits
- A sharp clean knife or sterile bypass pruning shears
- A clear glass jar about 10–12 cm (4–5 in) tall (water method) — a recycled jam jar works
- Room-temperature filtered or rainwater (tap is fine if you let it sit out 24 hours so the chlorine evaporates)
- A small terracotta pot 10–12 cm (4–5 in) wide with drainage holes (soil method)
- Gritty cactus and succulent mix — or regular potting mix cut 1:1 with coarse perlite or pumice
- A bright spot with indirect light — no harsh afternoon sun
- Optional: rooting hormone powder to speed up callusing on soil cuttings
That’s the whole list.
Method 1: Water propagation (easiest to monitor)
Best for beginners who want to see what’s happening. Reliable, slow, and patient.
1. Pick a healthy leaf
Choose a firm, fully grown leaf with no soft spots or split edges. Younger leaves root slightly faster than tough old ones, but both work.
2. Slice the leaf into segments
Lay the leaf flat on a cutting board. With a sharp clean knife, slice it into 8–10 cm (3–4 in) segments. Make every cut a clean straight line at first — then go back and notch the bottom edge of each segment into a shallow upside-down V. The notch increases the rooting surface and reminds you which end goes down. The base end is always the rooting end. Upside-down segments will not grow.
3. Let the cuts callus over
This is the step most people skip. Lay the segments cut-side up on a paper towel and leave them on the counter for 24–48 hours. The cut surface will dry and form a thin tan-coloured callus. Sticking a fresh wet cut straight into water or soil is the #1 cause of rot in snake plant propagation.
4. Fill the jar and add the segments
Put 3 cm (1 in) of room-temperature water in the jar. Set each segment base-down so only the bottom 1–2 cm (0.5–0.75 in) is submerged. Do not bury the leaves any deeper — most of the leaf needs to stay dry.
If a segment falls over, prop it against the rim or use a narrower jar. Multiple segments in one jar is fine as long as none of them touch.
5. Place in bright indirect light
Set the jar on an east- or north-facing windowsill, or a metre back from a south/west window. Direct afternoon sun cooks the cuttings and turns the water green with algae.
6. Change the water every 7–10 days
Tip out the old water, rinse the jar, and refill with fresh room-temperature water. Stagnant water suffocates the new roots and turns them brown. Fresh water = white, crisp, healthy roots.
7. Wait 4–6 weeks
You’ll see the first tiny white roots in 3–4 weeks, and a usable root system of 4–6 cm (1.5–2.5 in) by week 6. Pups (tiny baby leaves) start pushing up from the base 4–8 weeks later — that’s the signal to pot up.
Method 2: Soil propagation (sturdier roots, less drama)
Skip the water-to-soil transition by rooting straight in soil. Slower to verify, but the roots are stronger from day one.
1. Slice and callus the segments
Same as method 1: 8–10 cm (3–4 in) segments, notch the base, callus on the counter for 24–48 hours.
2. Fill a small terracotta pot with gritty mix
Use cactus and succulent mix, or cut regular potting soil 1:1 with coarse perlite or pumice. The mix should drain so fast that water rushes through in 5 seconds — snake plant cuttings hate sitting damp. Terracotta is preferred over plastic because it wicks excess moisture.
3. (Optional) Dip the base in rooting hormone
Tap the callused base in rooting hormone powder. This is optional — snake plants will root without it — but the hormone speeds rooting by 1–2 weeks and reduces the chance of a cutting failing.
4. Stick segments base-down 3 cm (1 in) deep
Push each segment into the soil so the bottom 3 cm (1 in) is buried and the segment stands upright. Space them 3 cm (1 in) apart. Firm the soil gently around each one so it doesn’t tip.
5. Water once, then wait
Water the pot until it just runs out the drainage holes, then let the soil dry completely before watering again. The next watering won’t be for 2–3 weeks. This is the part that feels wrong if you’re used to thirsty houseplants — but a wet cutting is a rotted cutting.
6. Place in bright indirect light
East-facing windowsill or 1 m (3 ft) back from a south window. Avoid direct afternoon sun for the first month.
7. Tug-test at week 6
Gently tug a segment after 6 weeks. If you feel resistance, it has rooted. If it pulls out easily, push it back in and wait another 2–3 weeks. Pups appear at the base 8–12 weeks after rooting.
Method 3: Rhizome division (only way to keep variegation)
Use this when the plant is pot-bound, has rhizomes pushing up out of the soil, or you want to preserve a variegated cultivar’s stripes.
1. Unpot the mother plant
Tip the pot on its side and slide the entire root ball out. If it’s stuck, run a butter knife around the inside of the pot. Brush off loose soil so you can see the rhizome — the thick horizontal underground stem that all the leaves grow from.
2. Find natural divisions
Look at the rhizome from above. You’ll see clumps of leaves connected by chunky orange-tan rhizome sections. Each clump with its own leaves and a chunk of root is a future plant.
3. Slice the rhizome with a clean knife
Use a sharp clean knife (sterilise the blade with rubbing alcohol first) to slice the rhizome between clumps. Each division should have:
- At least 2–3 leaves
- A piece of rhizome at least 5 cm (2 in) long
- Several healthy roots attached
4. Let the cuts callus
Set the divisions cut-side up on newspaper and leave them out of direct sun for 24 hours so the rhizome wounds dry and seal. Skipping this step invites rot at the cut surface.
5. Repot each division
Pot each division into its own pot with gritty cactus mix. The rhizome should sit just below the soil surface — same depth as it was in the original pot, never deeper. Water lightly to settle the soil, then leave the pot dry for 7–10 days.
6. Resume normal care
After the first week, water as you would any established snake plant — only when the soil is bone dry, every 2–3 weeks indoors. Divisions are full-size plants from day one and resume growth within a month.
Care after propagation
The first 8 weeks decide whether your propagation sticks. Three things matter:
| Task | When |
|---|---|
| Light | Bright indirect — east window or filtered south/west light |
| Water (water cuttings) | Refresh the jar every 7–10 days |
| Water (soil cuttings + divisions) | Only when the soil is completely dry — usually every 2–3 weeks |
| Temperature | Keep above 18°C (65°F) — cold soil plus a fresh wound = rot |
The trickiest moment is moving a water-rooted cutting into soil. Water roots are softer than soil roots, so they need help adapting:
- Pot up as soon as roots reach 5 cm (2 in) and a pup is visible — don’t wait until roots are 15 cm (6 in)
- Use gritty cactus mix in a terracotta pot
- Water thoroughly the first time, then wait 2–3 weeks before watering again
- Keep out of direct sun for the first 2 weeks while the cutting adjusts
A free plant care app like Tazart can hold the watering schedule for each new cutting, adjust it for season and humidity, and ping you when each one is ready for its next drink — useful when you’ve sliced one leaf into five and have five timers running at once.
When to pot up
Use this as your checklist for water cuttings:
- Roots are at least 5 cm (2 in) long — measure against your finger if you don’t have a ruler
- You can count 3–5 roots minimum — single-rooted segments struggle in soil
- A pup (baby leaf) is visible at the base — this means the cutting is producing chlorophyll and is ready for soil
- Roots are bright white, not brown or slimy
If all four are true, pot it up into gritty cactus mix in a terracotta pot 10–12 cm (4–5 in) wide.
The variegation problem (read this before you slice)
If you have a ‘Laurentii’ (yellow edges), a ‘Bantel’s Sensation’ (white stripes), or any other variegated snake plant cultivar, leaf cuttings will not preserve the variegation. The new plants will grow back plain dark green every time.
Here’s why: the yellow or white stripes come from a layer of tissue on the leaf surface that doesn’t carry through to new growth from a leaf cutting. This is called chimeric variegation. It only stays intact when you propagate from the rhizome — because the rhizome contains the original tissue layers in the right order.
So: if you want plain green plants from a striped mother, leaf cuttings are perfect. If you want to keep the stripes, only divide the rhizome (Method 3).
Common mistakes to avoid
- Sticking fresh wet cuts straight into water or soil. Always callus on the counter for 24–48 hours first. Skipping this step rots most cuttings.
- Planting a segment upside down. Only the base end roots. Lay segments out in order as you cut them so you remember which end is which, or notch the base.
- Burying segments too deep. 3 cm (1 in) deep in soil is plenty. Buried any deeper and the leaf body rots.
- Watering soil cuttings on a fixed schedule. Snake plants store water in their leaves and rot fast in damp soil. Wait until the soil is bone dry.
- Leaf-propagating a variegated cultivar and expecting stripes. It will revert to plain green. Use division instead.
- Giving up at week 4. Snake plants are slow. White roots show at 3–4 weeks, but a full root system takes 6 weeks. Pups take 2–3 months.
Troubleshooting
| Symptom | Likely cause | Fix |
|---|---|---|
| Cutting base turns brown and mushy | Did not callus before going in water/soil | Discard the cutting; for the next attempt, callus 24–48 hours on the counter first |
| Water turns yellow or cloudy | Stagnant water — algae or bacteria | Tip out, rinse the jar, refill with fresh filtered water; change every 7 days |
| No roots after 6 weeks (water) | Cool room, low light, or oversized segment | Move to a warmer (21–24°C (70–75°F)) brighter spot; trim segment to 8 cm (3 in) |
| Cutting wilts or wrinkles | Underwatering after potting up — soil bone dry too long | Water once, deeply; then resume the “soil dry between watering” rule |
| Variegated cutting grew back plain green | Chimeric variegation — leaf cuttings always revert | Expected behaviour; for striped plants, only divide the rhizome |
| Soft black spot on a soil cutting | Wet soil + cold + no callus = rhizome rot | Pull the cutting, slice off the rotted base, callus 48 hours, restart in fresh dry mix |
| No new pup appearing 3 months after rooting | Cold or low-light position | Move to a brighter, warmer spot; pups can take 4 months in cool rooms |
Watch: propagating a snake plant
A 4-minute visual walkthrough pairs well with the steps above. Search for How to Propagate a Snake Plant on YouTube for a clip that shows the slicing, callusing, and water-jar setup in real time, then come back to follow the timing in this guide.
Related reading
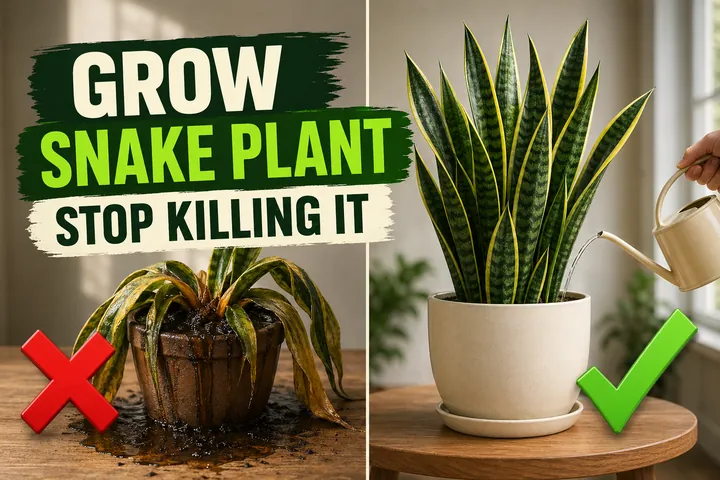
- How to take care of a snake plant the right way — light, soil, and humidity rules that apply to your new cuttings once they’re potted.
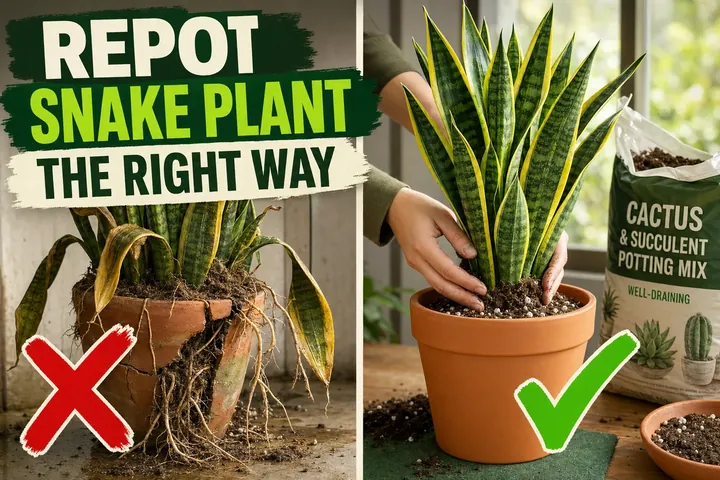
- How to repot a snake plant without breaking the rhizome — the next step once your divisions or rooted cuttings outgrow their starter pots.
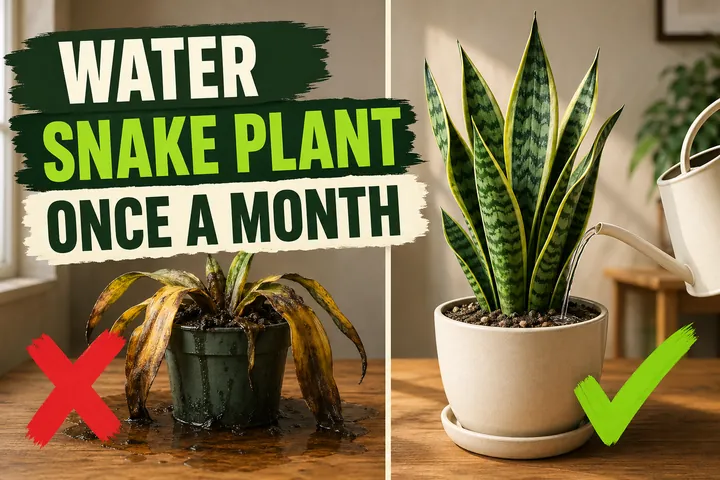
- How often to water a snake plant — the single most important habit for keeping a freshly propagated cutting alive.
- Scan your snake plant with the free Tazart plant identifier and let it set up the propagation and watering schedule for you.
A note on conditions
Every home is different. Light, jar size, water mineral content, room temperature, and season all change how fast a snake plant cutting roots and when it’s ready for soil. Use the steps above as a starting point and adjust based on what your cutting actually does in week three — that’s how every good plant grower learns.
Highly recommended
The supplies that make this guide work


Tazart is an Amazon Associate — we earn from qualifying purchases at no extra cost to you. Thank you for helping us keep these guides free.
Frequently asked questions
How do you propagate a snake plant?
There are three reliable methods. (1) Water cuttings: slice a healthy leaf into 8–10 cm (3–4 in) segments, sit each segment base-down in 3 cm (1 in) of water in a clear glass jar, and wait 4–6 weeks for roots. (2) Soil cuttings: stick the same segments base-down into a gritty cactus mix and keep barely moist. (3) Division: unpot a mature plant and split the rhizome into chunks, each with its own roots and leaves. Division is fastest; water cuttings are the most fun to watch.
Is it better to root snake plant cuttings in water or soil?
Soil produces sturdier roots and skips the water-to-soil transition shock, but it's slower and harder to monitor. Water lets you see exactly what's happening and works fine — just expect roots that need a gentle adjustment period when potted up. Both reach the same finish line in about 6–10 weeks. Division is the only method that produces a full-size plant immediately.
How long does it take a snake plant to root?
Plan for patience. White roots usually appear in 3–4 weeks, and a usable root system of 4–6 cm (1.5–2.5 in) takes 6 weeks. New baby leaves (pups) push up from the cutting base 2–3 months after roots form. Cool rooms below 18°C (65°F), low light, or oversized leaf segments can stretch this to 3–4 months. Snake plants are slower to propagate than pothos or spider plants — that's normal.
Why do variegated snake plants lose their stripes when propagated?
The yellow edges on cultivars like 'Laurentii' come from chimeric variegation — a tissue layer that does not pass on through leaf cuttings. New plants grown from a leaf cutting almost always revert to plain green. To keep the variegation, you must propagate by rhizome division instead, which preserves the original plant's tissue structure.
Can you propagate a snake plant from a single leaf?
Yes. A single healthy leaf can be sliced into 3–5 segments, and each segment can root into its own plant. Lay the segments out in cutting order so you remember which end is the base — only the base end roots. Upside-down segments will sit there forever and never grow.
When should you divide a snake plant?
Divide when the rhizome is crowding the pot, the roots are pushing up out of the soil, or you want to keep variegation. Spring and early summer are best — the plant is in active growth and recovers fastest. Skip division in winter; cold soil plus a fresh wound is a recipe for rot.