Edible
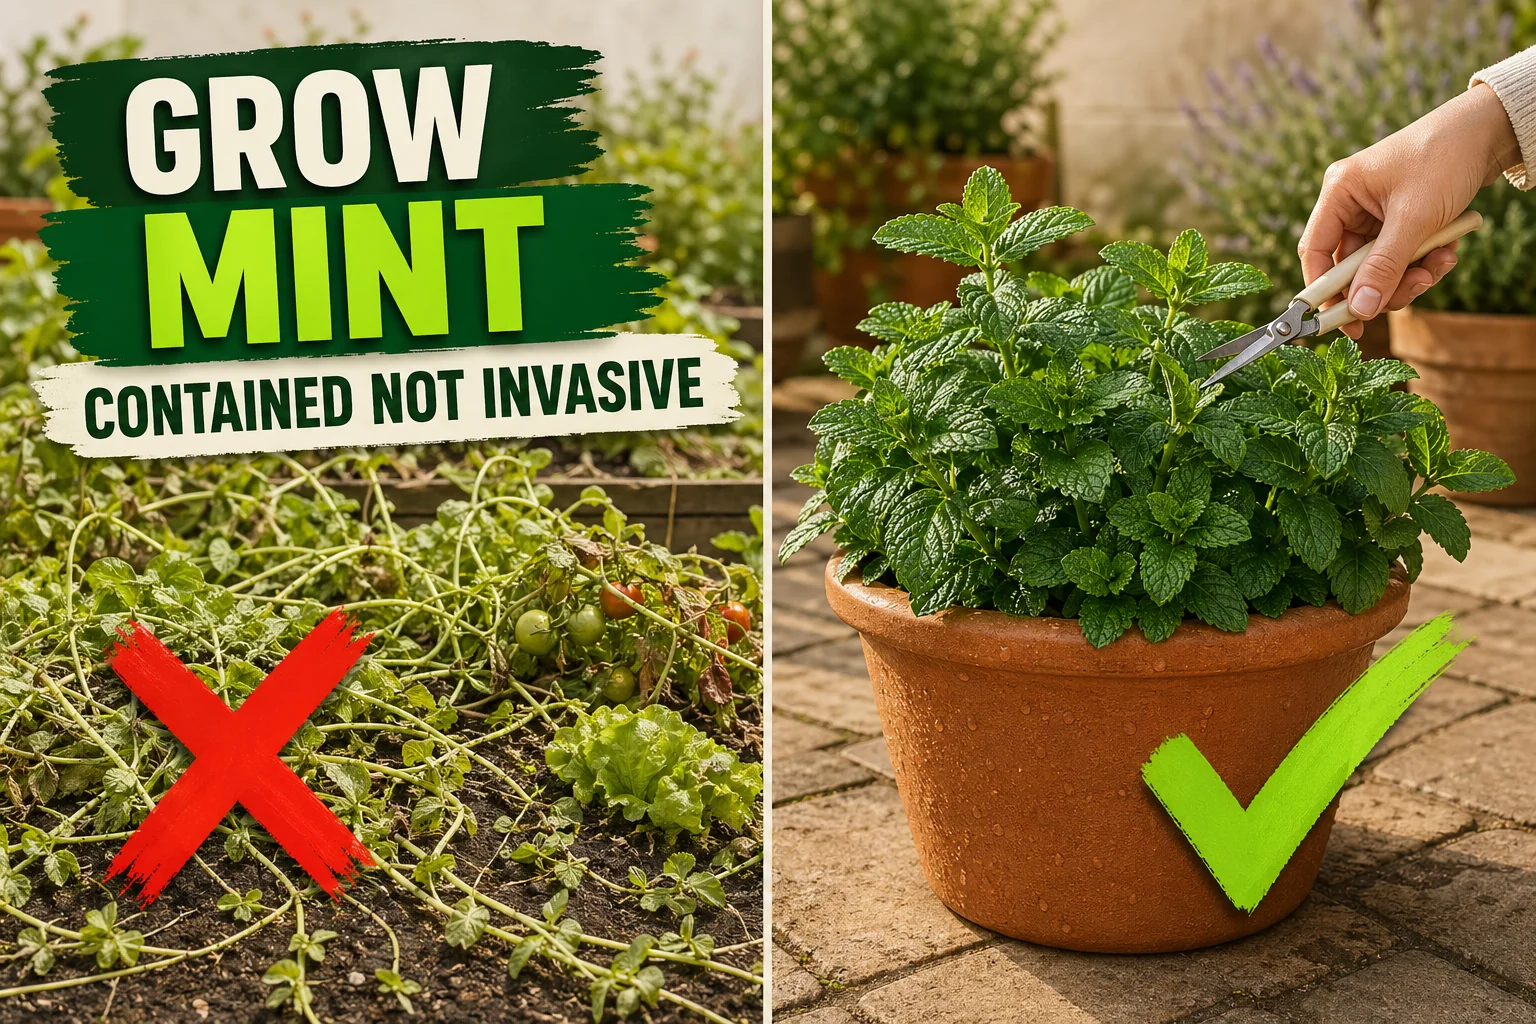
How to Grow Mint (Without It Taking Over the Yard)
Mint will swallow a garden in two seasons. Here's how to grow peppermint or spearmint in pots, harvest non-stop, and keep its runners from invading every bed.
On this page
- Quick answer
- Why mint is famously invasive
- Peppermint vs spearmint — which one should you plant?
- What you’ll need
- Step-by-step: planting mint in a contained pot
- Care after planting
- How to harvest mint without killing the plant
- Common mistakes to avoid
- Troubleshooting
- Watch: how to grow contained mint
- Related reading
- A note on conditions
Watch the visual walkthrough
How to Grow TONS of Mint (And Not Let it Take Over)
A short visual walkthrough that pairs with the steps above.
Mint is the plant every gardener regrets putting in the ground. Plant one little nursery pot of spearmint in a vegetable bed and within two seasons it has sent runners under the lettuce, between the tomatoes, and into the lawn — and once it’s there, it’s almost impossible to dig out.
The good news: mint is genuinely one of the easiest, most useful herbs you can grow. The trick is containing it from day one. This guide covers exactly how to plant peppermint or spearmint in a contained pot, keep it bushy and productive, and stop the runners before they take over the yard.
Quick answer
Plant mint in a 30 cm (12 in) wide, 30 cm (12 in) deep terracotta pot of light peat-free potting mix — never directly in the ground. Place it in 4–6 hours of sun, water when the top 2–3 cm (0.75–1 in) of soil is dry, pinch the growing tips every 2–3 weeks, and cut off any flower buds the moment they appear. Sit the pot on a paving stone (not bare soil) so runners can’t escape through the drainage holes. One plant gives you fresh mint for tea, mojitos, and salads from spring through autumn.
Why mint is famously invasive
Mint (genus Mentha) spreads two ways at once: above ground by long sprawling stems that root wherever a leaf node touches damp soil, and below ground by aggressive underground rhizomes — fleshy white runners that can travel 60–90 cm (24–36 in) in a single season.
A rhizome fragment as small as 5 cm (2 in) will sprout a brand new plant. So if you try to dig escaped mint out of a bed, every piece of root you leave behind becomes a new plant the following spring. Most gardeners spend years fighting it before giving up and rebuilding the bed.
The fix is structural: never put mint in soil it can spread through. Grow it in a pot, on a hard surface, and the problem vanishes.
Peppermint vs spearmint — which one should you plant?
Both belong to the same genus and need identical care. The choice is purely flavour:
| Variety | Latin name | Flavour | Best uses |
|---|---|---|---|
| Spearmint | Mentha spicata | Sweet, mild, classic “mint” taste | Tea, mojitos, tabbouleh, lamb, salads |
| Peppermint | Mentha × piperita | Sharp, cool, high-menthol | Desserts, chocolate, digestive teas, ice cream |
| Chocolate mint | Mentha × piperita ‘Chocolate’ | Mild peppermint with a cocoa note | Desserts, hot chocolate |
| Apple mint | Mentha suaveolens | Soft, fruity, fuzzy leaves | Fruit salads, garnish |
If you only grow one, spearmint is the most versatile. If you want serious peppermint flavour for tea or baking, grow peppermint — but contain it even more carefully, since it’s slightly more aggressive.
What you’ll need
- One mint plant (nursery 10 cm (4 in) pot) or a small packet of mint seeds — spearmint is the easiest from seed
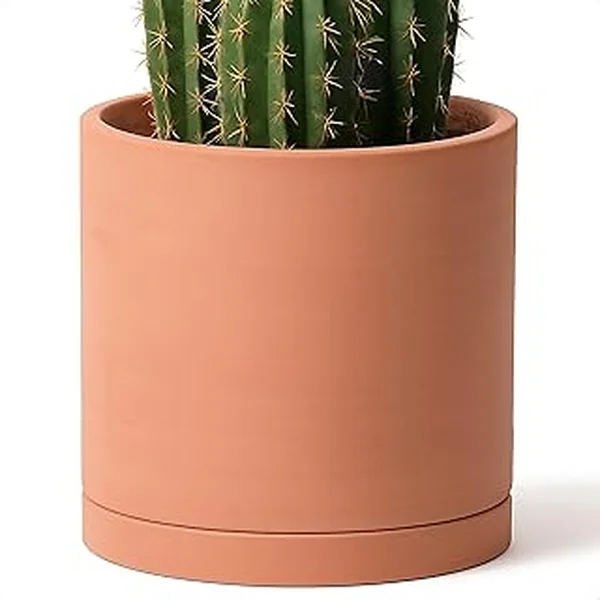
- A pot at least 30 cm (12 in) wide and 30 cm (12 in) deep, with drainage holes — terracotta is ideal because it dries faster than plastic and discourages root rot
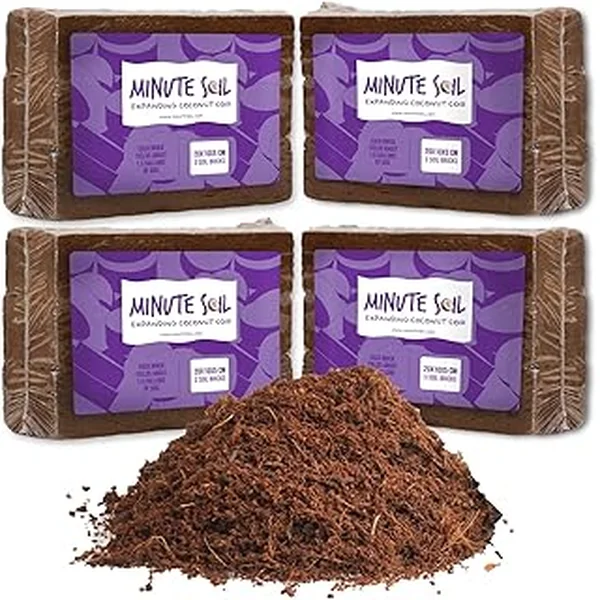
- Light peat-free potting mix — not dense garden soil
- A sunny spot getting 4–6 hours of direct sun per day
- A paving stone, tile, or pot saucer to sit the pot on (so runners can’t escape through the drainage holes)
That’s the whole list. No special fertilizer or grow light needed for the first season outdoors.
Step-by-step: planting mint in a contained pot
1. Choose the pot
Bigger is better — mint roots will fill any container in one season. A 30 cm (12 in) wide, 30 cm (12 in) deep pot is the practical minimum for a single plant, and it gives you room to harvest hard without exhausting the plant.
Terracotta is the best material for mint because:
- It dries between waterings, which mint roots prefer
- Its weight stops the pot tipping when the plant gets heavy with foliage
- Visually, the warm clay sets off the dark green leaves
Whatever pot you use, it must have drainage holes — mint hates waterlogged soil and will rot fast in a sealed pot.
2. Fill with the right potting mix
Use a light, peat-free indoor or container potting mix. Don’t use garden soil — it compacts in pots and chokes the roots. Don’t use a heavy moisture-control mix either; mint wants to dry out a little between waterings.
Fill the pot to about 3 cm (1 in) below the rim. Tap the pot once or twice on the table to settle the soil — don’t pack it down.
3. Plant the mint
If you’re starting from a nursery pot:
- Squeeze the sides of the nursery pot to loosen the rootball
- Tip it out — the roots will be dense and white
- Set the rootball in the centre of the new pot at the same depth it was growing before
- Backfill around it with potting mix and firm gently
If you’re starting from seed:
- Sprinkle 4–5 mint seeds across the surface
- Cover with about 3 mm (⅛ in) of potting mix
- Mist the surface and keep it consistently damp until germination (10–15 days at 20–24°C / 68–75°F)
- Thin to the strongest 1–2 seedlings once they have 4 true leaves
4. Sit the pot on a hard surface
This is the step most people skip. Do not put the pot directly on bare soil or grass. Roots will grow out of the drainage holes, into the ground beneath, and within months you’ll have escaped mint coming up around the pot.
Sit the pot on a paving stone, patio tile, decking board, or pot saucer raised on pot feet. Anything hard and continuous works.
5. Water it in deeply
Pour water slowly around the base until you see drips coming out of the drainage holes. This first watering settles the soil around the roots and removes air gaps.
After this, let the top 2–3 cm (0.75–1 in) of soil dry between waterings — usually every 2–4 days outdoors in summer, less in cooler weather or indoors.
6. Place it in the right amount of sun
Mint wants 4–6 hours of direct sun per day and tolerates partial shade better than most herbs. The ideal spot in temperate climates is full morning sun with afternoon shade — strong enough light for flavour, not so much heat that the leaves scorch.
In hot climates (regularly over 30°C / 86°F), bias toward afternoon shade. Indoors, a south- or west-facing window works year-round, or a full-spectrum LED grow light bar 20–30 cm (8–12 in) above the plant on a 12-hour timer.
Care after planting
Mint is low-maintenance once it’s contained. The whole routine is:
| Task | When |
|---|---|
| Water | When the top 2–3 cm (0.75–1 in) of soil is dry — every 2–4 days in summer, less in cool weather |
| Pinch growing tips | Every 2–3 weeks once the plant has 4+ leaf nodes — keeps it bushy |
| Cut off flower buds | The moment you see them — bolting kills leaf flavour |
| Fertilize | A balanced organic herb feed every 4–6 weeks during the growing season |
| Divide the rootball | Every 2–3 years in early spring — refreshes the plant and stops it getting pot-bound |
| Cut back hard | Once a year in late autumn (outdoors) — to about 5 cm (2 in) above the soil |
A free plant care app like Tazart can hold the watering schedule for you, adjust it for your local weather, and ping you when it’s time to pinch — useful if you’re growing more than one or two herb pots.
How to harvest mint without killing the plant
Mint takes hard harvesting beautifully — in fact, regular cutting keeps it bushy and healthy.
For a few sprigs at a time: snip individual stems with scissors just above a pair of leaf nodes. The plant will branch into two new shoots from that node within 7–10 days.
For a big harvest (drying or making mint syrup): cut the entire plant back to about 8 cm (3 in) above the soil. Use the leaves immediately or hang the stems upside down in a dry shaded spot to dry. The plant will regrow fully within 3–4 weeks.
Best flavour timing: harvest in the morning after the dew has dried but before the day heats up — that’s when essential-oil concentration is highest and the leaves taste sharpest.
Common mistakes to avoid
- Planting mint directly in a bed. It will escape. Always use a pot.
- Sitting the pot on soil or lawn. Runners root straight through the drainage holes. Use a hard surface.
- Using a small pot. A 15 cm (6 in) pot bottlenecks mint within weeks. Use 30 cm (12 in) wide and deep.
- Letting it flower. Bolting halts leaf production and turns the existing leaves bitter. Pinch buds off immediately.
- Watering on a fixed schedule. Mint needs the soil to dry slightly between waterings. Stick a finger in the soil before every watering.
- Mixing varieties in the same pot. Spearmint and peppermint will hybridize and one usually crowds the other out. Give each variety its own pot.
Troubleshooting
| Symptom | Likely cause | Fix |
|---|---|---|
| Long pale leggy stems with big gaps between leaves | Not enough light, or no pinching | Move to a sunnier spot or add a grow light, then pinch every growing tip above a leaf node |
| Yellow lower leaves | Overwatering | Let the soil dry until the top 2–3 cm (0.75–1 in) is fully dry before the next watering |
| Crispy brown leaf tips | Underwatering or salt buildup | Water more deeply, and flush the pot with plain water once a month to wash out fertilizer salts |
| Tall flower spikes shooting up | Bolting | Cut all flower buds off; harvest leaves quickly before they turn bitter |
| Leaves turning rust-orange with small bumps underneath | Mint rust (a fungal disease) | Cut affected stems back hard, dispose of the trimmings (don’t compost), improve airflow, water at the base only |
| New mint shoots appearing OUTSIDE the pot | Runners have escaped through drainage holes or over the rim | Lift the pot, cut all escaping shoots and rhizomes back, sit pot on a paving stone |
| Tiny black flying insects in the soil | Fungus gnats from staying too wet | Let the soil dry fully; top with a 1 cm (½ in) layer of dry sand |
| Plant looks tired and pot-bound after 2–3 years | Rhizomes circling the pot | Lift in spring, slice rootball in half with a spade, replant the healthier half in fresh soil |
Watch: how to grow contained mint
A short visual walkthrough pairs well with the steps above. If you’re a visual learner, find a quick tutorial like How to Grow Mint in a Pot on YouTube and then come back to follow the timing in this guide.
Related reading
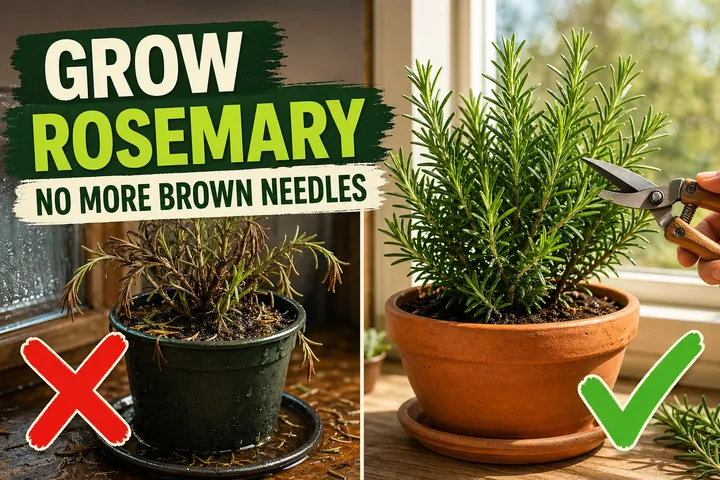
- Rosemary plant care — the opposite problem: rosemary wants well-draining soil and hates the consistent moisture mint loves.
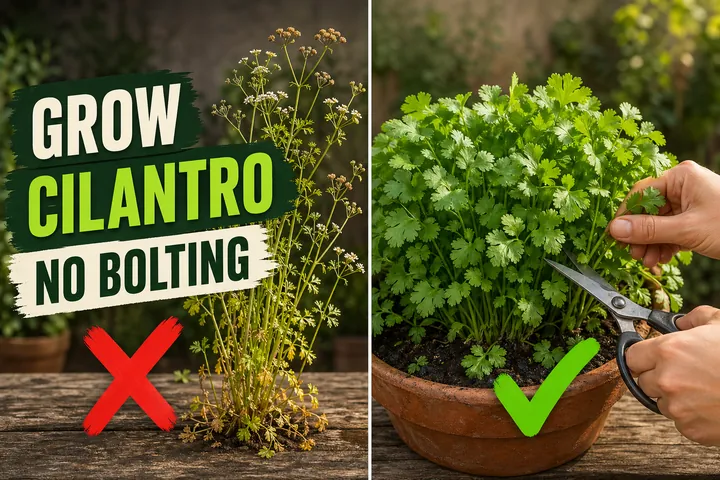
- Cilantro plant care — a fast-bolting annual herb that pairs well with contained mint in a herb-pot lineup.
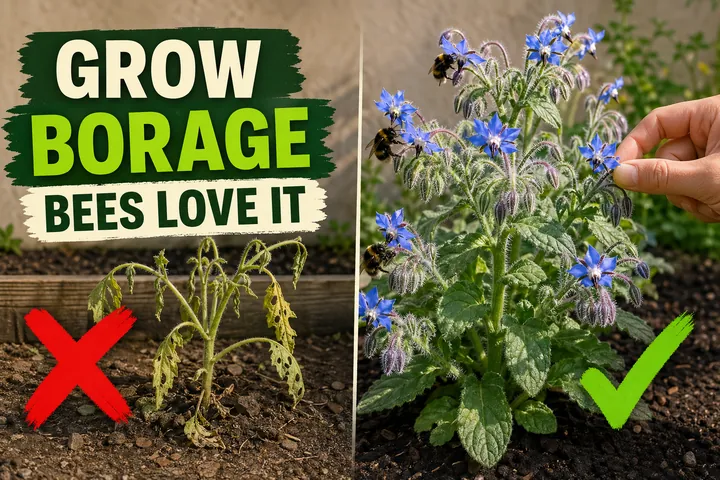
- Borage plant care — another easy, productive herb worth adding to a contained edible patio collection.
- Track every herb’s watering schedule in one place with the free Tazart plant care app — it adjusts the schedule for your local weather automatically.
A note on conditions
Every garden is different. Light, pot size, soil mix, season, humidity, and your local weather all change how fast mint grows and how often it needs water. Use the steps above as a starting point and adjust based on what your plant actually does in week two — that’s how every good gardener learns. The one rule that never changes: keep mint contained, on a hard surface, away from any soil it could escape into.
Highly recommended
The supplies that make this guide work

Tazart is an Amazon Associate — we earn from qualifying purchases at no extra cost to you. Thank you for helping us keep these guides free.
Frequently asked questions
How do you grow mint without it taking over?
Never plant mint directly in the ground. Mint spreads by underground rhizomes (runners) that can travel 60–90 cm (24–36 in) per season and pop up metres away. The only reliable fix is to grow it in a contained pot — a 30 cm (12 in) wide, 30 cm (12 in) deep terracotta or plastic pot with drainage holes works perfectly. If you must grow mint in a bed, sink a bottomless pot or thick plastic barrier 30 cm (12 in) deep into the soil to block the runners, and check the rim every few weeks for stems trying to escape over the top.
Can you grow mint in a pot?
Yes — pots are the recommended way to grow mint. Use a 30 cm (12 in) wide, 30 cm (12 in) deep container with at least one drainage hole. One plant fills the pot in a single season. Place it in 4–6 hours of sun (morning sun + afternoon shade is ideal in hot climates), water when the top 2–3 cm (0.75–1 in) of soil is dry, and divide the root ball every 2–3 years when it gets pot-bound.
How much sun does mint need?
Mint grows in 4–6 hours of direct sun per day, and tolerates partial shade better than most herbs. In hot climates (over 30°C / 86°F), afternoon shade keeps the leaves from scorching and turning bitter. Indoors, a south- or west-facing windowsill works year-round, or a full-spectrum LED grow light bar 20–30 cm (8–12 in) above the plant on a 12-hour timer. Too little light makes mint leggy, pale, and weak-flavoured.
How often should I water mint?
Water when the top 2–3 cm (0.75–1 in) of soil feels dry — usually every 2–4 days for outdoor pots in summer, less in cooler weather and indoors. Mint likes consistently moist soil but not waterlogged: pour slowly until water drips from the drainage holes, then let it drain fully. Wilting in the heat of the day is normal — check again in the evening before assuming it needs water. Yellow lower leaves usually mean overwatering, not underwatering.
Why is my mint plant leggy?
Legginess in mint means one of three things: not enough light, no pinching, or it's about to flower. Move the plant to a brighter spot (or add a grow light), then pinch the top growing tip just above a leaf node. Within 7–10 days the plant will branch from that node into two new shoots. Repeat across every stem every 2–3 weeks. Cut off any flower buds the moment they appear — bolting mint stops producing fresh leaves and the existing leaves turn bitter.
Should I let mint flower?
No, not if you want fresh leaves. Once mint flowers (called bolting), the plant redirects energy from leaves to seeds, leaf production slows, and the existing leaves turn tougher and more bitter. Pinch flower spikes off as soon as you see them. The exception is if you're growing mint for pollinators — bees and hoverflies love mint flowers — in which case let one or two stems flower and keep pinching the rest.
How do you contain mint runners?
Three layers of defence work together. (1) Always grow mint in a pot — never directly in the soil. (2) Sit the pot on a paving stone or hard surface, not bare soil — runners can root through drainage holes into the ground beneath. (3) Every spring, lift the plant out, slice the rootball in half with a sharp spade, and replant the healthier half in fresh soil. This stops the rhizomes circling the pot and resets the plant's vigour.
Is peppermint or spearmint easier to grow?
Both are equally easy — they need the same care. The choice is a flavour preference. Spearmint (Mentha spicata) is sweeter, milder, and the standard mint for tea, mojitos, lamb dishes, and tabbouleh. Peppermint (Mentha × piperita) is sharper, cooler, and higher in menthol — better for desserts, chocolate, and digestive teas. Peppermint is slightly more aggressive at spreading, so containing it matters even more.