Edible
How to Grow Chives (Hardy Perennial Herb Guide)
Grow chives once, harvest for a decade. This guide covers soil, light, watering, dividing, and harvesting Allium schoenoprasum in pots or in the garden.
On this page
- Quick answer
- Why grow chives?
- What you’ll need
- When to plant chives
- Step-by-step: planting chives from seed
- Step-by-step: planting from a division or transplant
- Watering and care
- How to harvest chives
- Should you let chives flower?
- Common mistakes to avoid
- Troubleshooting
- Watch: growing chives video guide
- Related reading
- A note on conditions
Watch the visual walkthrough
Grow Chives From Seed the EASY Way | Dividing For Endless New Plants!
A short visual walkthrough that pairs with the steps above.
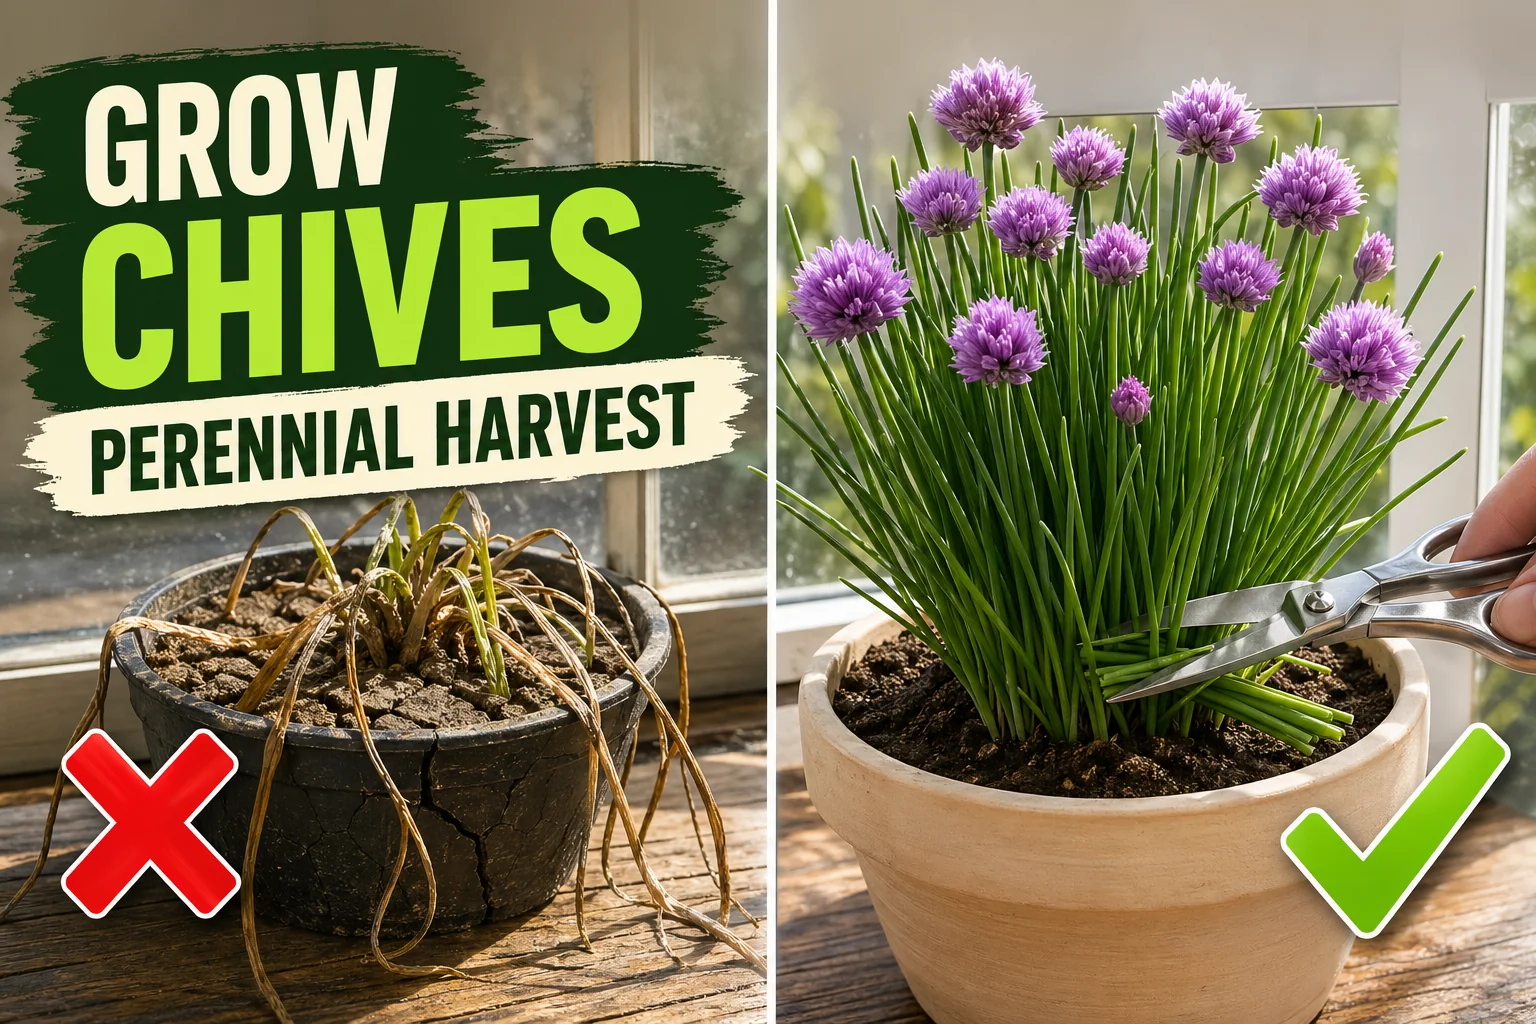
Chives are the easiest perennial herb you’ll ever grow. Plant a clump once and it’ll feed your kitchen — and the bees — every spring through fall for the next decade. They tolerate cold down to −34°C (−30°F), shrug off most pests, and respond to cutting by pushing out even more fresh leaves.
This guide covers exactly how to plant, water, harvest, and divide Allium schoenoprasum so a single clump keeps producing year after year.
Quick answer
Plant chives in full sun (6+ hours) in well-drained soil, sow seeds 0.5 cm (¼ in) deep or set transplants 20 cm (8 in) apart, water when the top 2 cm (0.75 in) of soil is dry, and shear the clump back to 5 cm (2 in) every 4 to 6 weeks for nonstop fresh leaves. Divide every 3 to 4 years to keep production strong.
Why grow chives?
Chives are one of the few culinary herbs that are genuinely perennial in most climates. Unlike basil (which dies at the first frost) or cilantro (which bolts in heat), a chive clump stays in the ground or pot and re-sprouts every spring — for 8 to 10 years.
You get three things from one plant:
- Slender hollow leaves with a mild onion flavor for cooking, all season long
- Edible purple pom-pom flowers in late spring that bees and butterflies love
- A pollinator-friendly border plant that helps the rest of your garden
The clump sizes up each year, and after 3 to 4 years you can split it into 4 to 6 new clumps — free plants for friends or to expand your own bed.
What you’ll need
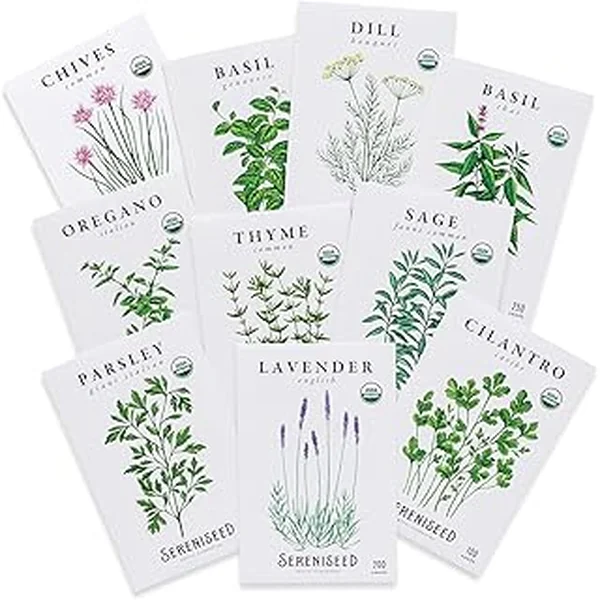
- Chive seeds, a nursery start, or a division from an existing clump
- A sunny spot — full sun, 6+ hours of direct light per day
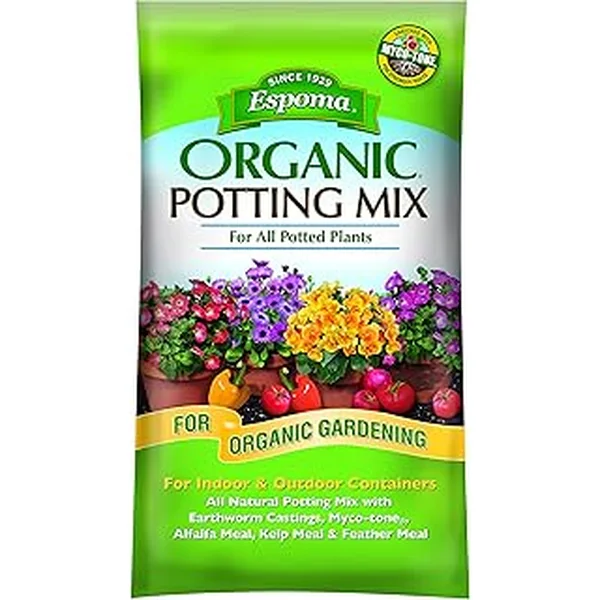
- Well-drained soil rich in organic matter (loam, with compost mixed in)
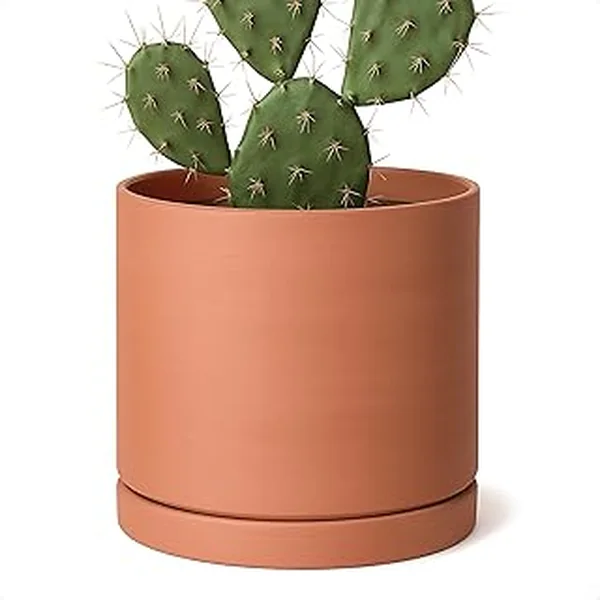
- For pots: a container at least 15 cm (6 in) wide and 15 cm (6 in) deep with drainage holes, plus general-purpose herb potting mix
- Watering can
- Sharp scissors or kitchen shears for harvesting
That’s it. Chives don’t need stakes, pesticides, or special grow lights to thrive.
When to plant chives
| Method | Best timing |
|---|---|
| Seeds (outdoors) | 2-4 weeks before the last spring frost, when soil reaches 15°C (60°F) |
| Seeds (indoors) | 8-10 weeks before the last spring frost, then transplant |
| Nursery transplant | After the last frost, anytime spring through early fall |
| Division of existing clump | Early spring as new shoots emerge, OR early fall, 6 weeks before first frost |
In mild-winter climates (zone 8 and warmer), you can also plant in autumn for a head start the following spring.
Step-by-step: planting chives from seed
1. Prepare the soil or pot
In the garden, loosen the top 20 cm (8 in) of soil and mix in a 5 cm (2 in) layer of compost. Chives like soil pH 6.0 to 7.0 — close to neutral.
In a pot, fill with herb potting mix to about 2 cm (0.75 in) below the rim. Avoid heavy garden soil in containers — it compacts and suffocates the bulbs.
2. Sow shallow
Sprinkle seeds across the surface, then cover with just 0.5 cm (¼ in) of soil. Chive seeds need to be near the surface to germinate. Press lightly so seeds make contact with the soil.
For pots, aim for 12 to 15 seeds per 15 cm (6 in) container — clumps look better dense.
3. Water in gently
Mist or water with a fine rose so seeds don’t wash out of place. Keep the surface evenly moist (not soggy) until germination — usually 7 to 14 days at 18-21°C (65-70°F).
4. Thin if needed
Once seedlings reach 5 cm (2 in) tall, thin to about 3 to 4 plants per cm² of clump in pots, or to clumps spaced 20 cm (8 in) apart in the garden. Don’t space them like single onions — chives look best growing in tight clumps.
5. Mulch outdoors
Add 2-3 cm (1 in) of fine mulch around (not on top of) the clump to keep weeds down and retain moisture. Skip the mulch for indoor pots.
Step-by-step: planting from a division or transplant
If you have access to an existing clump (your own, a neighbour’s, or a nursery start), this is the fastest route.
- Lift the parent clump in early spring or early fall using a garden fork. Shake off loose soil so you can see the white bulb mass.
- Pull the clump apart with your hands into smaller fist-sized clusters, each with at least 8 to 10 bulbs and visible roots.
- Replant immediately at the same depth as the original — the white-to-green transition on the leaves should be just below the soil line.
- Water deeply. New divisions need consistently moist soil for the first 2 weeks while roots re-anchor.
- First harvest is usually safe within 2 to 3 weeks once you see fresh new leaves emerging from the centre.
Watering and care
Chives are far less needy than basil or parsley, but they do have rules.
| Task | When |
|---|---|
| Water | When the top 2 cm (0.75 in) of soil is dry — typically every 4-7 days outdoors, every 3-5 days in pots |
| Fertilize | A balanced liquid feed at half strength once a month during active growth (skip in winter dormancy) |
| Shear back | Every 4-6 weeks during the growing season, cutting to 5 cm (2 in) above the soil |
| Deadhead flowers | Within 2-3 days of petals fading to prevent self-seeding |
| Divide | Every 3-4 years in early spring or early fall |
A free plant care app like Tazart can hold the watering schedule for you, adjust it for your local weather, and remind you when it’s time to shear and feed — useful if you’ve got several pots of herbs going.
Indoors vs outdoors
Outdoors chives are nearly self-sufficient. Spring rain usually handles watering until summer heat hits.
Indoors they need more attention. Bright sun is non-negotiable — a south or west window, ideally — and you’ll need to shear more often (every 3-4 weeks) because indoor light is weaker than outdoor light. A 6 to 8 week cold rest in winter (move pots to an unheated porch or fridge) keeps the clump vigorous; without it, indoor chives weaken after about a year.
How to harvest chives
Sharp scissors, not your fingers. Pinching crushes the hollow stems and leaves brown edges that invite rot.
For light harvests: snip individual outer leaves at the base, 2-3 cm (1 in) above the soil. Leave the central new shoots untouched.
For full shears: every 4 to 6 weeks, cut the entire clump back to 5 cm (2 in) above the soil. The plant will look bare for a week, then push out tender new leaves that taste better than the old ones. This keeps the clump productive all season.
For flowers: harvest individual blooms when the buds first open and the colour is at its brightest — that’s peak flavour. Pull the florets apart and scatter into salads, soft cheese, or steep in white vinegar for chive-blossom vinegar.
Should you let chives flower?
Yes — but briefly. The blooms are edible and important food for early-summer bees. The catch is that chives are aggressive self-seeders. If you let flowers go to seed, you’ll have chive seedlings popping up across your bed for years.
Rule of thumb: enjoy the flowers for 5 to 7 days, then cut them all off before petals turn papery. After flowering, give the clump a full shear and a half-strength feed — the leaves come back tender and abundant.
Common mistakes to avoid
- Burying the bulbs too deep. The white-to-green transition on chive leaves should sit at the soil line. Buried deep, the bulbs rot.
- Letting flowers self-seed. One missed deadhead = 200 unwanted seedlings. Cut spent flowers within 2-3 days.
- Pinching with fingers. Use scissors. Crushed stems brown out and look ugly for weeks.
- Watering on a fixed schedule. Chives hate soggy soil. Always check the top 2 cm (0.75 in) of soil with your finger first.
- Skipping division. After 3 to 4 years, an undivided clump grows woody in the centre and production drops by half.
- Growing in shade. Less than 4 hours of direct sun = floppy pale leaves and no flowers.
Troubleshooting
| Symptom | Likely cause | Fix |
|---|---|---|
| Leaves are pale and floppy | Not enough sun, or clump is overcrowded | Move to full sun; if clump is 3+ years old, divide it |
| Tips turn brown and crispy | Underwatering or salt buildup in pot | Water deeply; flush pot soil thoroughly every 2-3 months |
| Whole clump yellows in midsummer | Heat stress + dry soil | Mulch around the clump; water deeply once a week in heatwaves |
| Slimy patches at the base | Overwatering or poor drainage (root rot) | Lift, trim affected bulbs, replant in drier soil; add perlite to pots |
| Tiny orange spots on leaves | Allium rust (fungal) | Remove infected leaves; improve airflow; avoid overhead watering |
| Hundreds of tiny seedlings everywhere | Flowers were left to set seed | Pull seedlings or transplant them; deadhead future flowers earlier |
| Clump stops producing after 4+ years | Centre has gone woody | Lift in fall, divide into 4-6 new clumps, replant in refreshed soil |
Watch: growing chives video guide
A short visual walkthrough pairs well with the steps above. If you’re a visual learner, find a tutorial like How to Grow Chives From Seed to Harvest on YouTube and then come back to follow the timing in this guide.
Related reading
- How to take care of a rosemary plant — another tough perennial herb that pairs beautifully with chives in the kitchen garden.
- Cilantro plant care — a fast-bolting annual that makes a great spring companion to chives.
- Dill plant care — the third easy herb every kitchen gardener should grow, with similar light needs.
- Set up watering reminders for your whole herb collection in the free Tazart plant care app.
A note on conditions
Every garden and kitchen is different. Light intensity, pot size, soil mix, climate zone, humidity, and your local weather all change how fast chives grow and how often they need water. Use the steps above as a starting point and adjust based on what your clump actually does in week two — that’s how every good herb gardener learns.
Highly recommended
The supplies that make this guide work

Tazart is an Amazon Associate — we earn from qualifying purchases at no extra cost to you. Thank you for helping us keep these guides free.
Frequently asked questions
How long do chives take to grow?
From seed, chives germinate in 7 to 14 days and are ready for a first light snip in about 60 days. From a nursery transplant or a divided clump, you can harvest within 2 to 3 weeks. Once established, a single clump produces fresh leaves for 8 to 10 months of the year in mild climates.
Do chives come back every year?
Yes. Chives (Allium schoenoprasum) are a cold-hardy perennial down to about −34°C (−30°F). The leaves die back in hard winter and the bulbs go dormant underground, then re-sprout on their own as soon as soil warms in early spring. A healthy clump lasts 8 to 10 years before it needs dividing.
How much sun do chives need?
Chives prefer full sun — at least 6 hours of direct light per day — but they tolerate light afternoon shade in hot climates. Indoors, place pots on a south- or west-facing windowsill. Too little light produces thin, pale, floppy leaves and no flowers.
Can you grow chives indoors year round?
Yes, with bright light. Use a 15 cm (6 in) wide pot with drainage, a sunny window, and water when the top 2 cm (0.75 in) of soil is dry. Indoor chives benefit from a 6 to 8 week cold rest in winter (move to an unheated porch or fridge) so the clump stays vigorous — without it, growth weakens after a year.
Should you let chives flower?
Yes, briefly. The purple pom-pom blooms feed bees and are edible — toss whole florets into salads or vinegar. But spent flowers self-seed aggressively, so deadhead within 2 to 3 days of the petals fading. Letting flowers go to seed also slows leaf production for the rest of the season.
How do you keep chives growing all summer?
Cut often. Chives respond to harvesting like a lawn responds to mowing — the more you snip, the more the clump pushes out fresh tender leaves. Shear the entire clump back to 5 cm (2 in) every 4 to 6 weeks, water deeply afterward, and feed with a half-strength balanced liquid fertilizer once a month.