Diagnosis
How to Fix Root Rot on Houseplants (Save Your Plant)
Root rot is fixable if you act fast. Here's the exact rescue protocol — symptoms, root surgery, repotting, and the watering reset that prevents it coming back.
On this page
- Quick answer
- What root rot actually is
- Signs your plant has root rot
- Root rot vs underwatering — quick check
- What you’ll need
- Step-by-step: the root rot rescue protocol
- Watering reset to keep root rot from coming back
- Common mistakes to avoid
- Troubleshooting after the rescue
- Will the plant survive?
- Watch: root rot rescue walkthrough
- Related reading
- A note on conditions
Watch the visual walkthrough
Root Rot 101 : How to Spot, Treat and PREVENT Root Rot!
A short visual walkthrough that pairs with the steps above.
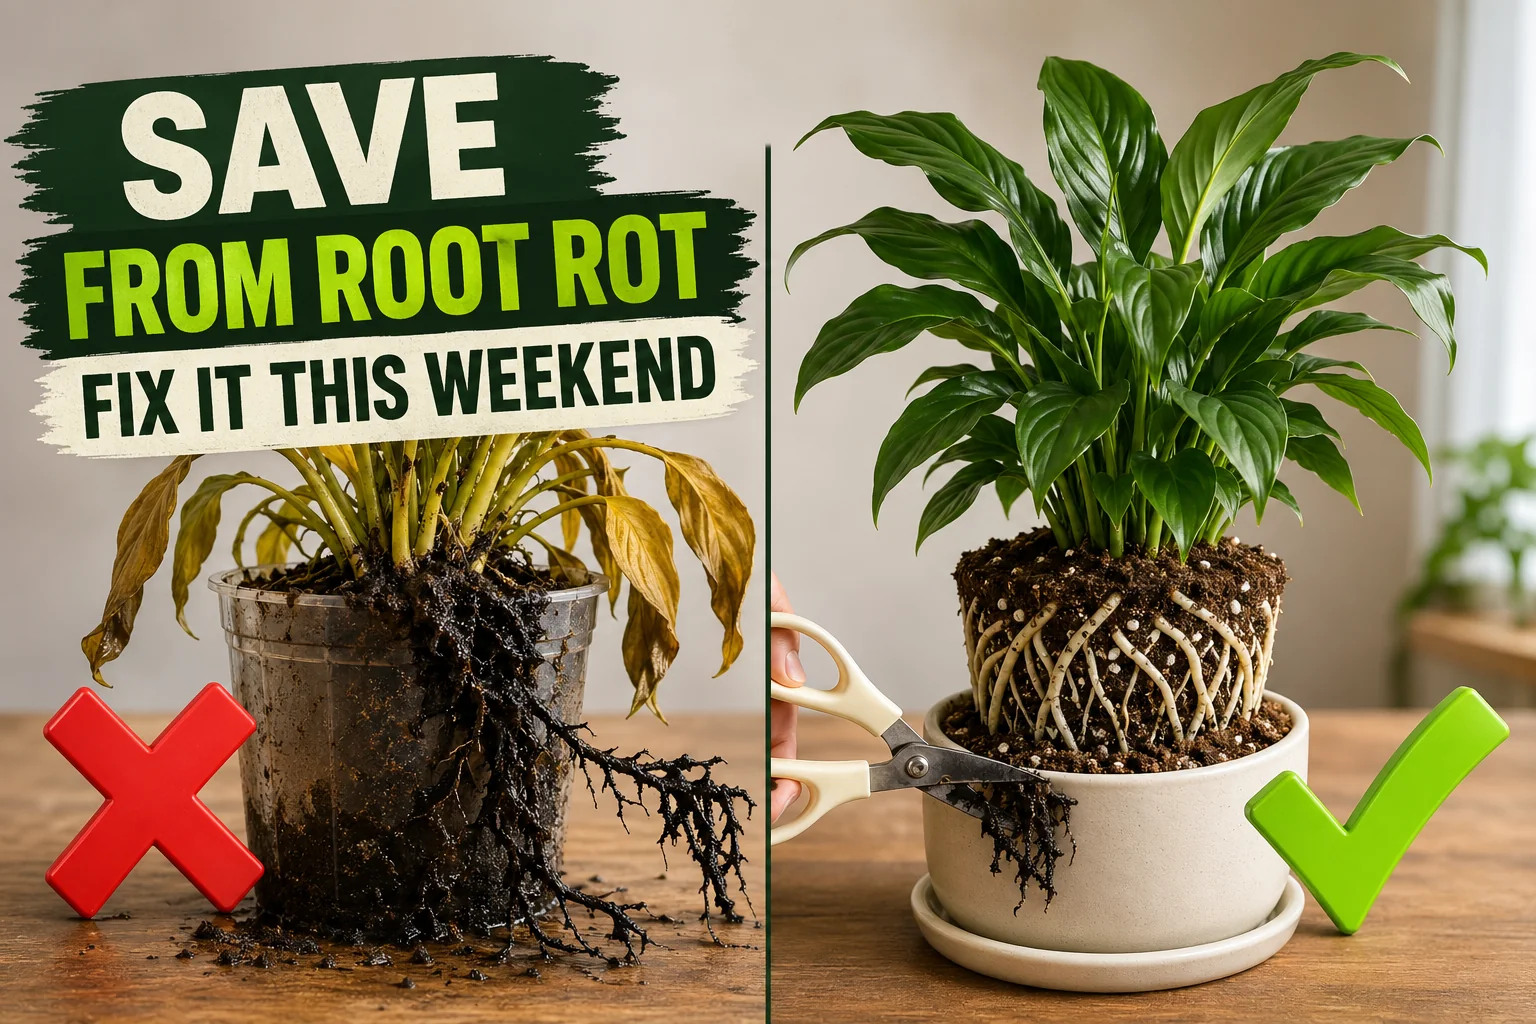
Root rot looks worse than it is. If your plant has yellow drooping leaves and the soil smells sour, the roots are probably mushy and black under the surface — but as long as a few firm white roots remain, the plant can be saved this weekend.
This guide walks you through the rescue protocol used by greenhouse growers: how to spot it, how to cut, what to repot in, and the watering reset that stops it coming back.
Quick answer
Lift the plant out, rinse the soil off, and snip away every black or mushy root with sterilized scissors. Dip the remaining root ball in a 3% hydrogen peroxide solution diluted 1:3 with water, then repot in a clean pot with drainage holes using fresh dry peat-free potting mix. Don’t water for 5 to 7 days. Most houseplants show new growth within 4 to 8 weeks.
What root rot actually is
Root rot isn’t one disease — it’s a label for several waterborne pathogens that take over roots starved of oxygen.
The two big culprits in houseplants are Pythium and Phytophthora. Both are oomycetes (water moulds) that move through saturated soil with motile spores. Once roots sit in airless water for more than a few days, the cell walls break down, the pathogens move in, and decay accelerates.
A smaller share of cases is fungal (Fusarium, Rhizoctonia) or bacterial (Erwinia). The visual symptoms and the rescue are basically the same: cut, swap soil, water less.
The trigger isn’t the pathogen — those spores are already in your potting mix. The trigger is persistent soggy soil, almost always from overwatering, a pot with no drainage hole, or a saucer that stays full.
Signs your plant has root rot
Above the soil — these show up first because the plant is starving for water it can’t absorb through dead roots:
- Yellow lower leaves, often spreading upward
- Drooping or wilting even though the soil is wet (this is the giveaway — underwatered plants droop in dry soil)
- Brown crispy leaf tips
- Soft mushy stems at the base
- Stunted growth or new leaves coming in small and pale
- A sour, sewage-y, or musty smell from the pot
Below the soil — confirm by gently lifting the plant out:
- Roots are black, brown, or grey instead of white or pale tan
- Roots feel mushy or slimy and slip off when you tug them
- The outer layer slides off leaving a thin string-like core (Pythium signature)
- The whole root ball smells foul
If at least a quarter of the roots are still firm and white, you can save the plant. If every root is black mush, take a stem cutting before you compost it — the top growth may root in water.
Root rot vs underwatering — quick check
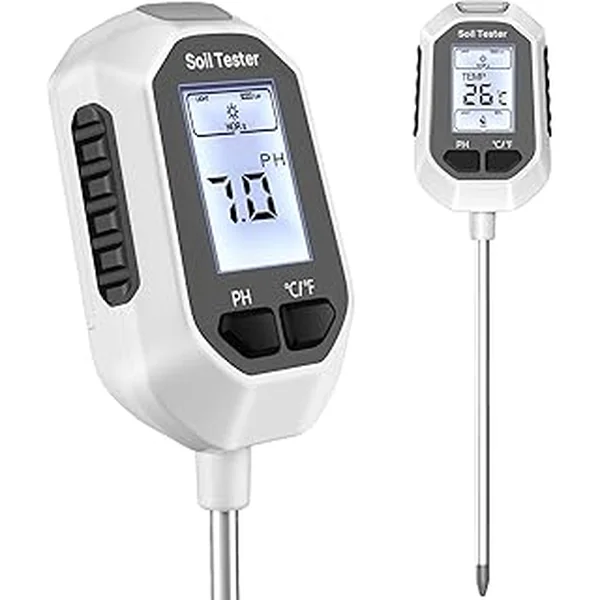
The two get confused because both cause droopy yellow leaves. Use the soil:
| Clue | Root rot (overwatered) | Underwatered |
|---|---|---|
| Soil feel | Wet, heavy, dark | Dry, light, pulling away from the pot |
| Smell | Sour, musty, sewage-like | Earthy or odorless |
| Leaves | Yellow, soft, drooping | Yellow, crispy, brittle |
| Stem base | Soft or mushy | Firm |
| New growth | Stunted, pale | Slowed but otherwise normal |
What you’ll need
- Sharp sterilized scissors or pruning shears (wipe with 70% isopropyl alcohol)
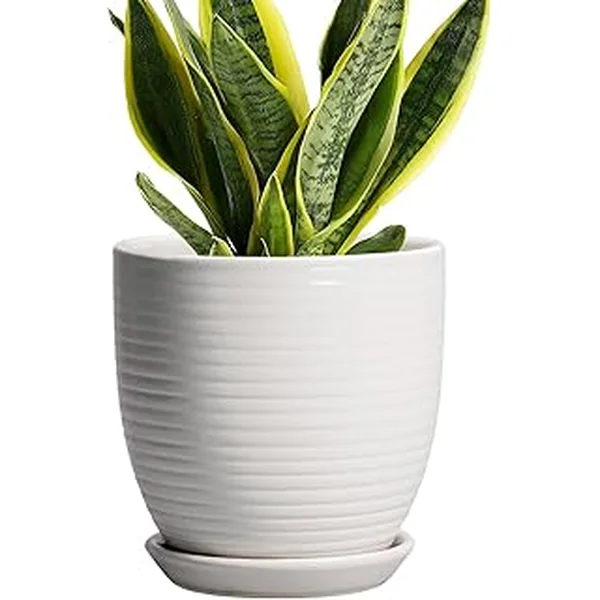
- A clean ceramic or plastic pot with drainage holes — same size or one size smaller than the old one
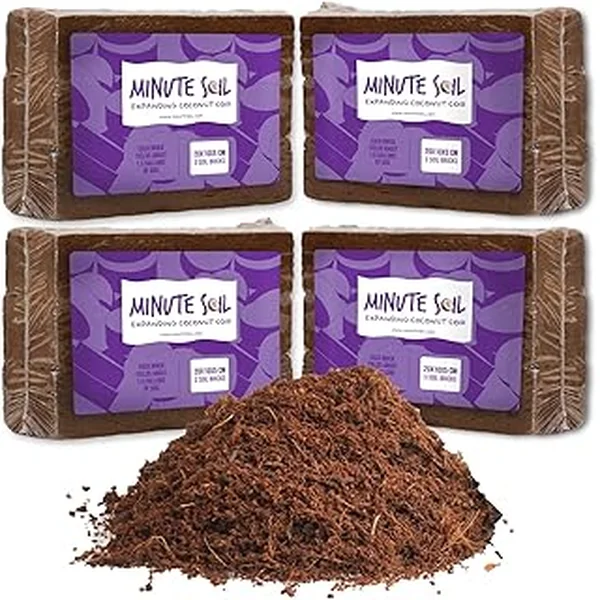
- Fresh peat-free indoor potting mix
- 3% hydrogen peroxide (the standard drugstore kind)
- A bowl or bucket for rinsing roots
- Newspaper or an old towel for the mess
- Optional: ground cinnamon (mild antifungal for cut surfaces)
A pot with a saucer is fine, but never let the saucer sit full. Empty it 15 minutes after watering.
Step-by-step: the root rot rescue protocol
1. Take the plant out of the pot
Lay the plant on its side and gently slide it out. If it’s stuck, squeeze the sides of the pot or run a butter knife around the inside edge. Don’t pull on the stem — it’s already weak.
2. Rinse the soil off the roots
Hold the root ball under lukewarm tap water and gently massage the soil away with your fingers. You’re trying to expose every root so you can see what’s healthy and what isn’t.
Throw the old soil away — don’t compost it and don’t reuse it. The pathogens can survive there for months.
3. Cut away every rotten root
With sterilized scissors, snip off every root that is black, brown, mushy, or foul-smelling. Cut back to firm white tissue, the same way you’d trim a bruised fruit.
It’s normal to lose 50–80% of the root mass on a badly affected plant. That looks scary but it’s correct — leaving a single rotten root behind keeps the rot spreading.
After every few cuts, wipe the blade with isopropyl alcohol so you don’t transfer pathogens between healthy roots.
4. Disinfect the remaining root ball
Mix one part 3% hydrogen peroxide with three parts water in a bowl (about 250 ml / 8 fl oz peroxide to 750 ml / 25 fl oz water). Dip the cleaned root ball for 2 to 3 minutes — you’ll see fizzing, which is the peroxide releasing oxygen and killing surface pathogens.
Lift the plant out, let it drip-dry for 10 minutes on newspaper, and dust the cut ends with a light pinch of ground cinnamon if you have it.
5. Trim some top growth to match
Roots feed leaves. With half the root system gone, the plant can’t support all its leaves. Pinch or cut off about a third of the foliage — start with the most yellowed or wilted leaves.
This step feels brutal but it’s the difference between a plant that recovers and one that keeps wilting because it’s trying to keep too much foliage alive.
6. Repot in a clean pot with fresh dry mix
Wash the old pot with hot soapy water and a splash of bleach (or use a new pot one size smaller — a smaller pot dries out faster, which is what your plant needs). Add a 2 cm (0.75 in) layer of fresh peat-free potting mix to the bottom.
Set the plant in, fill in around the roots, and tap the pot gently to settle the soil. Don’t pack it down — air pockets are good for healing roots. Keep the soil dry at this stage.
7. Don’t water for 5 to 7 days
This is the part everyone gets wrong. Your plant has just been through surgery and needs to grow new root tips before it can absorb water again. Watering right away drowns the new tissue and restarts the cycle.
After 5 to 7 days, water lightly — just enough to dampen the top half of the pot. Then resume normal watering only when the top 2–3 cm (0.75–1 in) of soil is dry.
8. Move it to bright indirect light
Skip direct sun for the first 2 weeks. The plant has reduced roots and can’t keep up with the water loss from strong light. A bright window with a sheer curtain, or a spot 1 m (3 ft) back from a south-facing window, is ideal.
Watering reset to keep root rot from coming back
The rescue fails if you water the same way you did before. The new rules:
| Rule | Why |
|---|---|
| Check soil moisture before every watering | The #1 mistake is watering on a calendar instead of by need |
| Top 2–3 cm (0.75–1 in) must be dry | Wet topsoil traps water below — that’s where rot starts |
| Empty the saucer 15 minutes after watering | Standing water = no oxygen = rot |
| Use pots with drainage holes only | Decorative pots without holes are display covers, not growing pots |
| Bottom-water once a month | Pulls roots downward, encouraging strong root structure |
| Slow down in winter | Plants use 30–50% less water in low-light months |
A free plant care app like Tazart keeps the watering schedule per-plant, adjusts it for your local weather, and pings you only when the soil is likely dry — useful if you’ve just learned the hard way that the calendar approach kills plants.
Common mistakes to avoid
- Washing the roots with cold water. Cold shock slows recovery. Use lukewarm.
- Leaving any black root in. “Mostly clean” still spreads. Cut back to firm white tissue.
- Reusing the old soil. Pythium spores can sit dormant for months. Bin it.
- Watering immediately after repotting. Damaged roots can’t drink yet — they rot again. Wait the full 5 to 7 days.
- Repotting into a much bigger pot. Bigger pot = more soil = more water held = more rot. Same size or one smaller.
- Skipping the foliage trim. Reduced roots can’t support full leaves. Trim a third.
- Treating with peroxide weekly. It also kills helpful soil microbes. One disinfecting dip is enough.
Troubleshooting after the rescue
| Symptom | Likely cause | Fix |
|---|---|---|
| Leaves still drooping after 1 week | Normal — roots are regrowing, plant has limited uptake | Don’t water more; mist the leaves once daily for 2 weeks |
| New yellow leaves appearing 2 weeks in | Some rot was missed, or the soil stayed too wet | Lift the plant, check the roots again, repeat the rescue |
| Soft black patch on the stem base | Rot has moved into the stem | Cut above the rotten patch and try to root the cutting in fresh mix |
| Mould on the soil surface | Soil staying too damp on top | Scrape off the mould, let the soil dry an extra 3–5 days |
| Tiny black flies appearing | Fungus gnats love damp soil — common after rescue | See how to get rid of plant gnats |
| No new growth after 8 weeks | Too few healthy roots survived | Take a stem cutting and start over; the original may not recover |
Will the plant survive?
Honest odds, by remaining root health when you start:
- More than 50% white firm roots: ~90% recover, full bounce-back in 6 to 8 weeks
- 25–50% white roots: ~70% recover, slower bounce-back over 2 to 3 months
- Less than 25% white roots: ~30% recover; better to take a stem cutting in parallel
- No white roots, mushy stem base: the plant is gone — propagate the top if possible
Watch: root rot rescue walkthrough
A short visual demo pairs well with the steps above. Search for “root rot rescue houseplant” on YouTube and watch a hands-on tutorial before you start — seeing what “firm white root” versus “mushy black root” looks like in real life makes the cutting decisions much easier.
Related reading
- How to get rid of plant gnats fast — fungus gnats almost always show up on overwatered plants; clearing them is part of the recovery.
- Plant health care services and when to call one — what a pro can do that a homeowner can’t, especially for large or expensive plants.
- How to take care of a snake plant — snake plants are the most rot-prone houseplant; this guide covers the watering rhythm that keeps them alive.
- Track watering per plant with the free Tazart plant care app so the calendar stops being the thing that kills them.
A note on conditions
Recovery speed depends on the plant species, pot size, light, season, room humidity, and how much healthy root tissue survived. Tropical foliage plants (pothos, philodendron, monstera) usually bounce back fastest; succulents and cacti are slower because they grow roots more cautiously. Use the steps above as a starting point and adjust based on what your plant actually does in week two — that’s how every good plant grower learns.
Highly recommended
The supplies that make this guide work

Tazart is an Amazon Associate — we earn from qualifying purchases at no extra cost to you. Thank you for helping us keep these guides free.
Frequently asked questions
Can a plant recover from root rot?
Yes — if at least a quarter of the root system is still firm and white, most houseplants recover within 4 to 8 weeks. The rescue is a one-time job: unpot, wash the roots, cut off everything black or mushy with sterilized scissors, repot in fresh dry potting mix, and don't water for 5 to 7 days. Plants with no white roots left rarely come back.
How do you save a plant with root rot?
Lift the plant out of the wet pot, rinse the soil off the roots under lukewarm water, and snip away every black, brown, mushy, or foul-smelling root with sharp sterilized scissors. Dust the cuts with cinnamon or dip the root ball in a 3% hydrogen peroxide solution diluted 1:3 with water. Repot in a clean pot with drainage holes using fresh peat-free potting mix, and wait 5 to 7 days before the first light watering.
What does root rot look like?
Healthy roots are firm, white or pale tan, and mostly odorless. Rotten roots are black, brown, or grey, mushy, slimy to the touch, and smell sour or like sewage. Above the soil you'll often see yellow lower leaves, brown leaf tips, drooping despite wet soil, and stunted growth — the classic signs of an overwatered plant.
Does hydrogen peroxide fix root rot?
It helps but it doesn't cure root rot on its own. A 3% hydrogen peroxide solution diluted 1:3 with water adds oxygen to waterlogged soil and kills surface pathogens on the roots. The real fix is removing the rotten tissue, swapping the soggy soil for fresh dry mix, and watering less. Use peroxide as a one-time disinfecting rinse, not a weekly treatment.
How long does it take a plant to recover from root rot?
Expect 4 to 8 weeks for visible new growth, and up to 3 to 6 months for the plant to fully bounce back. The first sign of recovery is the plant stopping its decline — no new yellow leaves and the existing leaves staying upright. New leaves come next, usually 3 to 5 weeks after the rescue.
Can root rot spread to other plants?
Yes. The pathogens that cause root rot — mainly Pythium and Phytophthora — are oomycetes that move through wet soil and shared water. Don't reuse the old soil, sterilize your scissors with 70% isopropyl alcohol or a 1:9 bleach solution between plants, and keep recovering plants on a separate tray for the first month. Never let drainage water from a sick plant touch the roots of a healthy one.