Edible
How to Cut Basil from a Plant (Harvest Properly)
Cut basil above a leaf node, never at the base, to keep plants bushy for months. Exact pinching steps, flower removal, and cooking-volume harvest tips.
On this page
- Quick answer
- When to start harvesting
- How to identify a leaf node
- Step-by-step: how to cut basil correctly
- Where exactly to make the cut
- Pinching with fingers vs. scissors
- Pinching flower buds — the most important maintenance step
- Harvest cadence — daily light picks vs. weekly cuts
- Storing freshly cut basil
- How to track your harvest schedule
- Related reading
- A note on plant variation
Watch the visual walkthrough
How to Prune Basil like the Pros, HUGE Basil Plants ALL SEASON LONG!
Anyone can use this simple method to increase their basil harvest with no additional work or space in the garden.When I found out ...
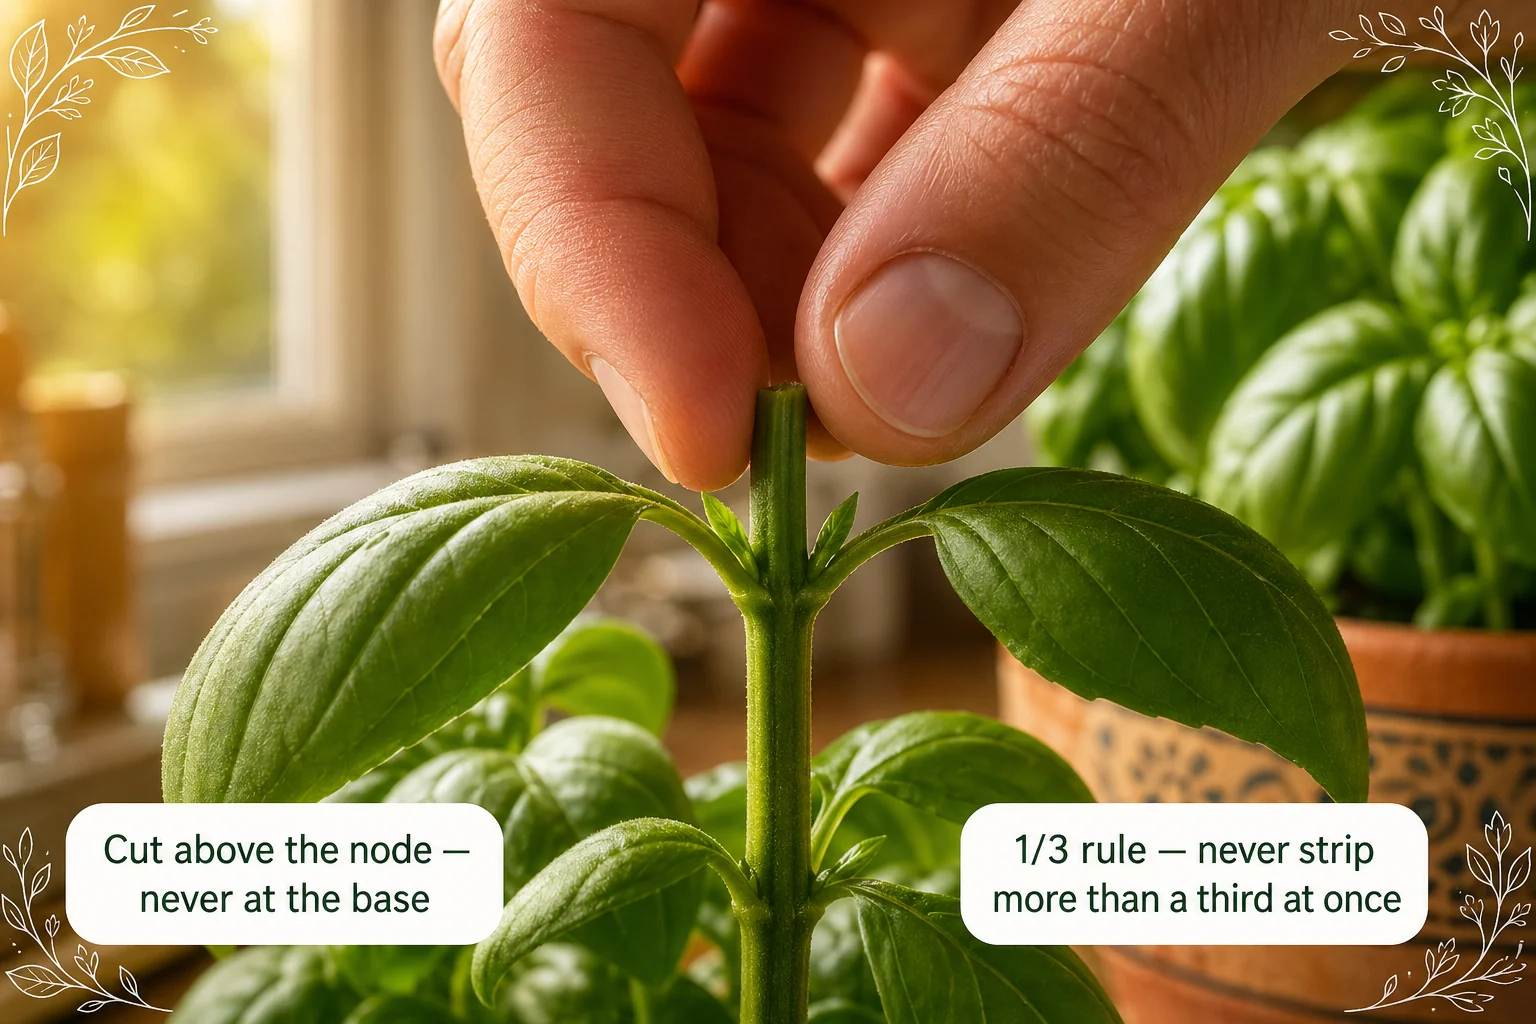
Basil is the herb most home cooks want more of — and the one they most often accidentally strip bare. The fix is a single technique that takes about ten seconds per stem: cut above a leaf node, not at the base, and the plant doubles its shoots where you cut. Do it wrong and you end up with a bare stalk that never recovers.
This guide covers the exact cut location, the pinch vs. scissors debate, flower bud removal, harvest frequency, and how to get cooking-volume yields without ever stressing the plant.
Quick answer
Cut basil stems just above a leaf node — the point where a pair of leaves or sideshoots emerges from the stem. Leave at least two node pairs below the cut, take no more than one-third of the plant per session, always cut from the top down, and pinch off any flower buds the moment they appear. Done this way, one plant produces continuously for months.
When to start harvesting
Wait until the plant has at least 6 sets of true leaves and stands roughly 15–20 cm (6–8 in) tall before your first real harvest. Before that threshold, every leaf the plant has is doing serious work to build root mass and stem structure. Take too many too early and you set the plant back by weeks.
A supermarket basil pot is rarely ready to harvest beyond a leaf or two — separate the crowded seedlings into individual pots, give them 2–3 weeks to establish, and then start harvesting properly. Seedlings grown from seed are typically ready to first pinch at 4–6 weeks from germination.
The first harvest is also the first pinch: cutting the top growing tip is what starts the bushing process. Once you make that initial cut, the plant is in harvest mode indefinitely.
How to identify a leaf node
A leaf node is the point on the stem where a leaf or leaf pair attaches. On basil, leaves grow in opposite pairs — two leaves directly across from each other at the same point on the stem. At the base of each leaf, sitting in the small V between the leaf stalk and the main stem, is an axillary bud: a tiny compressed growing point that is currently suppressed by the tip above it.
When you cut the stem above that node, the suppression signal (controlled by a hormone called auxin) drops. The axillary buds activate and grow out into two new branches. That is the mechanism behind every bushing technique for basil — you are not tricking the plant, you are removing the chemical signal that was holding those buds dormant.
To find the right cut point, hold the stem and run your fingers down from the growing tip. The first pair of leaves you hit is node 1. The next pair down is node 2. Cut just above node 1 or 2 — leaving at least two complete node pairs intact below the cut — and two new shoots will emerge from the node just below your scissors.
Step-by-step: how to cut basil correctly
1. Choose the stem to harvest
Always harvest from the tallest, most developed stems first. Pick a stem that has at least 4–5 node pairs. You will take the top 2–3 node sections and leave the bottom 2 intact.
2. Find your cut point
Count down from the growing tip. Identify the second or third node pair from the top. Your cut goes just above that node pair — about 5 mm (¼ in) above the leaf petioles, so you do not nick the axillary buds sitting there.
3. Make a clean cut
Pinch with thumbnail and forefinger, or use clean scissors. Cut in one motion — do not saw or twist, which tears stem tissue and creates entry points for disease. The cut surface should be smooth.
4. Collect from multiple stems, not one
Resist taking everything from one stem. Move around the plant, taking one or two stem sections from several different branches. This distributes the growth signal evenly and produces a fuller plant rather than one stripped side and one overloaded side.
5. Check the one-third limit
Before finishing, step back and eyeball the plant. It should look like you gave it a light trim — not like it lost a fight. If more than a third of the leaf mass is gone, stop. The plant needs the remaining leaves to photosynthesize enough energy to regrow what you took.
6. Strip the harvested stems
Pull the leaves off the cut stems you collected. Use the leaves immediately or store them (see the storage section below). The bare stem section goes in the compost.
Where exactly to make the cut
This is the one detail most guides get wrong by being vague. The cut should be 5–10 mm (¼ in) above the node pair — close enough that you leave no long dead stub above the node (which invites rot), but not so close that you damage the axillary buds.
If you cut too high, leaving 2–3 cm of bare stem above the node, that stub will die back and may carry disease toward the node. If you cut into the node itself, you can damage the very buds you are counting on to regrow. The 5–10 mm gap is the sweet spot.
On older, thicker stems, cut just above a node where you can already see the two sideshoots starting to emerge — those plants are telling you exactly where they want to branch.
Pinching with fingers vs. scissors
Both methods are valid. The difference is practical:
Fingernail pinch:
- Fastest method, no equipment needed
- Best for soft young growth and daily maintenance
- Ideal for removing flower buds and small growing tips
- Can bruise very young stems if done carelessly
Scissors or snips:
- Cleaner cut on thicker, woodier stems (plants over 3 months old)
- Better for harvesting multiple long stem sections in one session
- Wipe blades with isopropyl alcohol between plants if growing more than one pot
Either way, the cut location matters far more than the tool. A clean finger pinch in the right spot beats a sloppy scissor cut in the wrong place every time.
Pinching flower buds — the most important maintenance step
Flower buds appear as a tight cluster of small pointed leaves at the very tip of a stem, usually paler or more lime-green than the surrounding foliage. They emerge before any petals open. That is the moment to act.
Pinch off the entire flower spike, including the 2–3 small leaves immediately below it. Those small leaves are already slightly bitter — removing them along with the bud keeps the harvest quality high.
If a flower has already opened: pinch it off immediately, then cut the stem back to the first or second healthy node below the flower. You have lost a little time, but the plant will recover.
Why this matters for cooking volume: a plant allowed to flower loses leaf productivity for 3–6 weeks while it redirects energy to seeds. On a six-month harvest window, one missed flower bud that goes to seed can cost you 15–25% of your total yield. Check every stem tip at least once a week.
Harvest cadence — daily light picks vs. weekly cuts
Daily cooking harvest: For a handful of leaves for pasta or salad, snap the very tip — the top 2–4 leaves — off whichever stem is tallest. This takes seconds, keeps the plant trimmed and bushy, and gives you fresh leaves every day without impacting total plant health.
Pesto-volume harvest (every 2–3 weeks): Cut whole stem sections above lower nodes across the whole plant. A healthy mature basil under good light (10–12 hours of strong light per day) yields approximately 30–50 g (1–2 oz) of fresh leaves per session — about one loosely packed cup. That is enough for a single batch of pesto sauce. For a family that makes pesto weekly, grow 3–4 plants in rotation.
End-of-life strip: When the plant finally slows — typically after 6–9 months — cut all the leaves at once. Blanch them for 15 seconds in boiling water, cool in ice water, pat dry, blend with olive oil, and freeze in ice cube trays. One tray of basil-oil cubes drops into pasta sauce or soup all winter.
Storing freshly cut basil
Basil is cold-sensitive and turns black in the fridge if stored incorrectly. The two reliable methods:
Counter-top (2–5 days): Trim the stem ends and stand the cut stems in a glass of water like flowers. Cover loosely with a plastic bag. Keep at room temperature, away from direct sun. This is the best method for stems you will use within a few days.
Refrigerator herb keeper (up to 7 days): A dedicated herb keeper holds the stems upright in a small reservoir of water with a vented lid. Basil stored this way in the warmest part of the fridge (usually the door) lasts 5–7 days without blackening. Never wrap basil in a damp cloth and seal it — that is the fastest route to black slime.
Frozen (up to 6 months): Blend fresh leaves with enough olive oil to form a loose paste. Pour into ice cube trays, freeze solid, then transfer to a sealed bag. Each cube is roughly one tablespoon — the right amount for a pasta or sauce portion.
Never dry basil in a dehydrator or oven — the flavour compounds are highly volatile and mostly disappear with heat. Freeze if you want to preserve flavour past 5–7 days.
How to track your harvest schedule
The two-to-three week harvest cycle is easy to forget when you are cooking every day. A plant care app like Tazart lets you log each harvest, set a reminder for the next pesto-volume cut, and track flower bud removal alongside watering and feeding — useful once you are running more than two or three herb pots.
Related reading
- How to grow basil indoors — full setup guide covering light, pot, soil, and pinching schedule for keeping basil productive year-round.
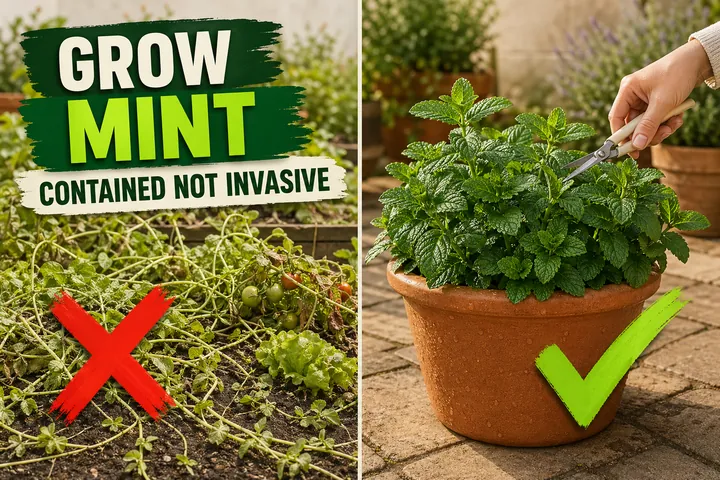
- How to grow mint — mint is the other aggressive kitchen herb; its harvest technique differs because it spreads by runners rather than branching.
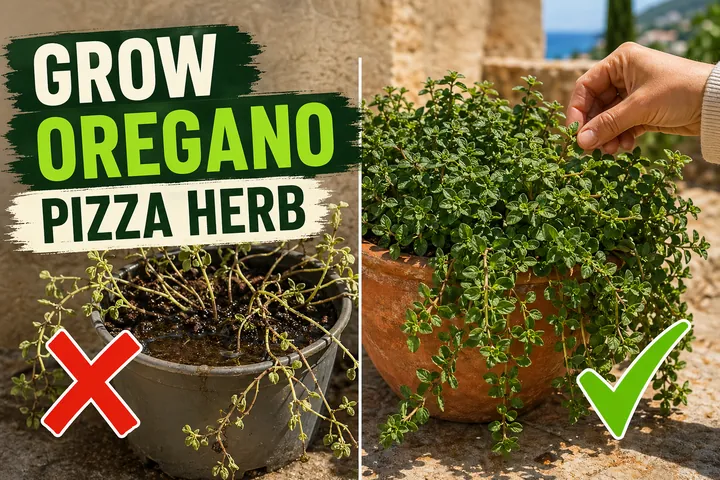
- How to grow oregano — oregano harvesting follows the same above-the-node rule as basil, but the plant tolerates harder cuts and longer dry spells.
A note on plant variation
Genovese basil, Thai basil, lemon basil, and purple basil all respond to the same above-the-node cut, but they differ in how quickly they regrow. Thai basil and lemon basil are typically more vigorous and tolerate more aggressive harvesting. Purple basil grows more slowly — give it an extra week between sessions. The one-third rule applies to all varieties.
Highly recommended
The supplies that make this guide work
Tazart is an Amazon Associate — we earn from qualifying purchases at no extra cost to you. Thank you for helping us keep these guides free.
Frequently asked questions
Where exactly do you cut basil stems?
Cut just above a leaf node — the point on the stem where a pair of leaves (or a set of small sideshoots) grows out. Leave at least two leaf-node pairs below your cut on each stem. The axillary buds sitting in those nodes will activate within 5–10 days and grow into two new branches, doubling the shoot count every time you harvest correctly.
How do you harvest basil without killing it?
Never strip leaves from the bottom up, and never cut into the bare woody section at the base of an old stem — basil rarely re-sprouts from old wood. Always cut from the top of the plant down, taking entire stem sections above a leaf node rather than pulling individual leaves. Keep at least one-third of the plant's total leaf area intact after every harvest session.
Should you use scissors or fingers to pinch basil?
Either works, but the technique matters more than the tool. Fingers (thumbnail-and-forefinger pinch) are fast and require no equipment — ideal for quick daily grooming and flower bud removal. Clean scissors or snips give a cleaner cut on thicker, woodier stems and reduce tearing. If you use scissors, wipe the blades between plants to avoid spreading disease.
How often can you harvest basil from one plant?
A mature plant under good light can be harvested on a 2–3 week cycle for pesto-scale cuts (removing whole stem sections). For light cooking use — a few leaves or the top tip of one stem — you can harvest daily. The key is never taking more than one-third of the plant's total leaf mass in a single session. Push past that limit and the plant stresses, slows, and bolts.
What happens if you let basil flower?
Once basil flowers (bolts), the plant redirects energy from leaf production to seed production. Existing leaves turn bitter and smaller, new leaf growth slows dramatically, and the plant begins its end-of-life cycle. Pinch flower buds off the moment you spot the tight green cluster at the tip of a stem — before a single petal opens. Done consistently, this alone can extend a plant's productive life by 2–3 months.
How much basil can you harvest at one time?
The one-third rule is the safe limit: never remove more than one-third of the plant's total leaf mass in a single harvest session. On a well-grown mature plant that has been regularly pinched, one session might yield 30–50 g (1–2 oz) of fresh leaves — roughly one cup of loosely packed basil, enough for a small batch of pesto. A plant under a grow light with a 2–3 week harvest cycle can sustain that yield for 6–9 months.